Today I MADE

Prospecting Australia

Help Support Prospecting Australia:

This site may earn a commission from merchant affiliate links, including eBay, Amazon, and others.
Thanks to my friends Tony Celliers of Dynamic Digital Creations for the 3D file, and Mark T from Tharwa Valley Forge for modifying said file, then CNC routing it out of a random bit of biscuit-joined wood. After a glue together and clean-up, it painted to look pretty darned good.

slAUpOI.jpg


WZO1nIG.jpg


SrOpv8v.jpg


NAo718I.jpg


There were a couple of ergonomics in the 3D cad, that translated to shapes my eye could not accept in the real. This week, I layered on some more foam on top of the nose, to correct the drop from the cockpit firewall to about half way down the nose. I also got rid of a ledge on the top that shouldnt have been there.

TCYhuLq.jpg


dzYlN7Q.jpg


6sf2y9p.jpg
 
Still going great guns Baz. Thanks for the knife care guide. :)
My wife said geez that's a heavy knife for it's size and I replied look how thick the blade is-and nice and sharp. Thanks mate. :)
 
Mackka said:
Sorry SB did I miss a thread on caring for knives?
Mackka

No mate. I have a pinned post on my BBB Facebook page, which I tag people on when they buy one of my knives. Basic care for high carbon steel.

baz.
 
https://www.buildsbybaz.com/3-foot-colonial-viper-mk-ii/

THE TIME HAS COME.

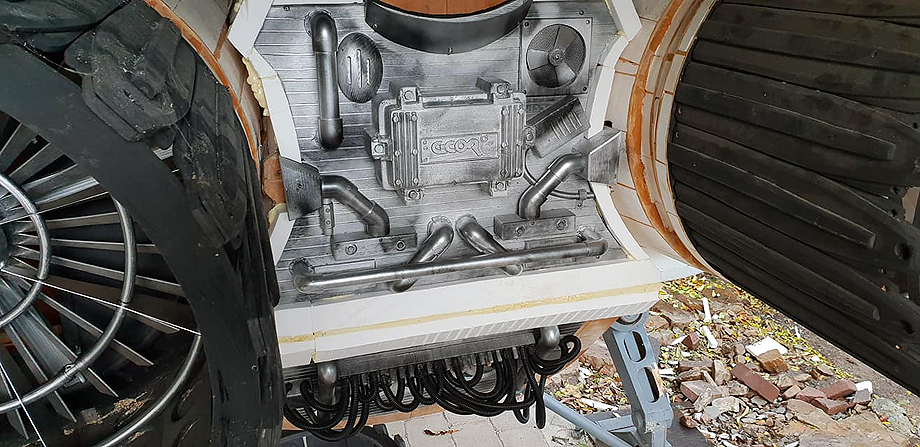
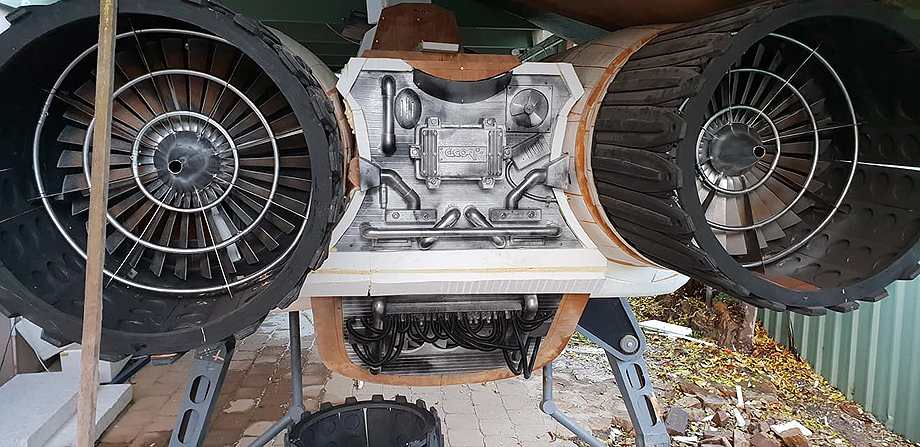
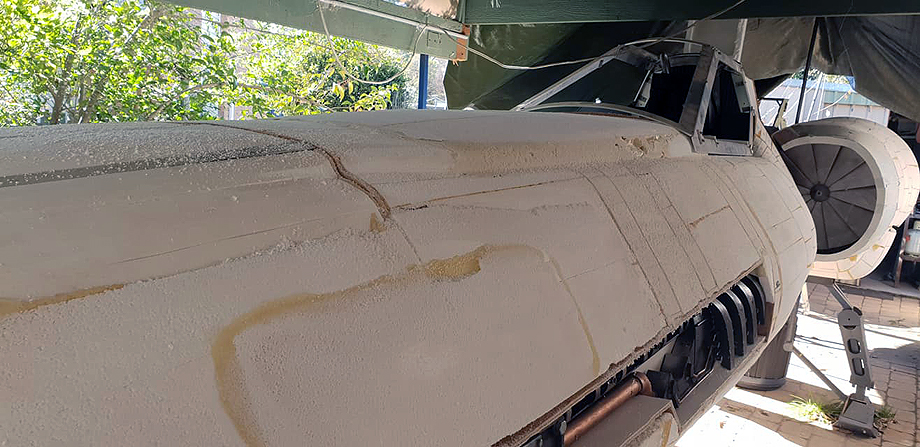
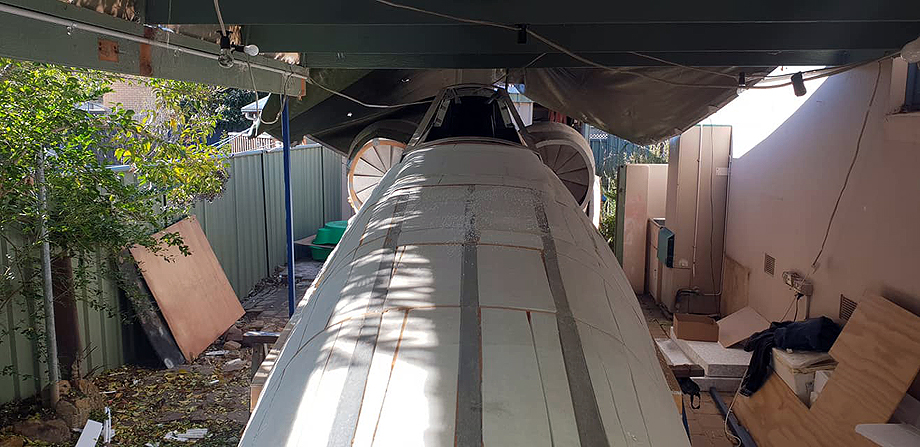
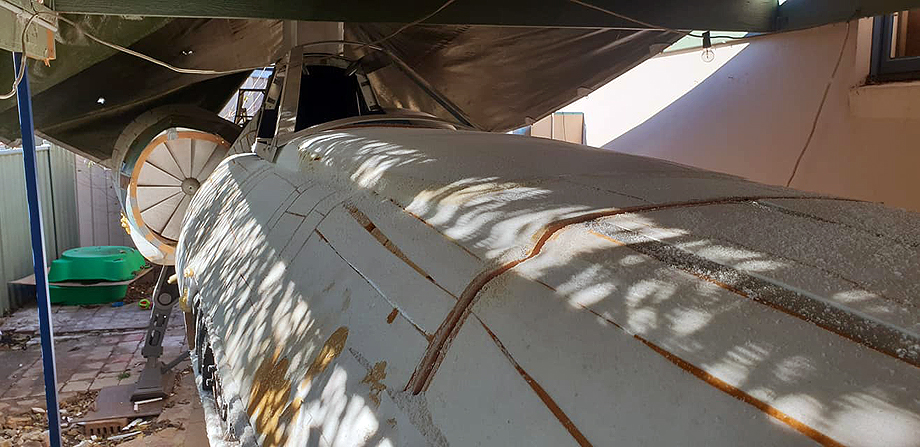
The full scale Viper is in storage and on pause while I renovate part of my house and build a bigger shed/workshop. I've been putting this off for a long time because of some fears.

1. I might lose much motivation because it will be very difficult to work on in the dismantled state.

2. It may get rodent or water damaged in storage.

3. The rest of my intrusive life may get in the way of completing it.

I'm a pretty determined kind of a bloke, so I will fight all the way, but these are the things on my mind to watch out for. I can't afford to buy the hundreds of dollars in resin just yet as I have to find funds for the renovation and the new shed, which is up in the thousands, even though I am building both of them myself as an owner-builder.

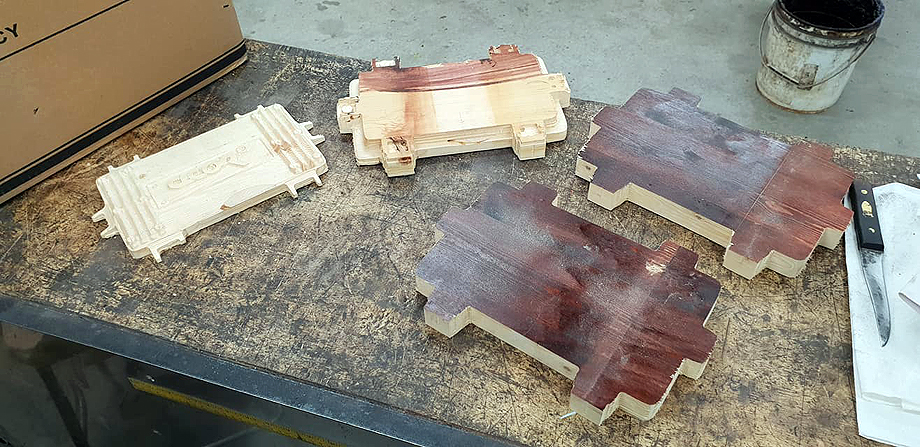
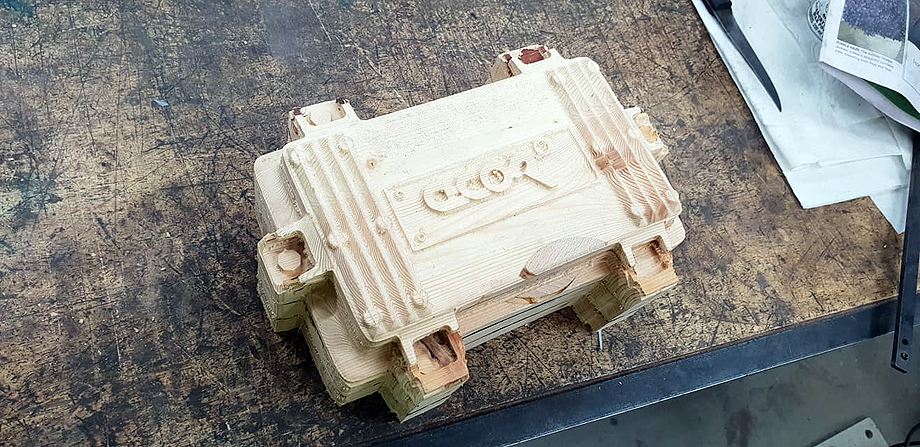
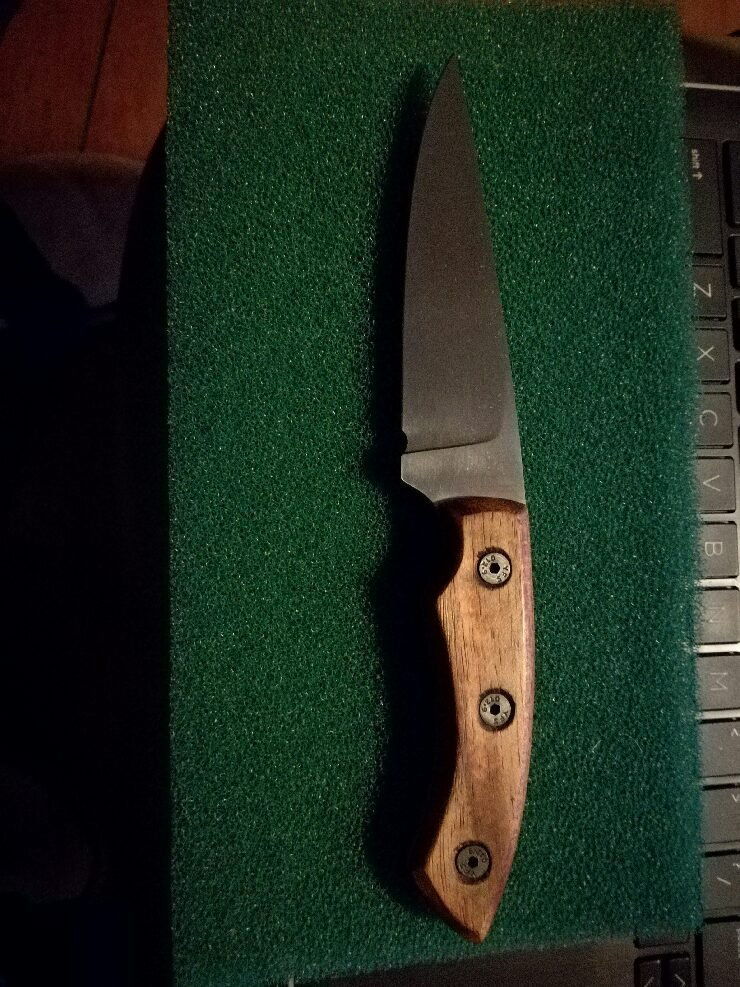
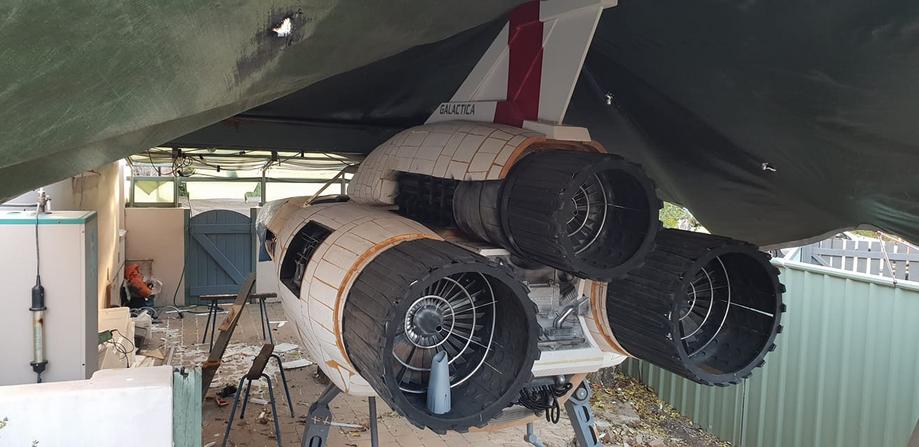
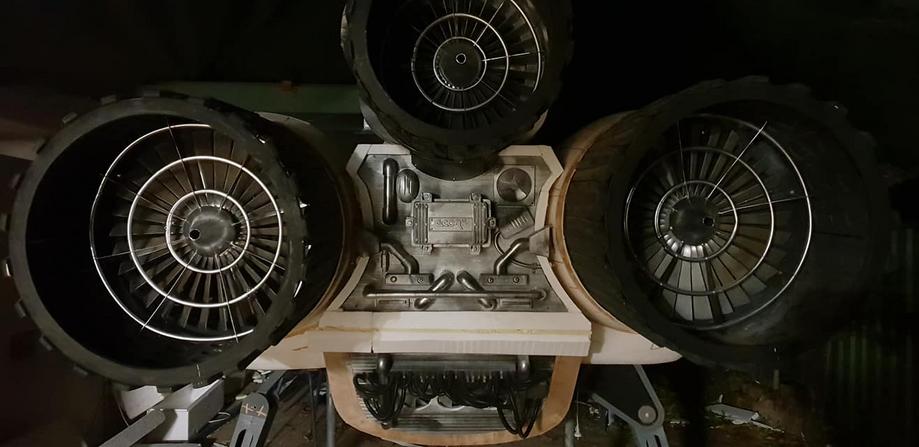
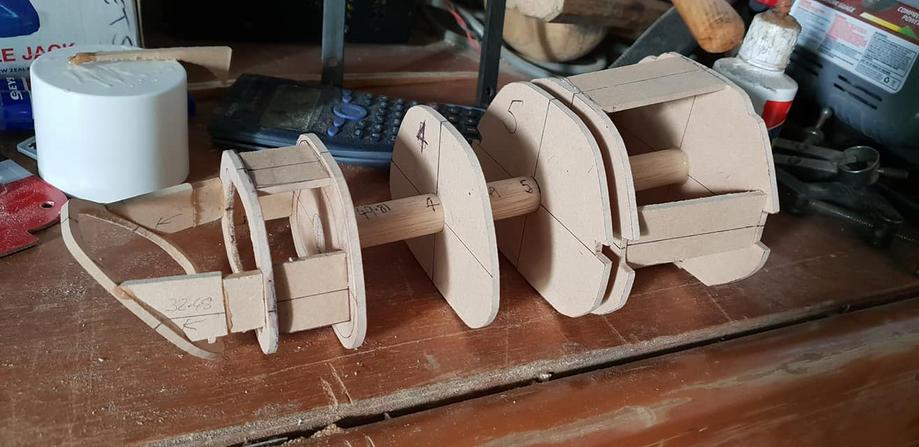
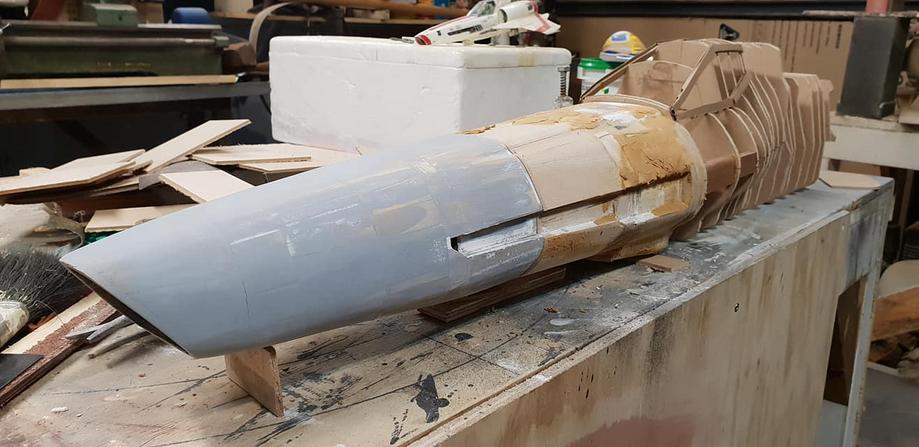
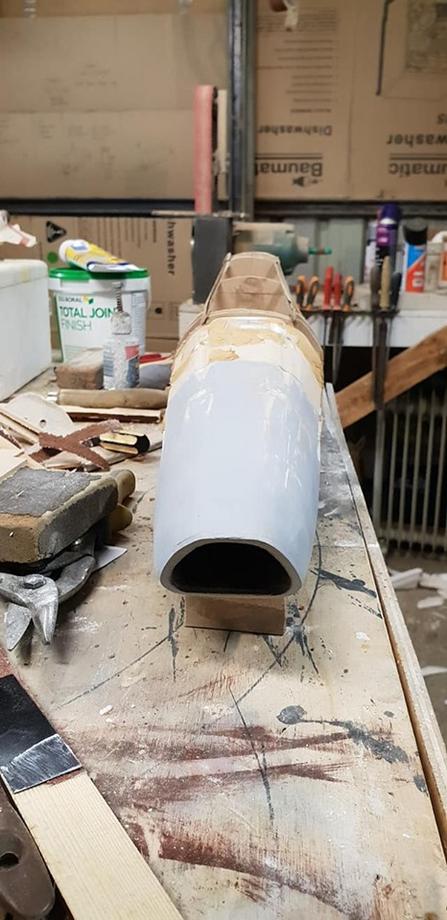
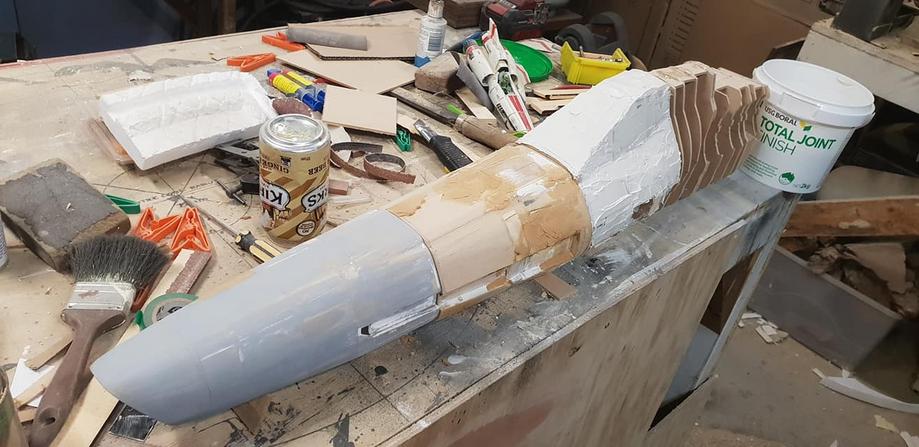
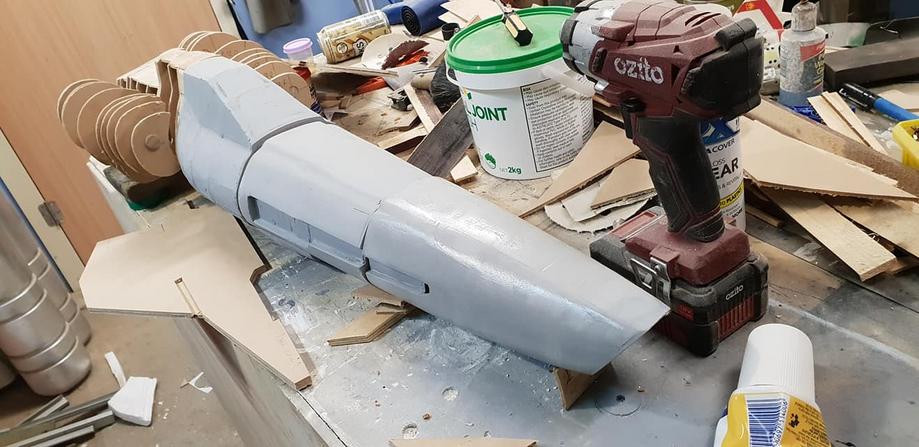
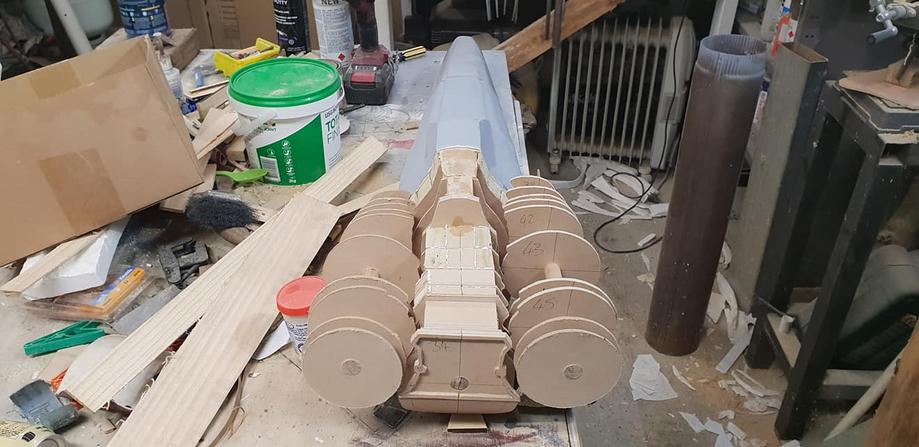
In the meantime, I have a little three-foot model of the Viper to work on in the shed, that doesn't take up any room. This should keep me inspired and help work out a few things, like mounting the wings and guns. A difficult part of the build that makes sense to do small, before moving on to full size.

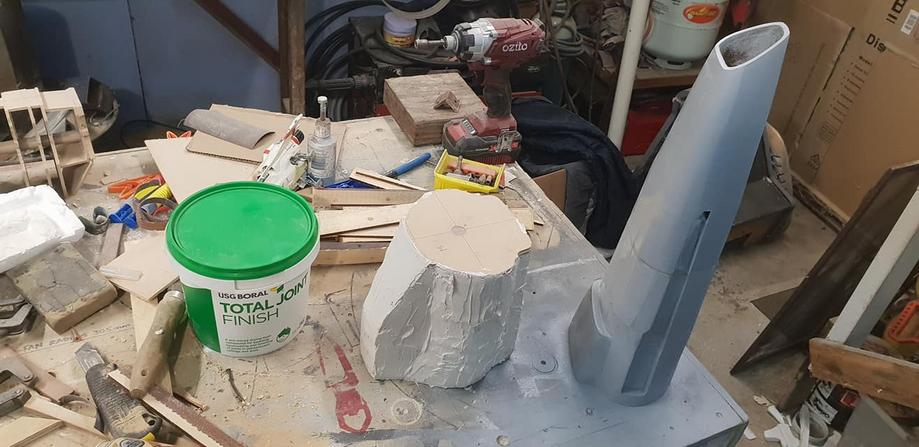
The Viper will be cast in aluminium with brass and copper highlights and detailing. I have a magnificent picture in my head of the finished model of highly polished metals, now to bring it out into the real world. I've made a start on the pattern for the mold.

d83C7OR.jpg


xgraxMk.jpg


jIFBYA0.jpg
 
just been putting new plugs on new lights for the old Pajero.
My 95 model only has factory indicators, reverse, & 'fog tail lights' (on a separate switch) in the body light units, with LED indicators, park, & brake lights in the bumper. The old body light set has a 4 pin plug, whereas the new lights have twin brake lights, twin tail lights, indicator & reverse lights wired into a 6 pin (with 5 wires) plug.
So on with dust/weatherproof genuine 6 pin Deutsch Plugs for car & light sets.
1560587641_pajero_light_plug.jpg
 

Latest posts

Top