Hi Baz, does that knife have a slightly serrated edge or is it just the Damascus patterning on the blade tricking the digital camera?
You are using an out of date browser. It may not display this or other websites correctly.
You should upgrade or use an alternative browser.
You should upgrade or use an alternative browser.
Today I MADE
- Thread starter Nugget
- Start date


Help Support Prospecting Australia:
This site may earn a commission from merchant affiliate
links, including eBay, Amazon, and others.
- Joined
- Jan 9, 2019
- Messages
- 825
- Reaction score
- 4,137
Manpa said:Hi Baz, does that knife have a slightly serrated edge or is it just the Damascus patterning on the blade tricking the digital camera?
Digital artefact mate.
Baz.
The digger and I have spent the last few months renovating a house on weekends when we can get away.
Its been the biggest project we have done so far , in the past we just painted and fixed things that we could handle DIY and that didnt need a tradie to do.
This particular reno has us doing things we have never done before.
We had to learn how to replace the front and back door frames plus the doors and security screen doors plus the locks and hinges.We also replaced 9 internal sliding doors in the house and the bathroom and toilet doors. All destroyed by the last tenants.
They left the kitchen bathroom and laundrey in pretty poor shape and the carpets and kitcjhen floors were a total right off.
Today we got one step closer to finishing the kitchen. Most of the cabinets are repaird or replaced, walls and ceiling painted and new floor tiles and skirting boards done. Just a bit more painting here and there and its done.
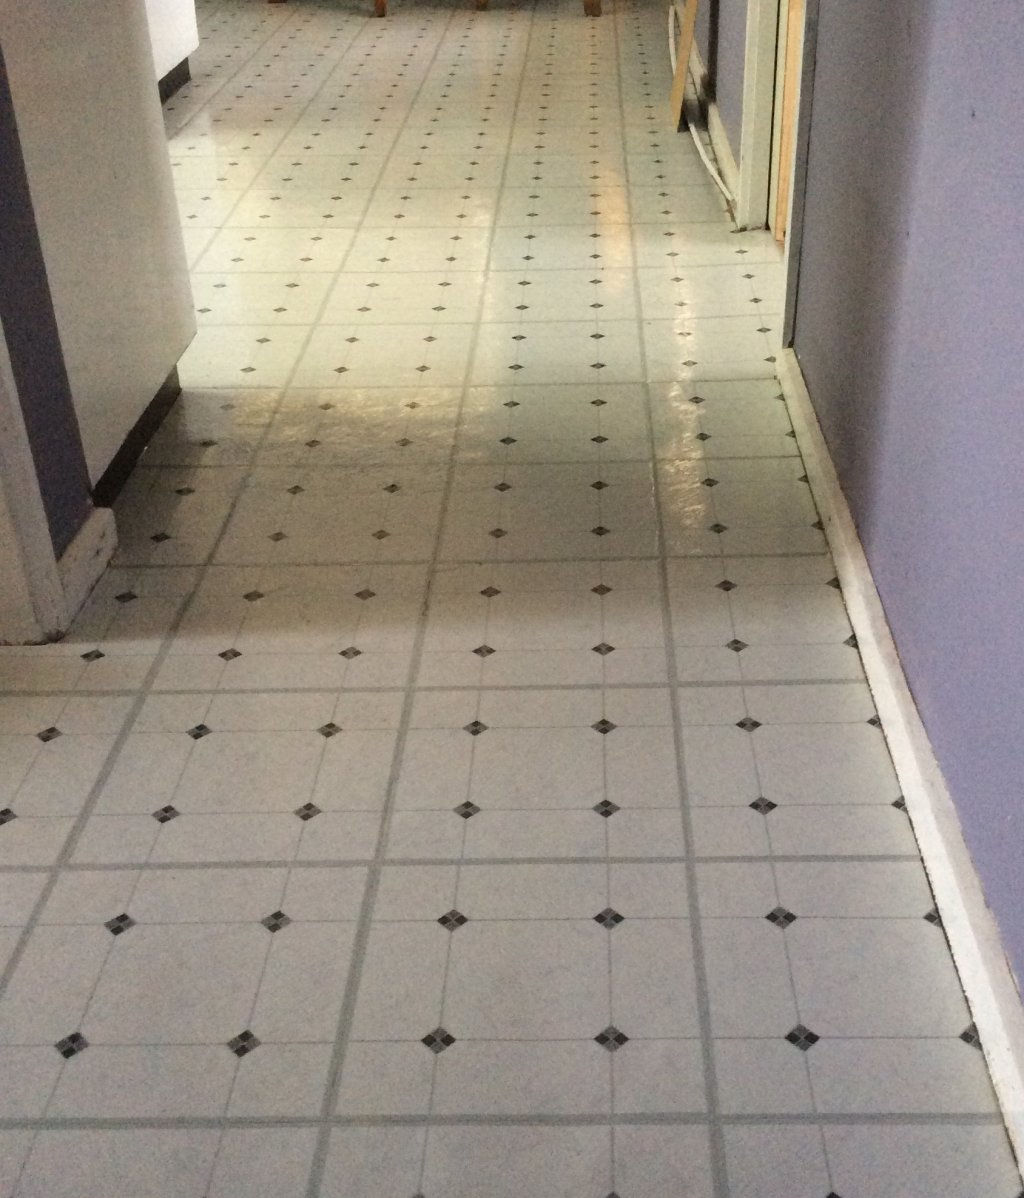
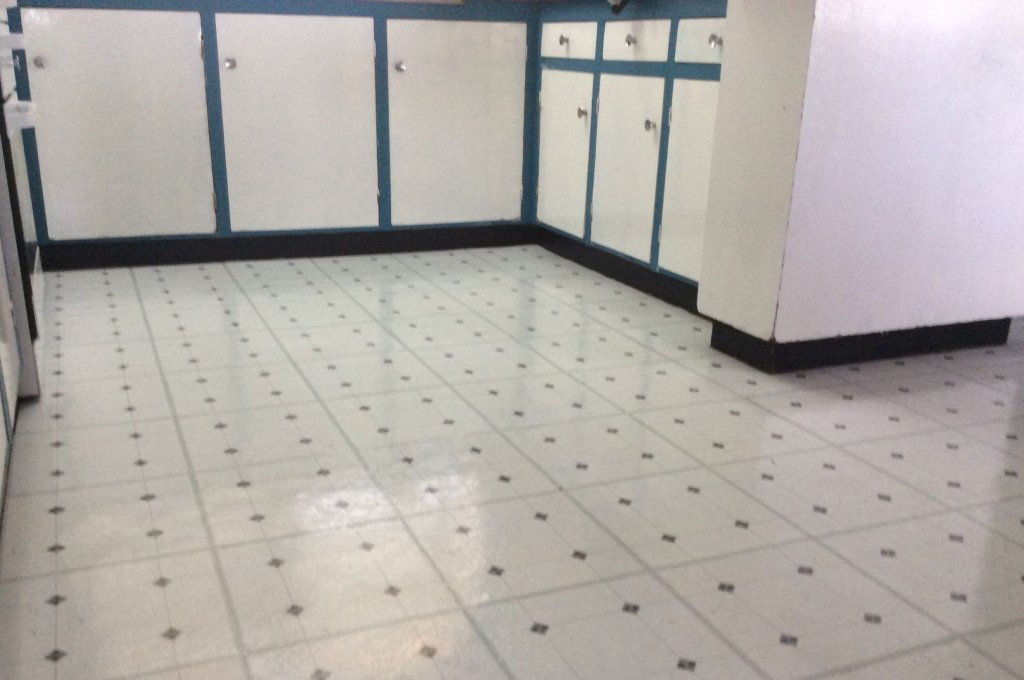
Tomorrow we will start replacing the kitchen wall tiles and splash back and install a range hood over the stove.
I recon we have a few more weekends of work ahead of us before we finish and can give the house to the new property managers.
I will be glad when it is finished but pleased that we have gained a lot more experience in the process.
Its been the biggest project we have done so far , in the past we just painted and fixed things that we could handle DIY and that didnt need a tradie to do.
This particular reno has us doing things we have never done before.
We had to learn how to replace the front and back door frames plus the doors and security screen doors plus the locks and hinges.We also replaced 9 internal sliding doors in the house and the bathroom and toilet doors. All destroyed by the last tenants.
They left the kitchen bathroom and laundrey in pretty poor shape and the carpets and kitcjhen floors were a total right off.
Today we got one step closer to finishing the kitchen. Most of the cabinets are repaird or replaced, walls and ceiling painted and new floor tiles and skirting boards done. Just a bit more painting here and there and its done.
Tomorrow we will start replacing the kitchen wall tiles and splash back and install a range hood over the stove.
I recon we have a few more weekends of work ahead of us before we finish and can give the house to the new property managers.
I will be glad when it is finished but pleased that we have gained a lot more experience in the process.
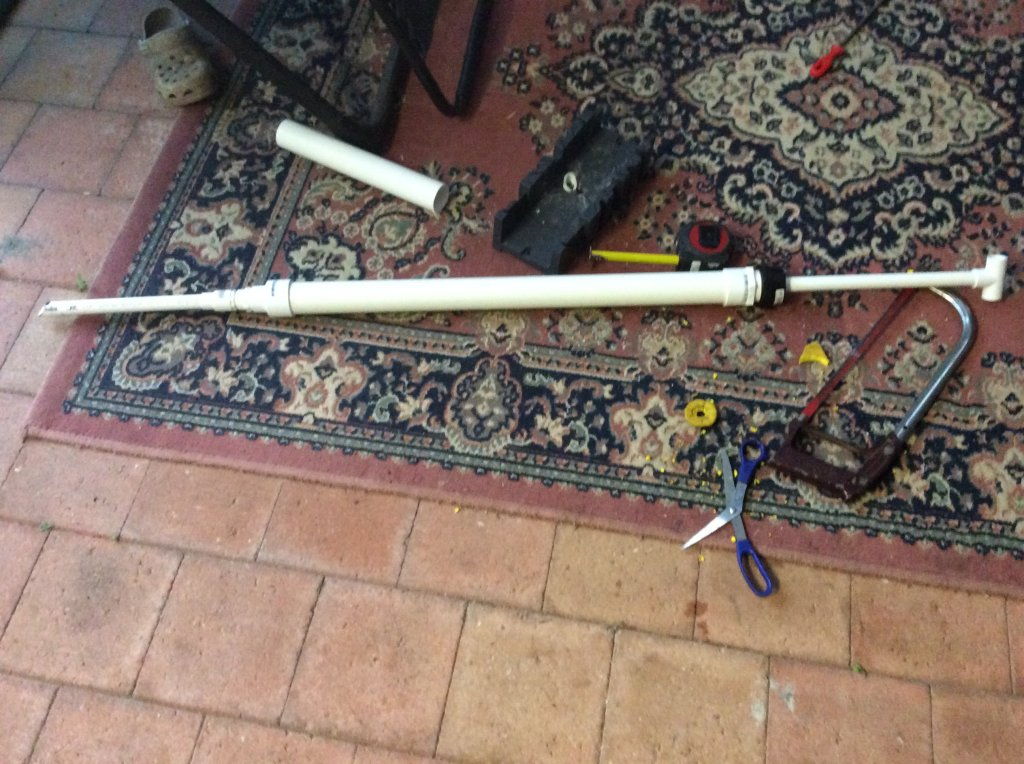
Dropped into our local bunnings this afternoon on our way home from Wellington.
Bought the parts to make a PVC crevice pump.
Took about 20 minutes to measure up cut out and make a rubber plunger from an old thong.
Works ok but the plunger still needs a bit of tweeking to get it working properly before I glue everything together.
Bought the parts to make a PVC crevice pump.
Took about 20 minutes to measure up cut out and make a rubber plunger from an old thong.
Works ok but the plunger still needs a bit of tweeking to get it working properly before I glue everything together.
Moneybox
Philip & Sandra Box
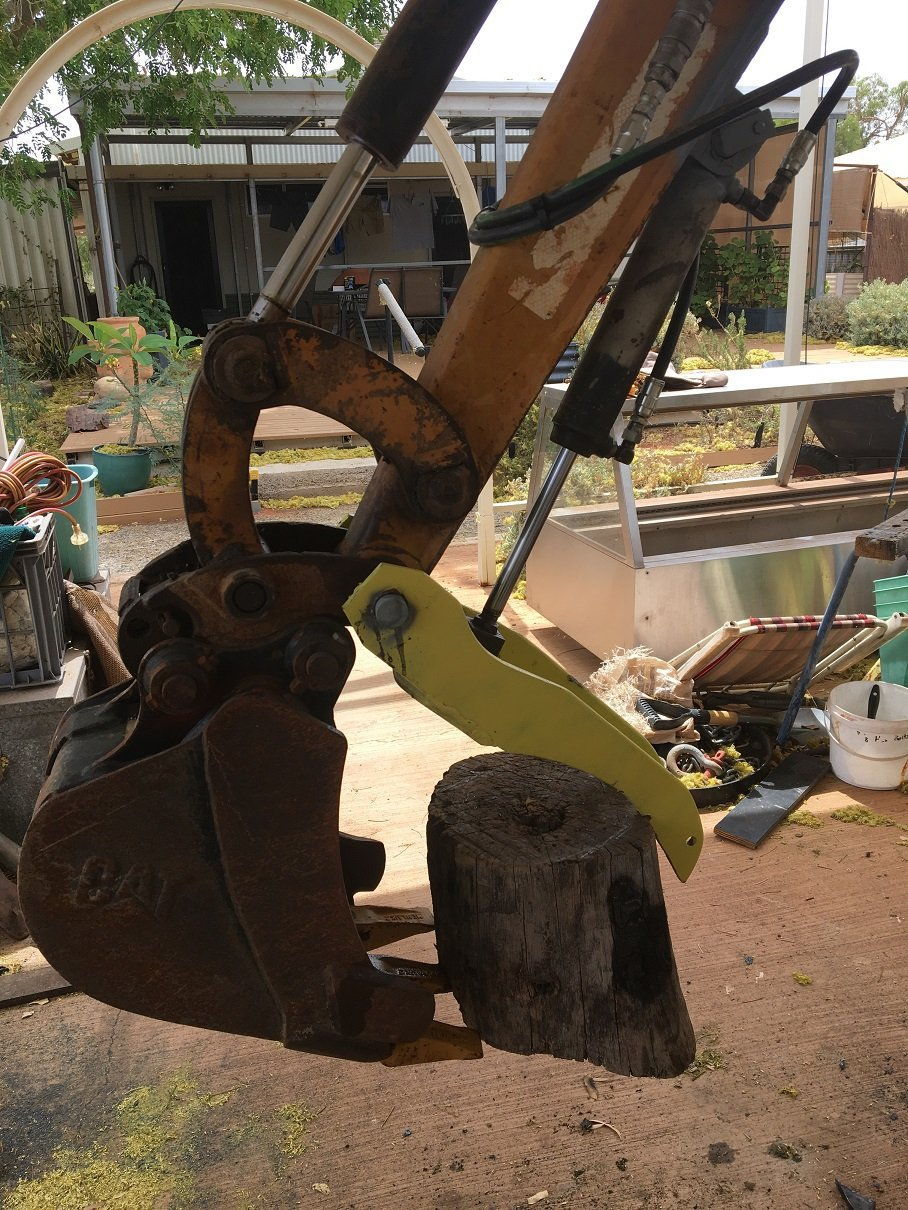
The CAT's claws.
Our recently acquired Caterpillar excavator, named Zimba after our pet Burmese cat that passed away, came with three buckets but I thought it might be more useful if it had a thumb to pick things up with.

Firstly, I needed steel for the job so I headed off to Cue-bunno. I found a heavy duty truck spring that donated some 90x10 mm spring steel. Then I needed a 30 mm pin and found an anti-roll bar attached to a burnt out 4WD.
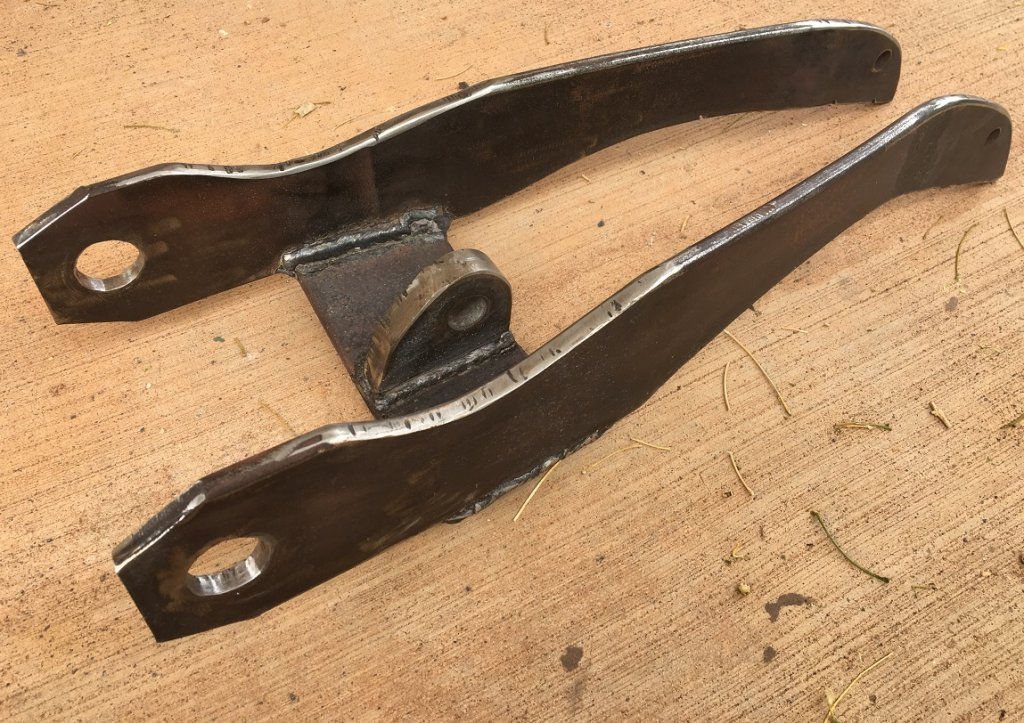
I don't have the gear here to drill 30 mm holes so I had to cut them with the oxy-acetylene then finish them off with a half-round file. After that I needed a heavy chunk of steel for the ram mount as well. For that I told Mrs M that I was heading back to Cue-bunno to find a 20 mm hole. I got the end off a towbar tongue and it even came with a very handy 20 mm hole in it.
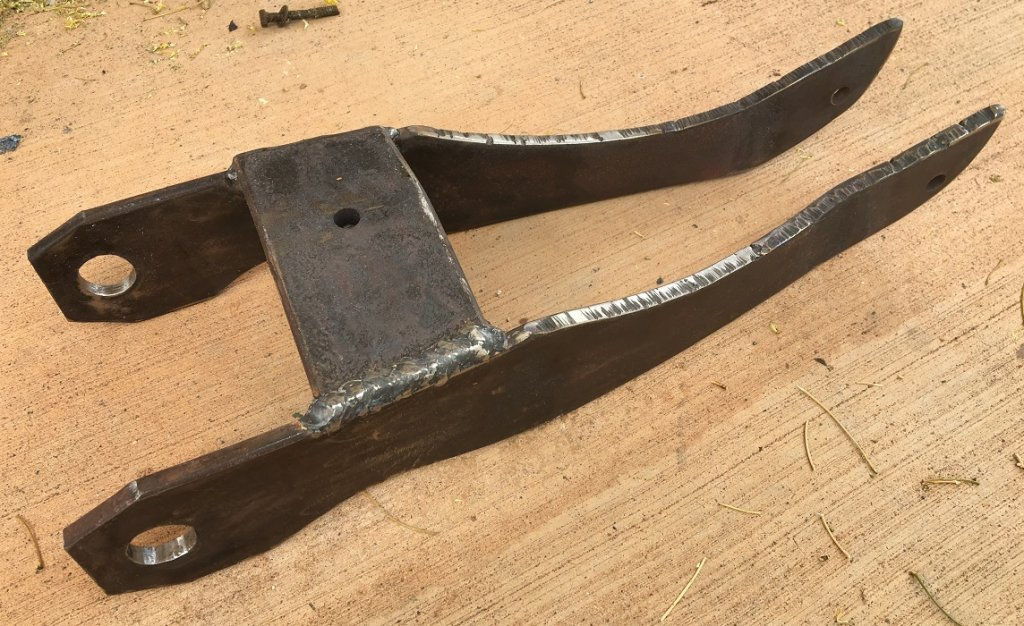
I've never tried to weld spring steel but I preheated it like I would hardened wear plate so I think it'll hang on ok. I used to have heat indicating crayons but this time I just trusted my judgement of the temperature by the change of colour. After the job was done I realized I have a digital thermometer somewhere that would have worked nicely.

I'd like to have given it a squirt of black paint but even though I'm sure to have some I couldn't find any. It might look a bit agricultural but it works as intended")
I'm off to Geraldton in a couple of weeks to do a bit of tree lopping so the claw should come in handy to load up the offcuts.
Our recently acquired Caterpillar excavator, named Zimba after our pet Burmese cat that passed away, came with three buckets but I thought it might be more useful if it had a thumb to pick things up with.
Firstly, I needed steel for the job so I headed off to Cue-bunno. I found a heavy duty truck spring that donated some 90x10 mm spring steel. Then I needed a 30 mm pin and found an anti-roll bar attached to a burnt out 4WD.
I don't have the gear here to drill 30 mm holes so I had to cut them with the oxy-acetylene then finish them off with a half-round file. After that I needed a heavy chunk of steel for the ram mount as well. For that I told Mrs M that I was heading back to Cue-bunno to find a 20 mm hole. I got the end off a towbar tongue and it even came with a very handy 20 mm hole in it.
I've never tried to weld spring steel but I preheated it like I would hardened wear plate so I think it'll hang on ok. I used to have heat indicating crayons but this time I just trusted my judgement of the temperature by the change of colour. After the job was done I realized I have a digital thermometer somewhere that would have worked nicely.
I'd like to have given it a squirt of black paint but even though I'm sure to have some I couldn't find any. It might look a bit agricultural but it works as intended
I'm off to Geraldton in a couple of weeks to do a bit of tree lopping so the claw should come in handy to load up the offcuts.
- Joined
- Mar 10, 2016
- Messages
- 7,947
- Reaction score
- 16,016
Nice bit of work there Phil :Y: :beer: looks like it'll handle the timber no worries.
thats awesome
- Joined
- Jan 9, 2019
- Messages
- 825
- Reaction score
- 4,137
G0lddigg@ said:thats awesome
I agree!
I wish I had a 'Cue -Bunno'...
LW...
LW...
- Joined
- Jan 9, 2019
- Messages
- 825
- Reaction score
- 4,137
Flight suit for the full size Viper build.
I managed to acquire all the materials and accessories used in the costume department of Battlestar Galactica, thanks to lots of detective work online and lots of helpful people who worked on the set.
Then by fortune, I met a tailor who was not only willing to help me put the suit together, (I'm a bro who can't sew), but he has worked on several blockbuster movies and sci fi shows in the costuming department. This guy knows his stuff!
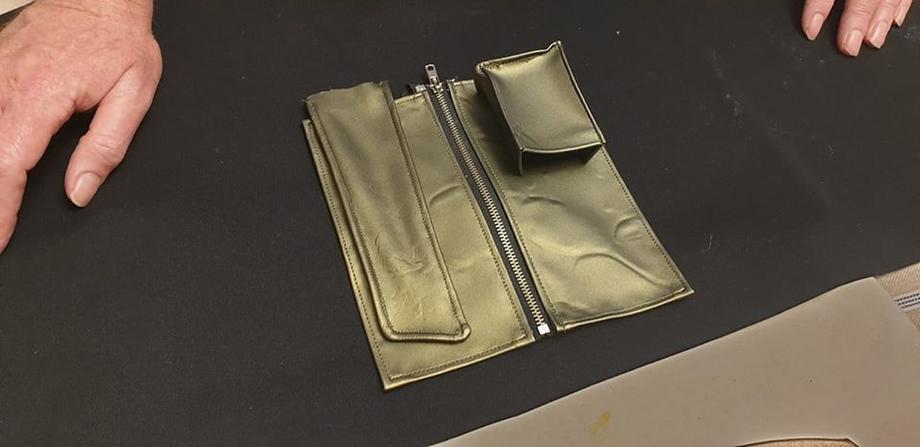
Visits with my tailor have been few and far between, but at last we have started putting the flight suit together! He's the expert in fabrics, sewing etc etc, I am the gruntwork and consultant. While I was cutting, gluing and covering the back scales, he started on zips and pockets. Trying very hard to be screen accurate, but there are so many versions of the suit from the hero suit, to what you see on a lot of the background pilots, fan-made work, etc etc. Some suits varied from season to season too, by the looks of it. We have drained the internet of all reference material, discerning what is genuine and what is not.
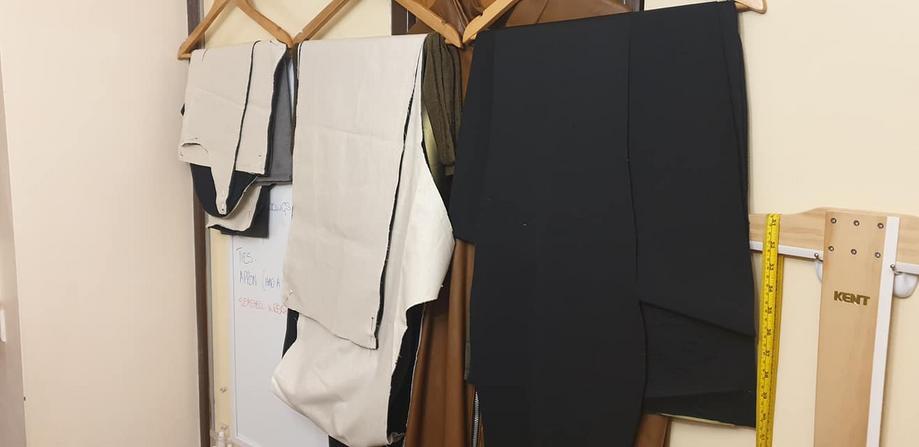
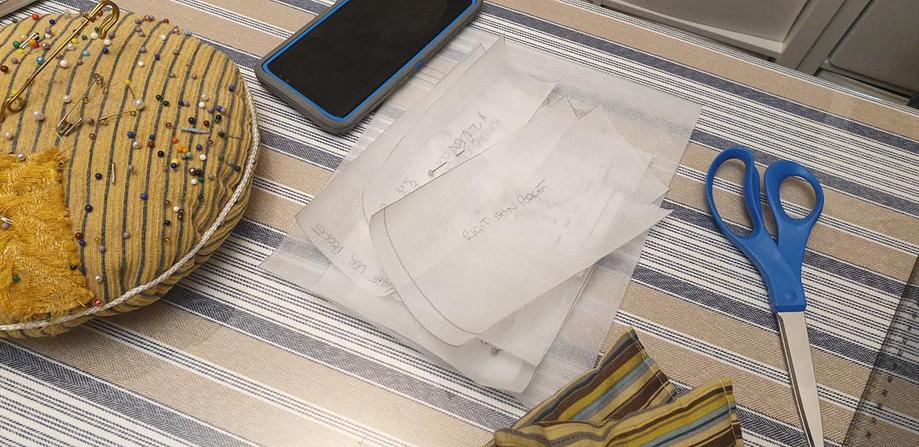
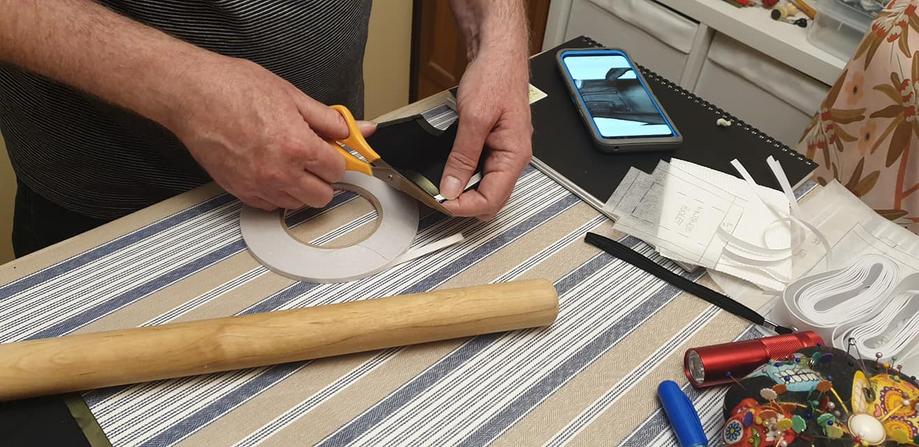
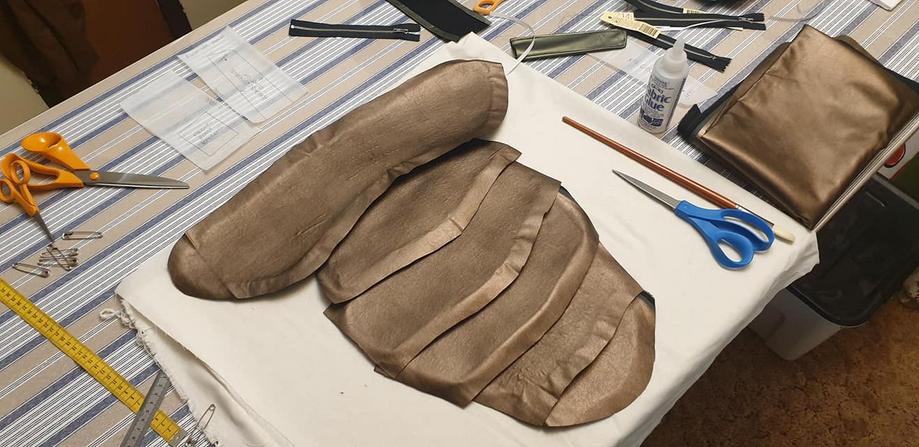
Scales covered, ready for top-stitching. (That's what he said anyway. )
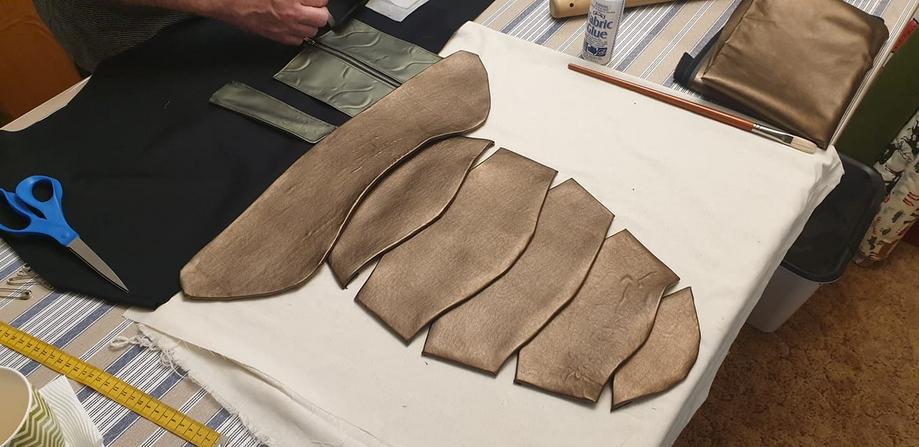
Here's what we are going for at the end of the day. It's a bloody difficult build with a lot of layers and complex stitching.


I managed to acquire all the materials and accessories used in the costume department of Battlestar Galactica, thanks to lots of detective work online and lots of helpful people who worked on the set.
Then by fortune, I met a tailor who was not only willing to help me put the suit together, (I'm a bro who can't sew), but he has worked on several blockbuster movies and sci fi shows in the costuming department. This guy knows his stuff!
Visits with my tailor have been few and far between, but at last we have started putting the flight suit together! He's the expert in fabrics, sewing etc etc, I am the gruntwork and consultant. While I was cutting, gluing and covering the back scales, he started on zips and pockets. Trying very hard to be screen accurate, but there are so many versions of the suit from the hero suit, to what you see on a lot of the background pilots, fan-made work, etc etc. Some suits varied from season to season too, by the looks of it. We have drained the internet of all reference material, discerning what is genuine and what is not.
Scales covered, ready for top-stitching. (That's what he said anyway.
)
Here's what we are going for at the end of the day. It's a bloody difficult build with a lot of layers and complex stitching.
Youre a man of many talents Baz.
Moneybox
Philip & Sandra Box
LoneWolf said:I wish I had a 'Cue -Bunno'...
LW...
LW, if you know what you're looking for and can visualize what it could become the options are endless. I see too many things there when I'm window shopping but I simply don't have the space to take it all home
Just like me, too many goodies to bring home... A true form of Re-cycling.... :Y:
like the good old days at the local Dumps before O.H & S started... You could take what you wanted... but Not any more tho... :N:
LW...
like the good old days at the local Dumps before O.H & S started... You could take what you wanted... but Not any more tho...
:N: LW...
- Joined
- Jan 9, 2019
- Messages
- 825
- Reaction score
- 4,137
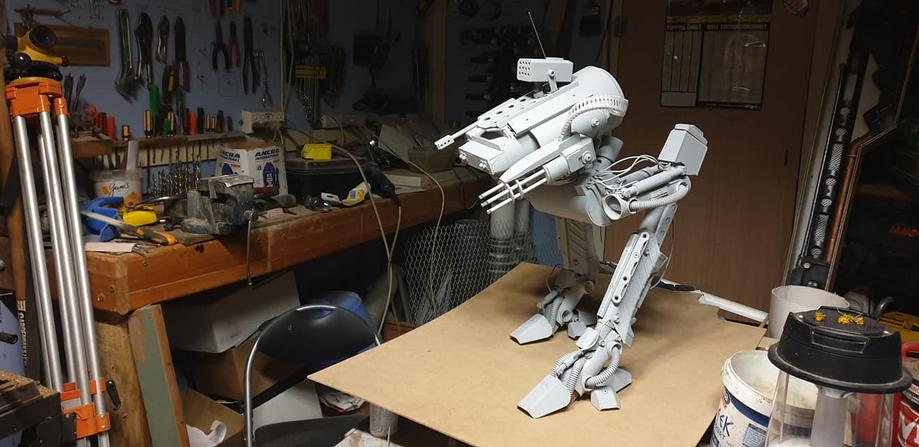
I've been working on this one a few weeks. My own design, scratch built from junk on my shed floor and bin.
Today I filled in the front and base coat applied. That makes it all one machine. I have a few armoured plates and shields to screw on over some of the round parts to break them up. The last few airbrush accessories will arrive tomorrow, then I can start the paint detailing proper.

Today I filled in the front and base coat applied. That makes it all one machine. I have a few armoured plates and shields to screw on over some of the round parts to break them up. The last few airbrush accessories will arrive tomorrow, then I can start the paint detailing proper.
Pro-oz
Peter
Well done, in my time I have fitted a lot of thumbs to excavators that have been professionally made, well done for what you had to work with.
Sandbagger said:I've been working on this one a few weeks. My own design, scratch built from junk on my shed floor and bin.
Today I filled in the front and base coat applied. That makes it all one machine. I have a few armoured plates and shields to screw on over some of the round parts to break them up. The last few airbrush accessories will arrive tomorrow, then I can start the paint detailing proper.
https://i.imgur.com/5UvLkYQ.jpg?1
https://i.imgur.com/R4sZn2u.jpg?1
https://i.imgur.com/tinOHw8.jpg?1
https://i.imgur.com/9Bwb35Q.jpg?1
https://i.imgur.com/yB7mvVc.jpg?1
love this
Does it move? If i was a cockroach i'd be scared!!
- Joined
- Jan 9, 2019
- Messages
- 825
- Reaction score
- 4,137
Jaros said:Does it move? If i was a cockroach i'd be scared!!
Static display only mate. Got to build a base plate diorama for it to stand on now.
Baz.
Moneybox
Philip & Sandra Box
Prooz said:Well done, in my time I have fitted a lot of thumbs to excavators that have been professionally made, well done for what you had to work with.
They all have saw-tooth grips on the leading edge but I think it might be more for looks than a necessity. I just avoided the extra work because I've almost run out of cut-off wheels for the 5" grinder. I can soon cut them in later if it doesn't grip well enough but with my rugged oxy cuts I don't think that'll be a problem
- Joined
- Nov 9, 2019
- Messages
- 14
- Reaction score
- 10
Wow theres some very clever people on here....wish I was one of them. Amazing work everyone.
Similar threads
- Replies
- 0
- Views
- 206