Building a Banker

Prospecting Australia

Help Support Prospecting Australia:

This site may earn a commission from merchant affiliate links, including eBay, Amazon, and others.
Tathradj said:
Bazza, How do you like the punch plate for a Grizzly. ??
.
Jin, Very good discussion mate. It is good to throw a few idea's around Cobber. :D

bazza2210 said:
Jembaicumbene said:
Hi Jin how you doing? Excessive Vibration in a banker it has been found that the vibration concentrates the heavies to such a degree that the fine gold cannot settle through them. Hence been blown out of the unit in question. This I have seen and been told on a number of occasions by other prospectors who have tried the idea. Cheers mate.

I agree, I thought I was doing the right thing once by giving my banker a really hard shake every now and then only to discover that gold was not settling in the top expanded but making it further down into the breadcrate, so I do not do that anymore and all my gold is caught in the top section only.

https://www.prospectingaustralia.com/forum/img/member-images/1112/1453094852_dsc_2144.jpg

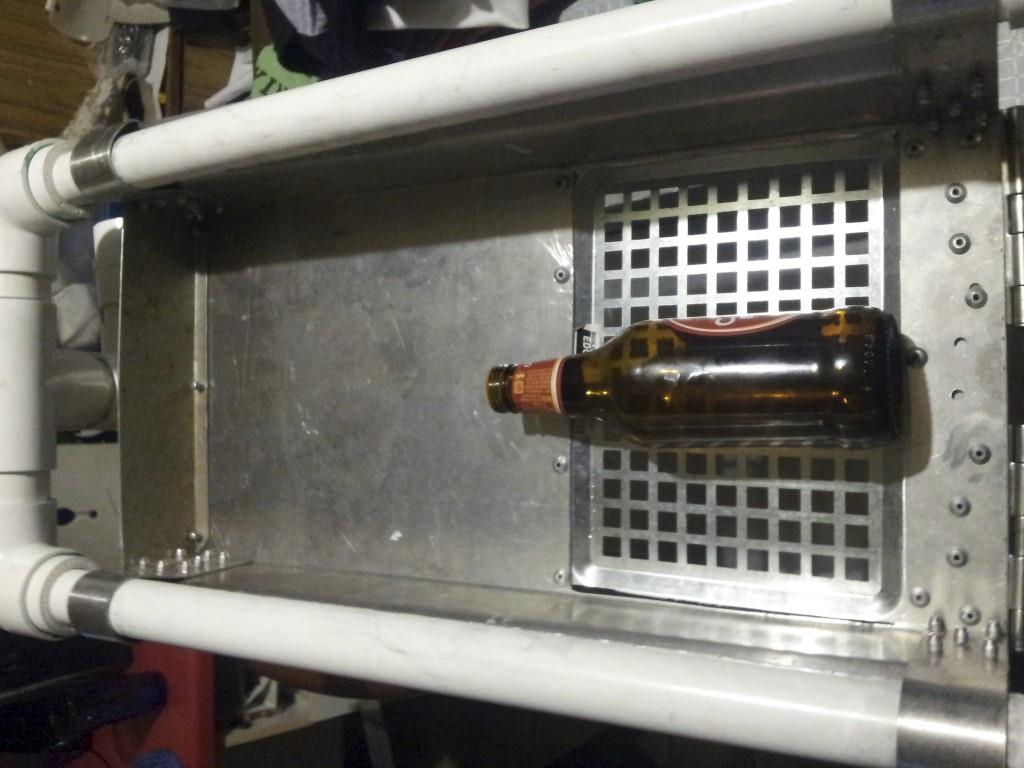
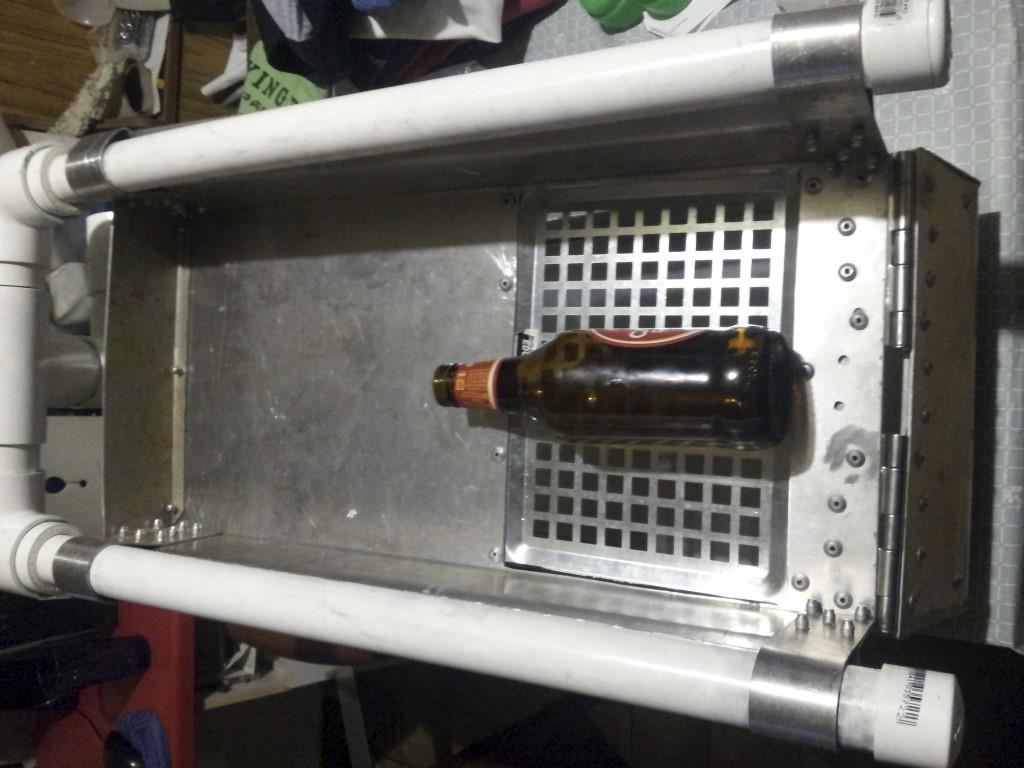
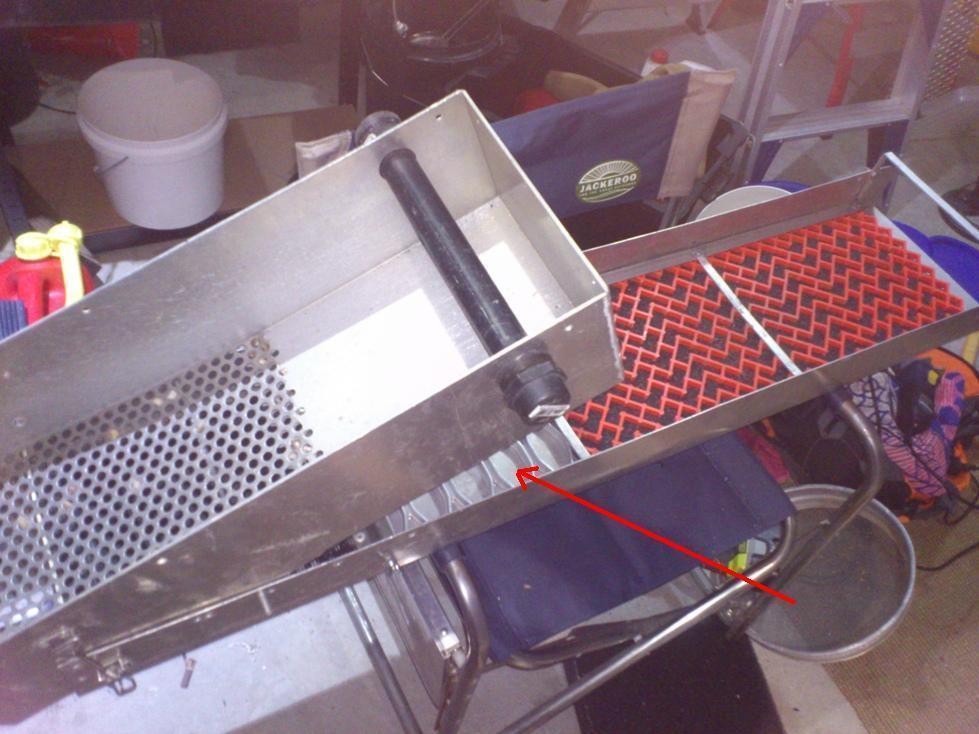
Mixed feelings....small round stones tend to get stuck in the punch plate, however the stainless punch plate is tougher.

I have swapped it out recently for cable tray cover which I think is a little better except that longer flatter stones can get through but it hasnt been an issue for me yet.

Cheers

Barry
 
Thanks Bazza and you have echoed my thoughts exactly. One thing that DrDuck said about his was it lets the 3 mm stone through.
And they can be up to 25 mm long.
I have a funny feeling that I am going to be finishing the banker off at the meetup. :eek:
I am a bit worried about a leg setup for it as I do not want anything protruding under neath it. I have a plan for some square
ally that folds up and clips underneath it forming a flat surface but I do not want to have to over kill it.
Horses for courses of course eh. ? :lol:
 
Mate punch plate or grizzly bars good question. Grizzlys work very well until you encounter certain types of clay then a problem arises with clay balls entering the sluice section through the gaps in the bars. Punch plate well that would depend on how far up the top hopper your going to run it. For punch plat to work properly you need to run it at least of the hopper length at least. With a skid plat placed under it ending at least 3 inches from the hinged end of the hopper. The skid plate gives the unit an advantage of placing all the water from your jetting system at the very back of the bottom sluice. And slows the separation process down so that the wash can start separating before it enters the main sluice. At times you can see this the light sand goes first, then the black followed by the blond an gold. The punch plate in my opinion and it is only my opinion is the better of the two.
 
Here is another tip if you use cable tray make sure the holes in the tray run with the length of the top hopper and NOT cross ways. You get far less clogging this way. cheers
 
Here is what the mod will do that I am going to show you From the hopper the wash then enters another slick area which meets the hydraulic jump which rolls back the cavitation {air bubbles} just in front of my riffle section. And this little trick lets you cut down on the size and width of your equipment

[video=480,360]https://youtu.be/VygjQ3fvgaw[/video]
 
So far so good. :)
Sorry, No piccy's yet but I will get some tomorrow.
Have the top hopper and spray bars finished, Attached to
the sluice section and now I am now working on the leg setup.
So far, 70 odd High tensile sealed rivets have gone into it.
I have made a few very small errors in the build but can correct them later. :)
 
Nah,
Angle grinder took off and had a feeding frenzy. :8
More like I changed wheels from cutting Ally to steel then forgot to feel my way through a cut. LOL
Only had one item on hand but it can be replaced if it upsets me any more. ;)
I utilized a brick vent for the classifier screen in the top hopper.
I only had 5 mil to work with.
Took a bad cut on one edge. :p
Oh well.
It will be " temporary " for the next 12 months. 8) :cool: :8
 
Tathradj said:
Nah,
Angle grinder took off and had a feeding frenzy. :8
More like I changed wheels from cutting Ally to steel then forgot to feel my way through a cut. LOL
Only had one item on hand but it can be replaced if it upsets me any more. ;)
I utilized a brick vent for the classifier screen in the top hopper.
I only had 5 mil to work with.
Took a bad cut on one edge. :p
Oh well.
It will be " temporary " for the next 12 months. 8) :cool: :8

Don't you just hate that when that happens it's a pain in the armpit for sure. Jembaicumbene
 
Might take you up on that Gold Dig and Thank You. :)
In this case it was definitely "Ouch " plate. :8
Reason I went with the good old rivet is field repairs and replace/modifications are a bit easier.
Plus using sealed rivets, You don't get those sharp edges and they are very strong.
Very Surprised with the weight of it. Around 5 Kilo's at this stage. :)
.
Jemba, A line of Gorilla snot will fix it for the time being. LOL
 
1454802553_thumb.jpg
 
Tathradj said:
Might take you up on that Gold Dig and Thank You. :)
In this case it was definitely "Ouch " plate. :8
Reason I went with the good old rivet is field repairs and replace/modifications are a bit easier.
Plus using sealed rivets, You don't get those sharp edges and they are very strong.
Very Surprised with the weight of it. Around 5 Kilo's at this stage. :)
.
Jemba, A line of Gorilla snot will fix it for the time being. LOL

let me know what you want cut mate and i'll sort it out, i've got almost a full sheet still here which is mainly used for secondary classification after the grizzlies. 7mm holes

1454825451_20160207_171036.jpg
 
Here are some Photo's so far.
Still needs a bit more work but getting there. :) :)
I took them with an empty stubby to give a perspective of size. :) :)
Last couple of pictures are with the fold up legs sitting under it. They have not been attached yet..
Comments please. ?
1454837258_20160207_201619_medium.jpg

1454837258_20160207_201634_medium.jpg

1454837258_20160207_201642_medium.jpg

1454837258_20160207_201703_medium.jpg

1454837258_20160207_201754_medium.jpg
 
Thank You. :)
Apart from that gaping part beside the grate.
I have not gone over it yet with a flapper disk to clean it up yet.
Removing and rounding will tidy it up a bit. :)
The riffle systems are to come.
3 of them as an insert. LOL
More later. :)
 
Mate make sure you put in extra rivets they get a flogging in the areas marked. I have seen the heads disappear in a very short time. Also down the sides make sure they will not belly out on you. Jembaicumbene

1454842281_1454837258_20160207_201642_medium.jpg
 
Under neath the stubby bottle end is a piece of 5 mil strip. Very solid in that area. The strip is part of the hing retaining system.
The hinges are stainless and are sandwiched.
The top of the vent has the same thing. Just needs a few more rivets.
The deflector plate which is 2.5 mil thick, Runs along the edges across where I gouged the brick vent. I am going to put some
angle along that area.
Don't worry, I am going to strengthen this area up. :D :D :D
I like to strengthen weak spots. LOL
 

Latest posts

Top