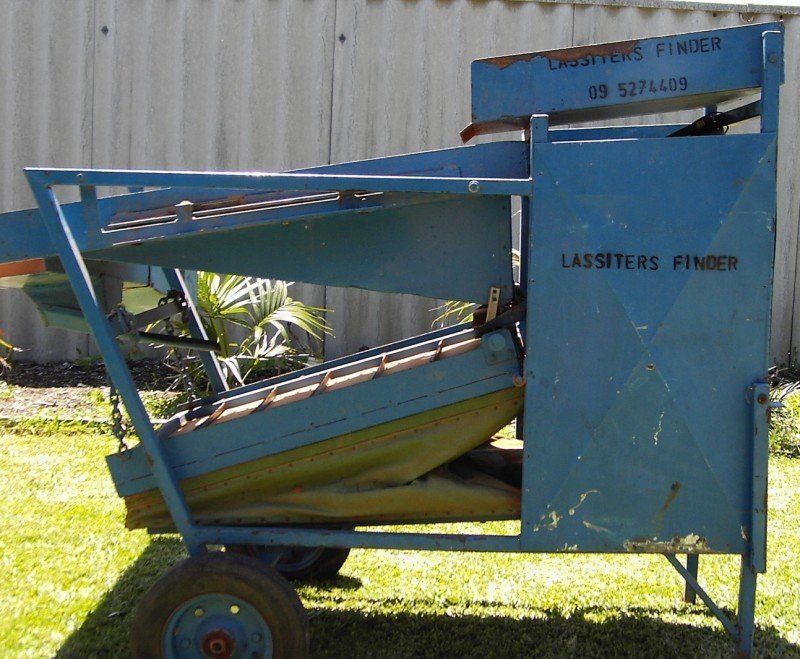
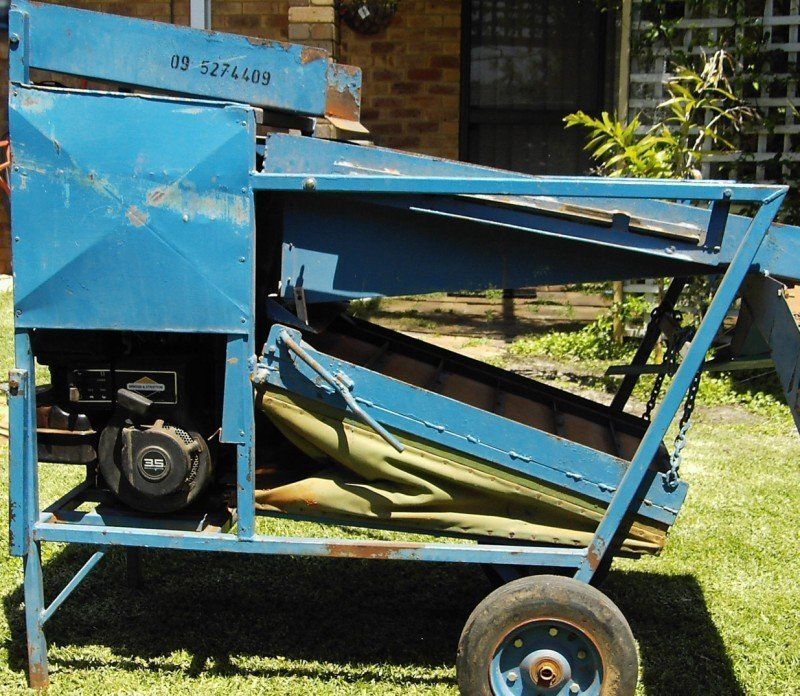
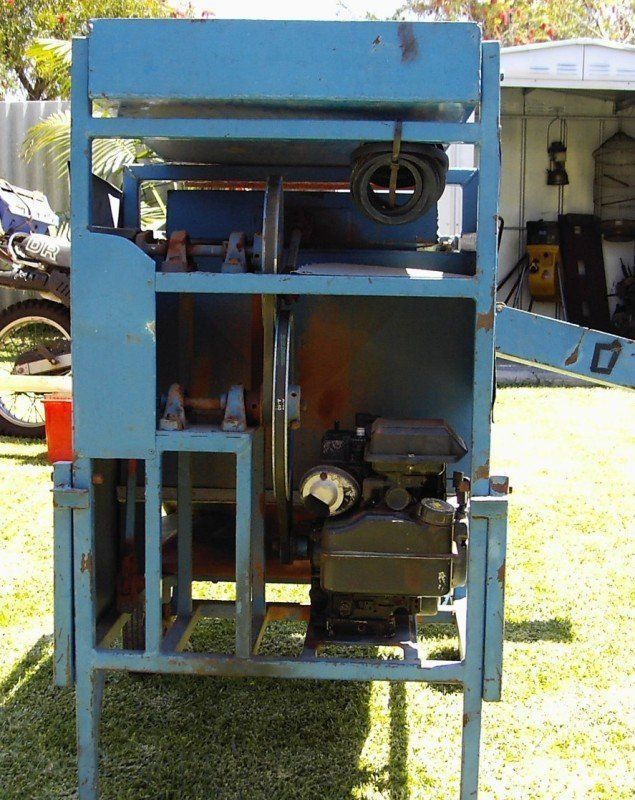
Home built.


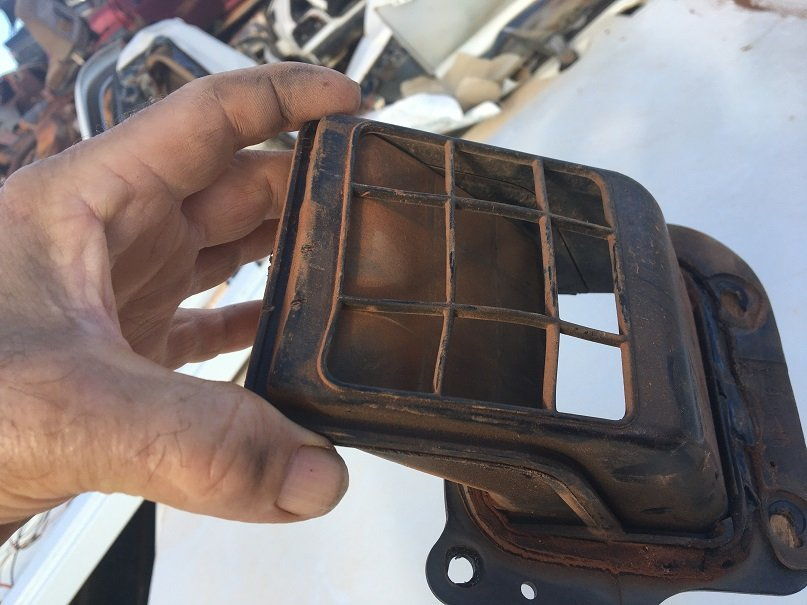
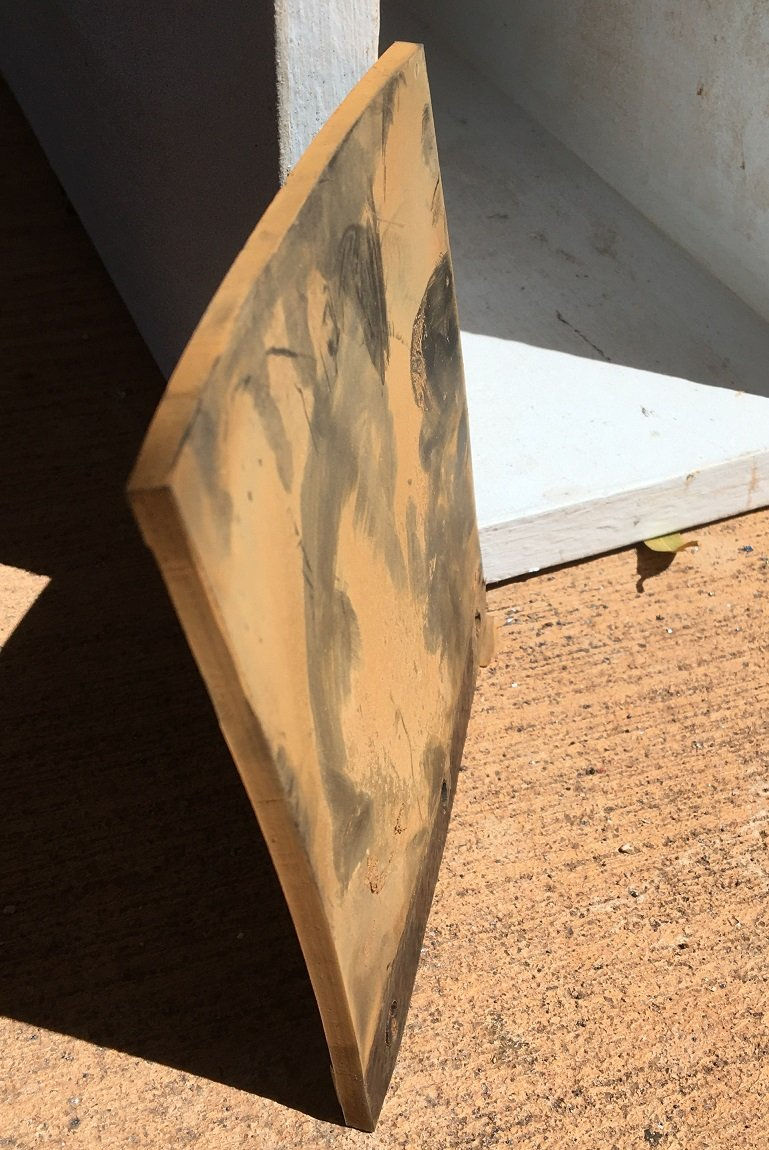
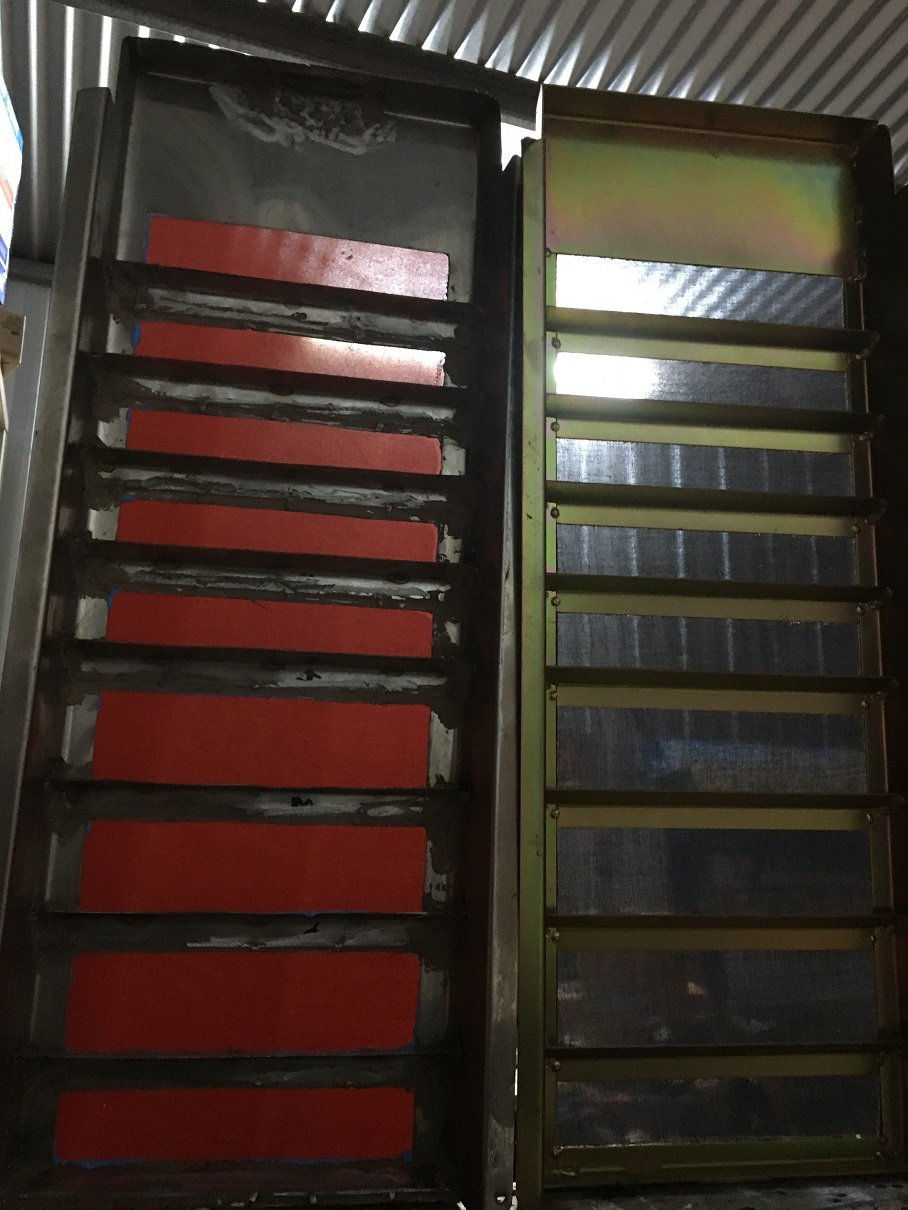
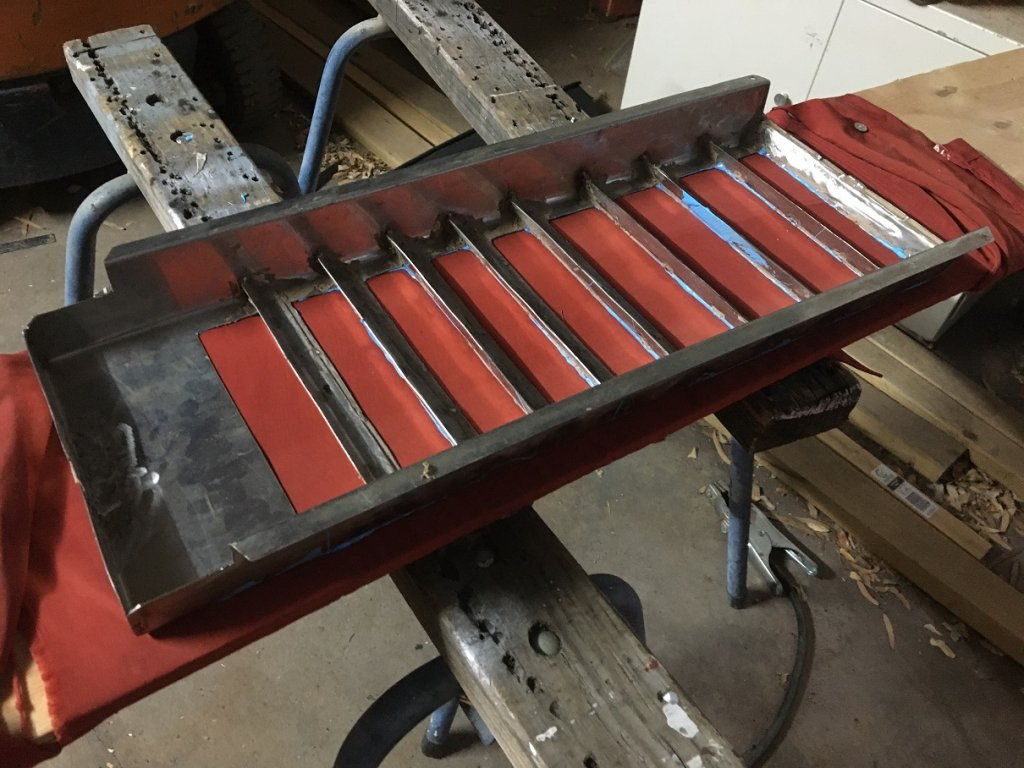
Nightjar said:Moneybox said:I'm a bit confused with the photos. I take it the wood is the down/air-feed side. The blue frame is the rifles?
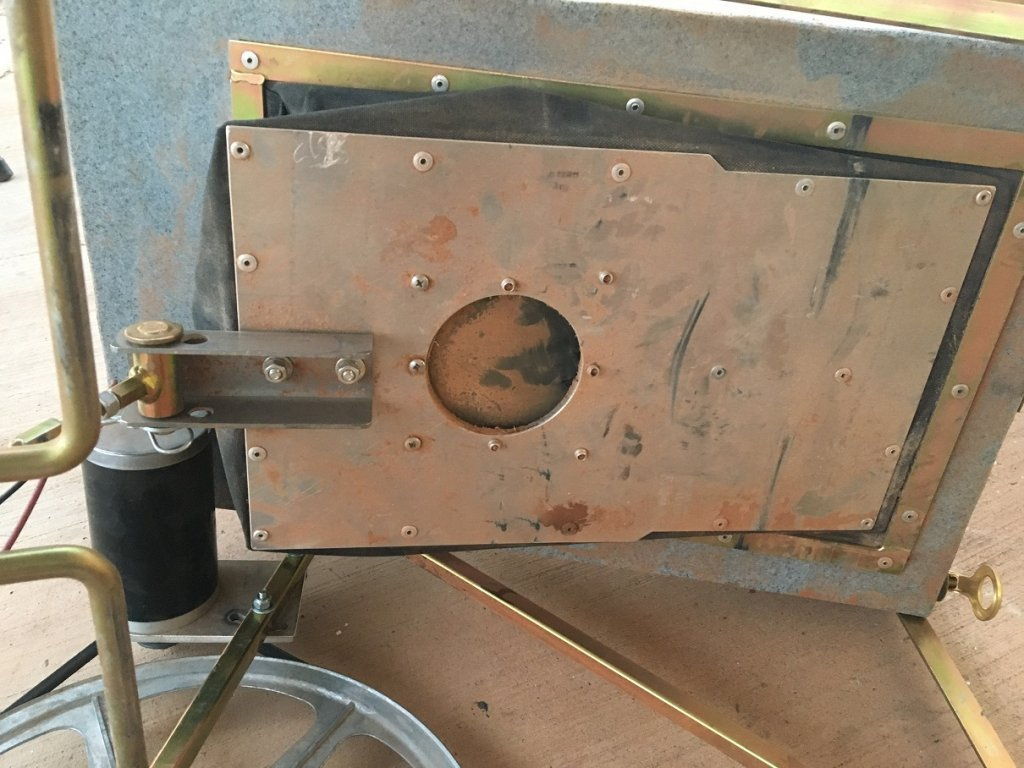
Yes, the wood is the underside and blue is the upper. BTW that is from an engine driven dry blower I built years ago, probably quite a bit larger than your machine.
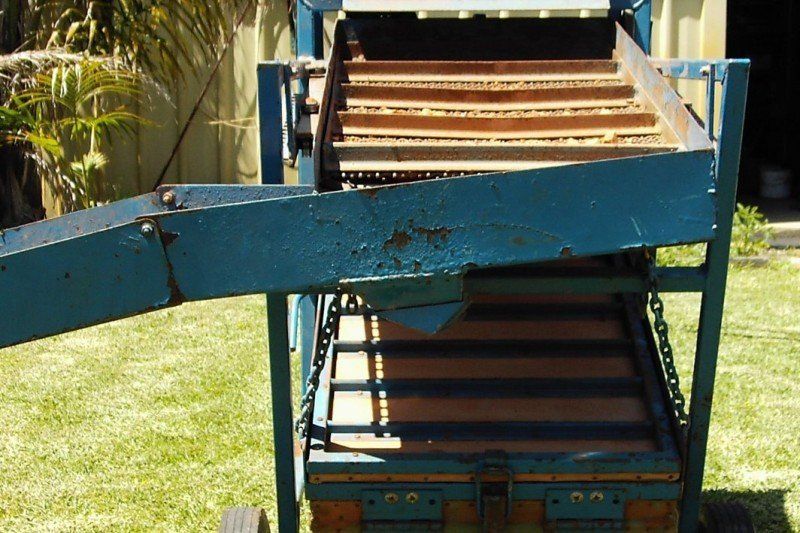
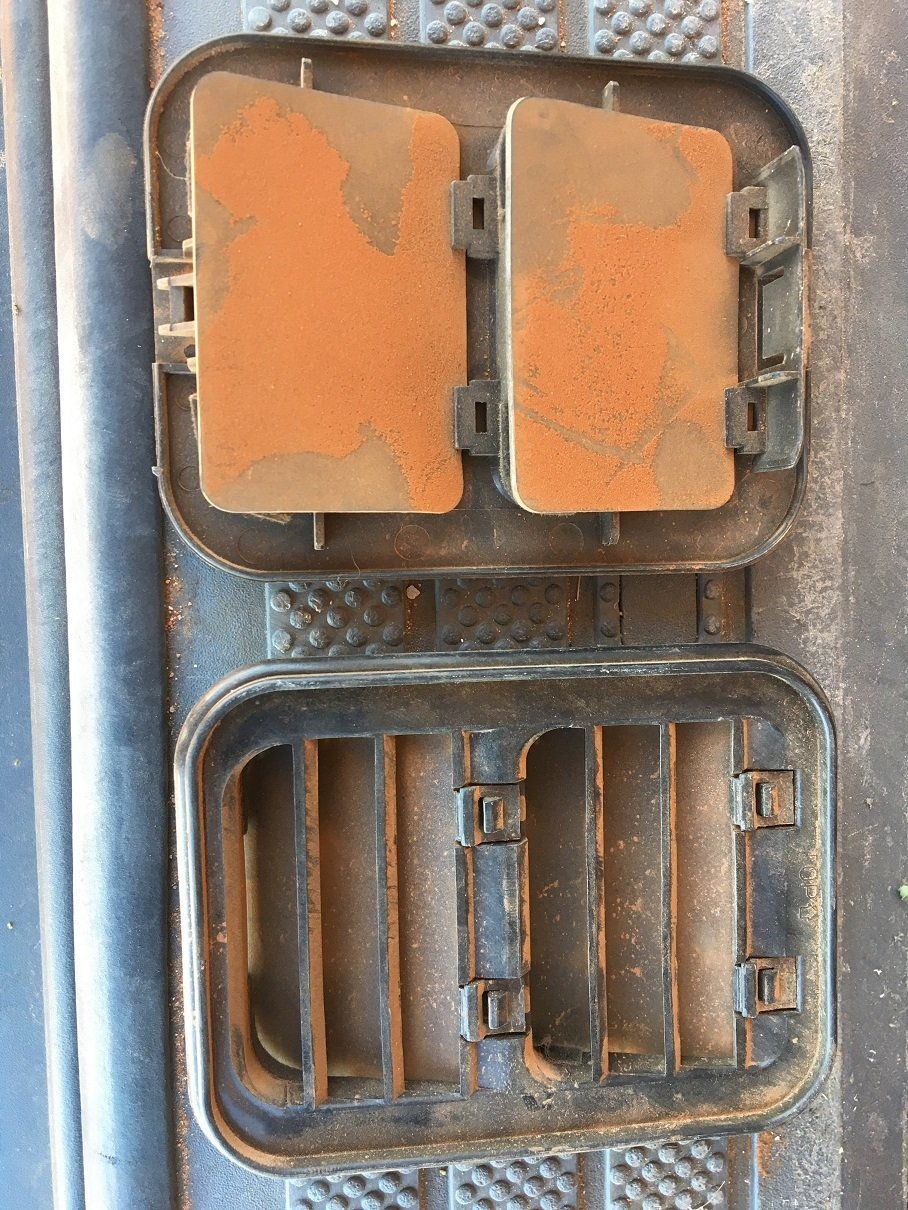
You're on the money reducing the underside slots, because there is less air from bellows as opposed to the continuous blower air.
A good indication is when the bellows dry blower is running empty you will see a slight lift in the cloth on the upside against the riffle.
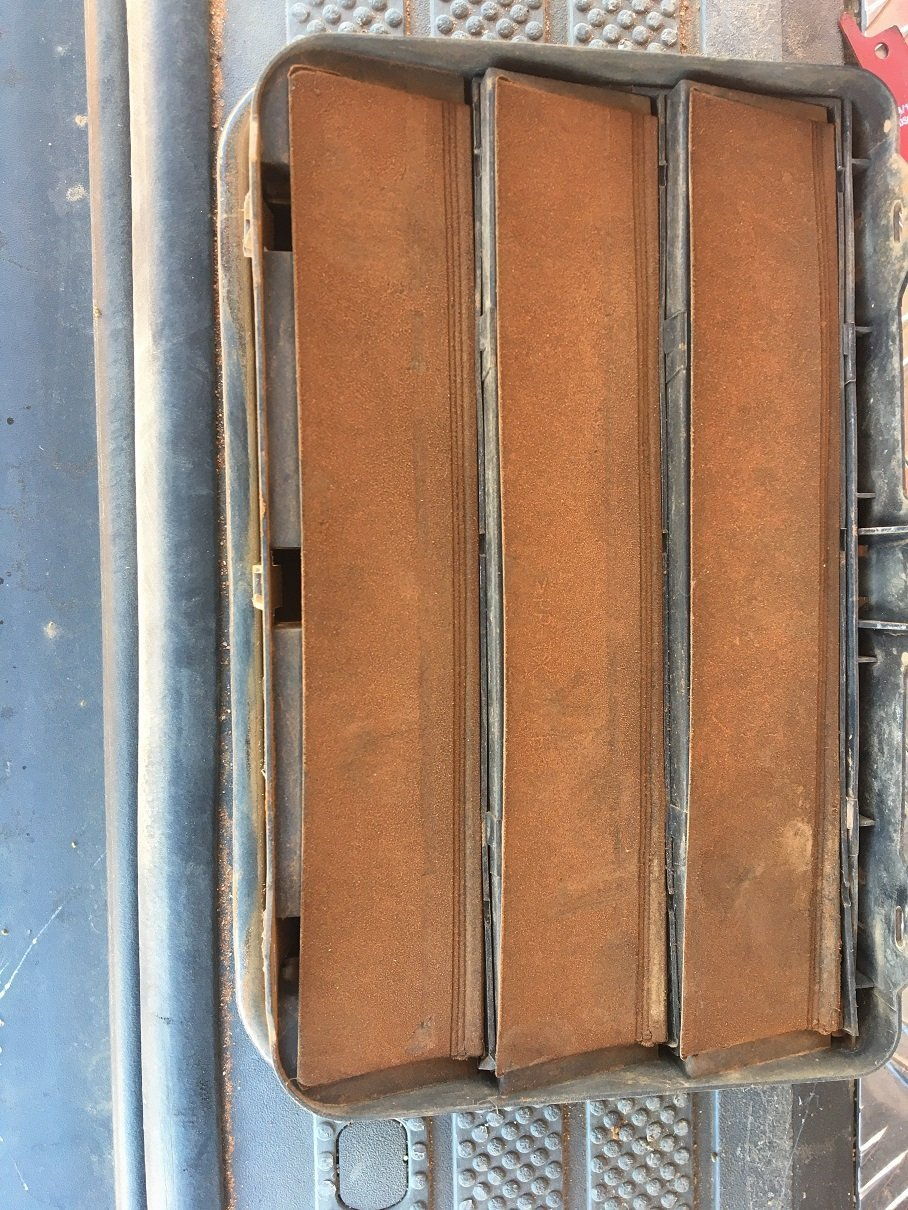
When loaded you will see the dead spot up from the slot and the the dirt then begins to bounce as it gets nearer to the riffle.
The best indication is the tiny gold does not get past the top two riffles.
If dry blowing virgin ground always detect the over size after moving blower. If you're lucky any that does not fit through your top screen obviously spills off the end.
In the early days we detected old dry blowing oversize heaps and found many nuggets the old timers missed.

 :lol:
:lol:Nightjar said:Just watched the video you posted above, would enjoy putting their leftover piles back through my dryblower.
Very poor advertisement for dry blowing.
They are using pre-graded material?
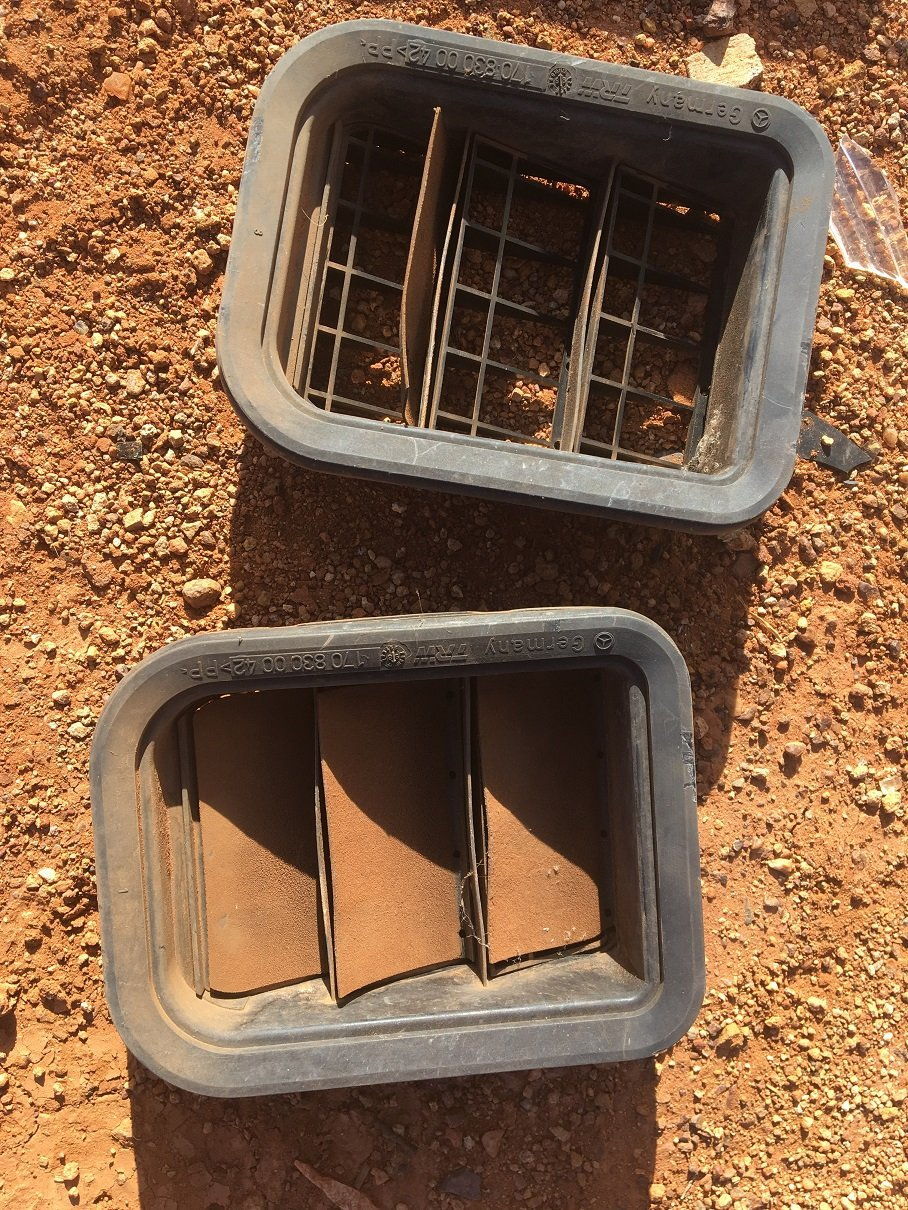
Overloading the riffle tray, should be able to get a glimpse of the top of the riffles?
Run off the tray when finished loading, should be able to plainly see riffles and have about a third of the material they dropped into the pan dish.
On a positive note, sure would like to find some ground as rich as they were dry blowing! Wouldn't need a dry blower?
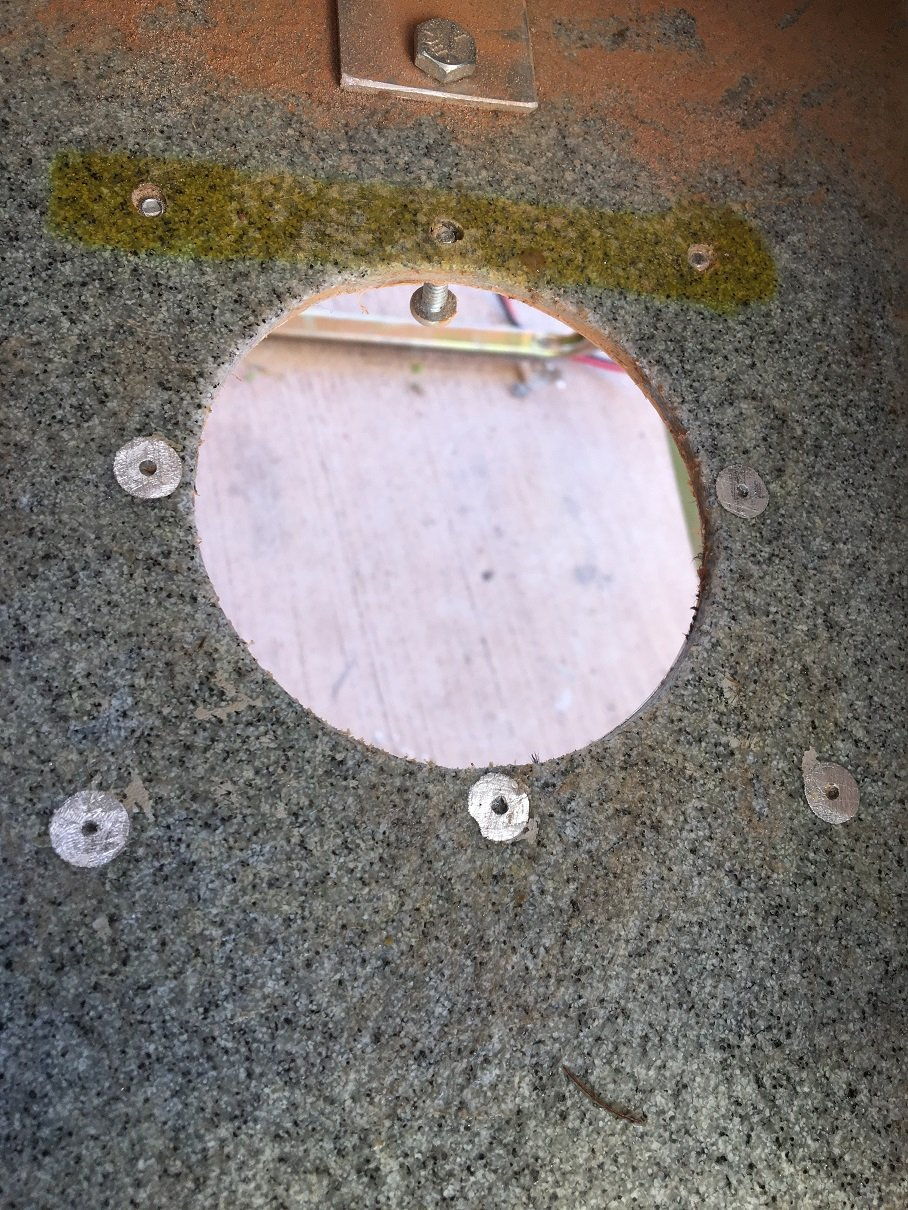
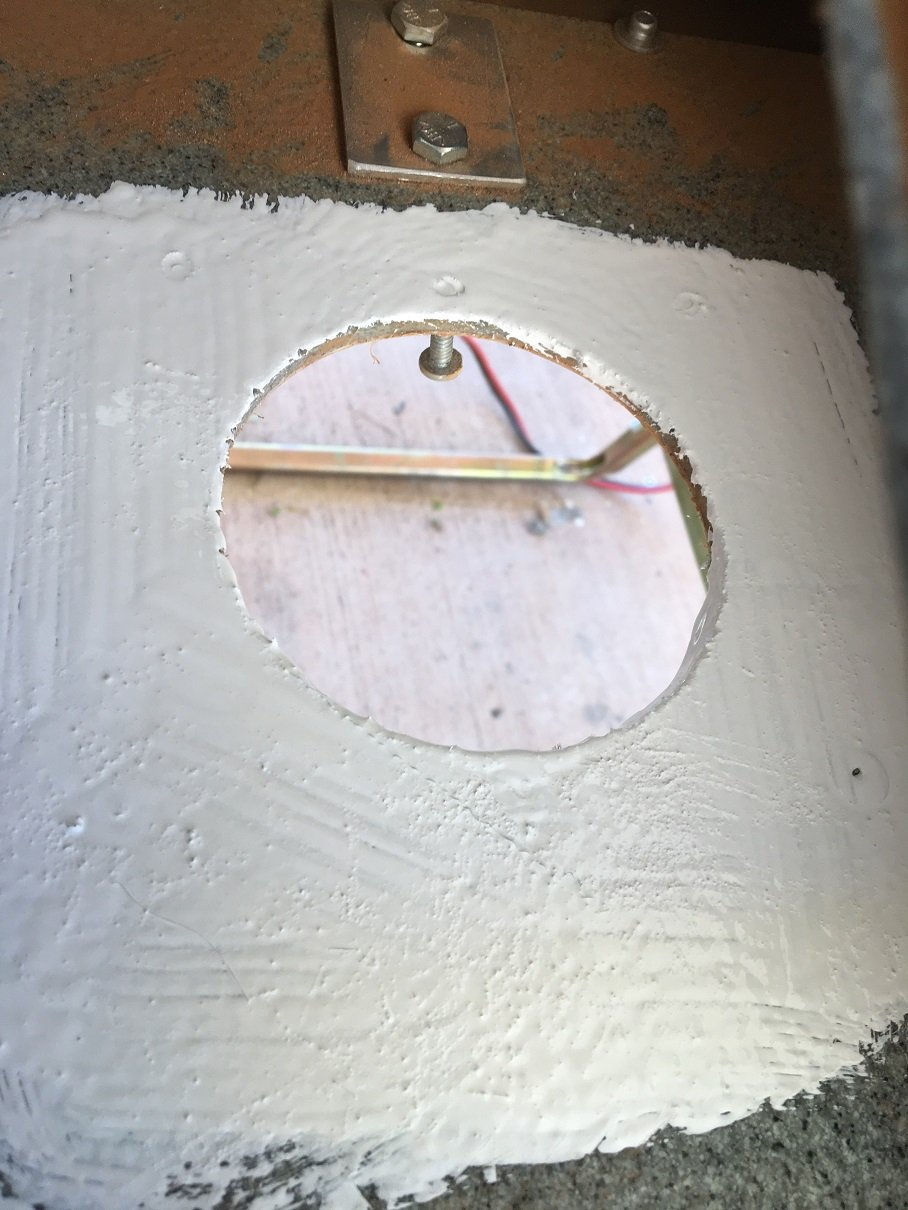
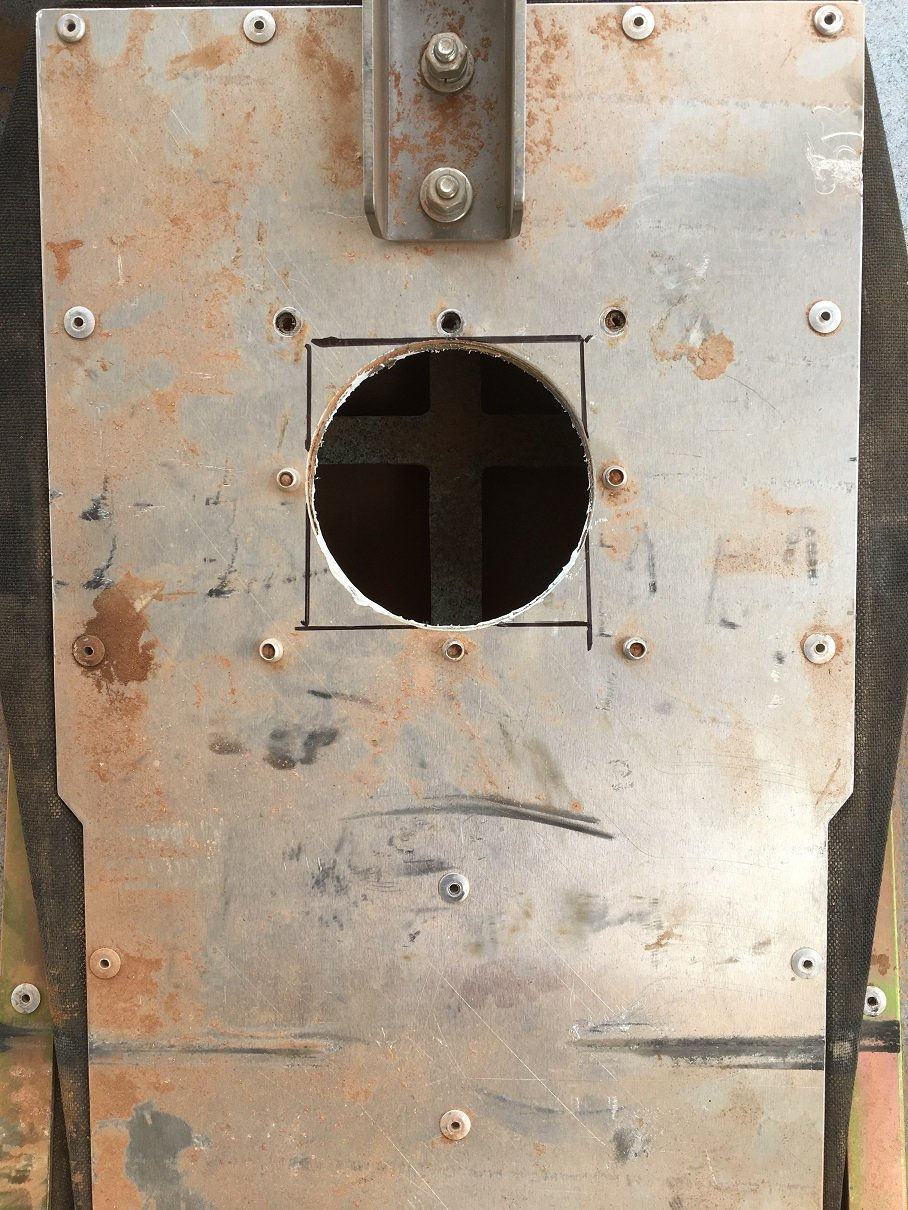
Nightjar said:Guessing the hole is about 75mm, maybe light rubber flap will suck through hole?
You could drill multiple holes in a thin sheet of ply/metal, drill out the pops and attach it then attach a slab of inner tube to seal the holes on the pressure stroke?
Or you can lay awake tonight Phil, working on a plan. :lol:

 :clap: :goldnugget:
Enter your email address to join: