- Joined
- Jan 2, 2017
- Messages
- 2,328
- Reaction score
- 3,015
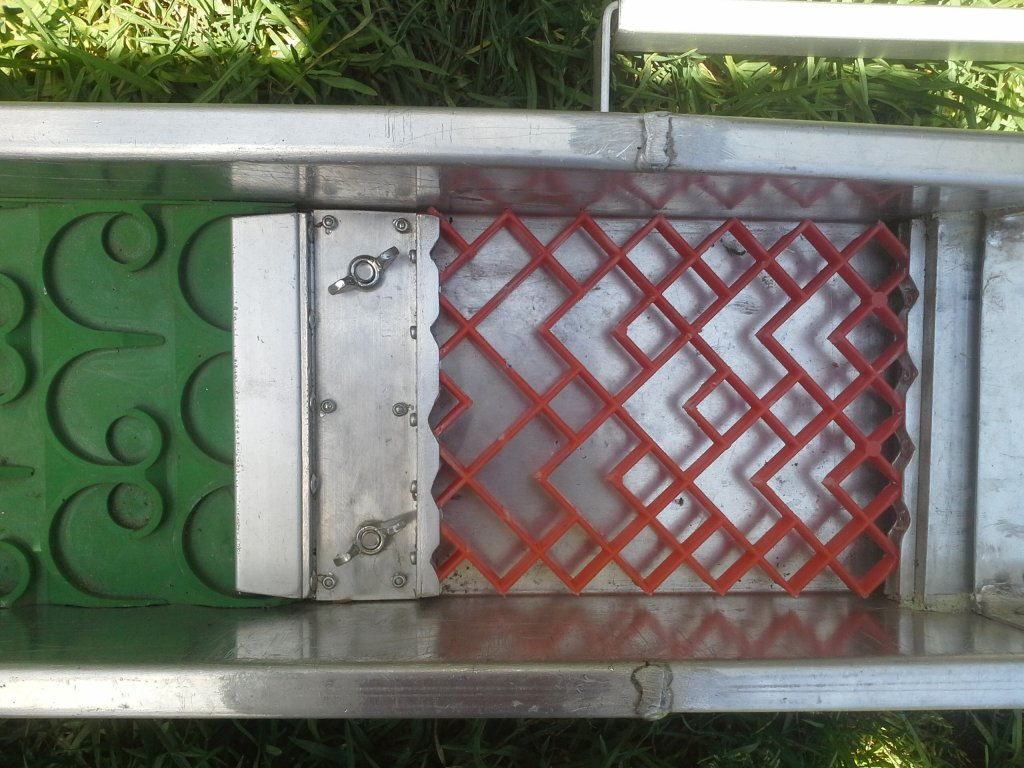
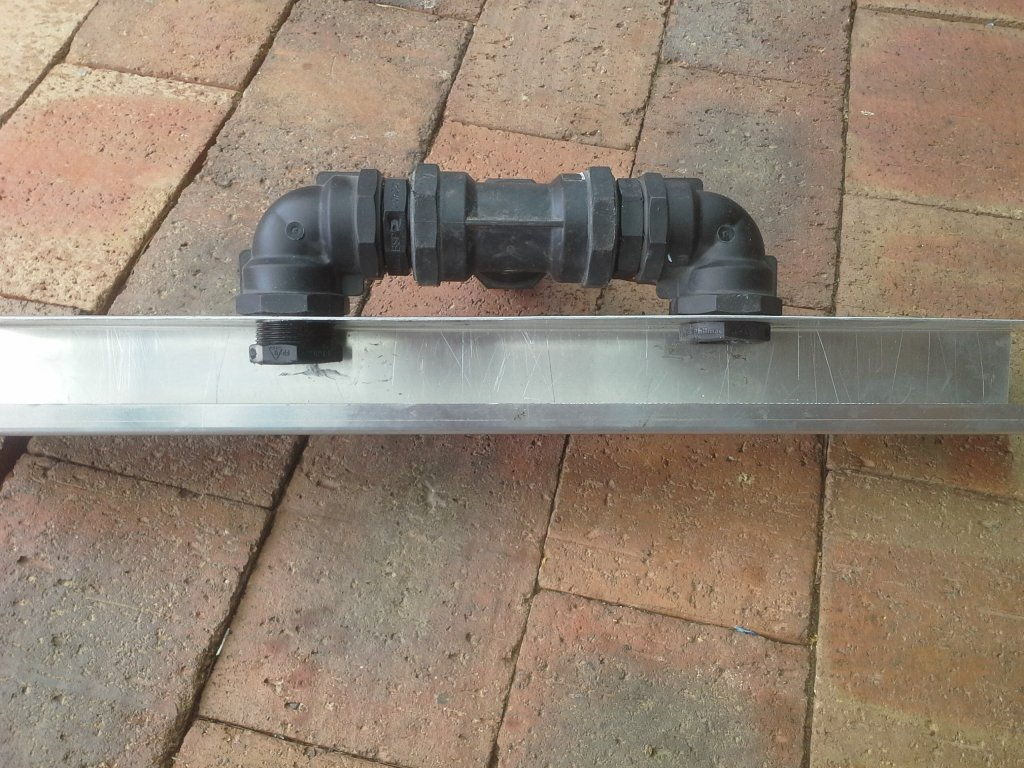
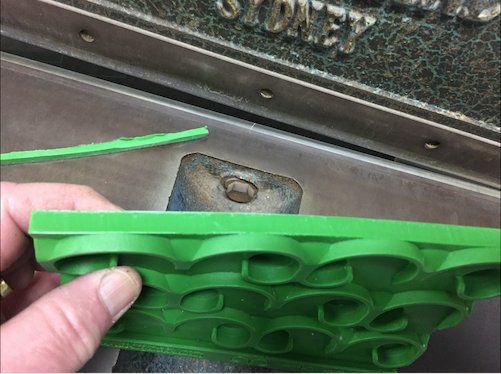
For those curious of the water inlet header box.
This helps keep an even water displacement over the flare.
Easily removed atc.
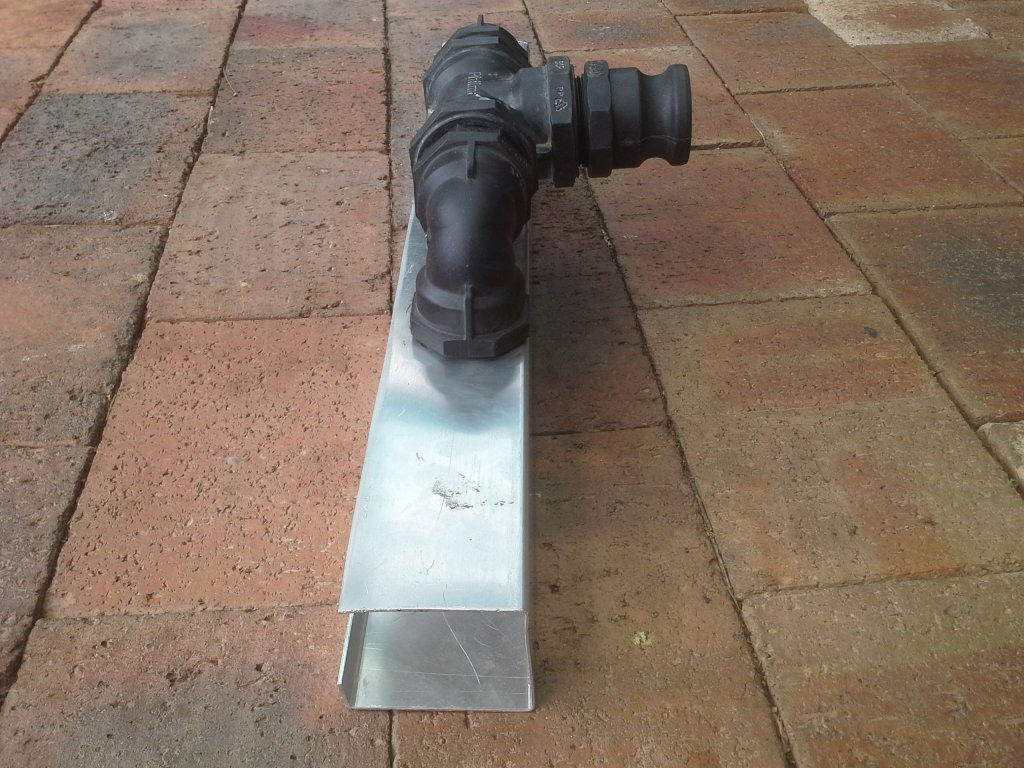
40mm inlet cam, > 40mm Tee > 2x 40/25mm reducing nipples> 2x 25mm elbows.
Then 2x 25mm nipples. Then cut off the thread off from each of one end of the two.
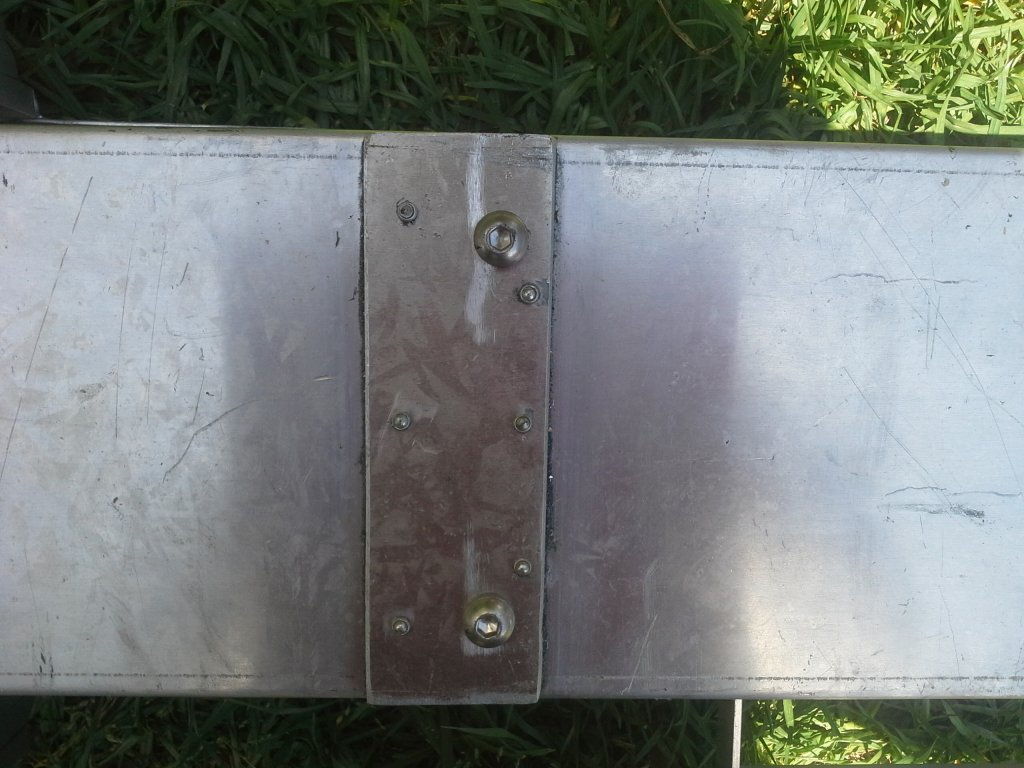
This will allow you to use them as nuts, clamping the poly fittings between the alloy.
Using these size fittings will require at least 65mm + across the top width the box, enabling the lock nipple to be done up from inside the box/C section.
And at least 40mm in height to get inside comfortable.
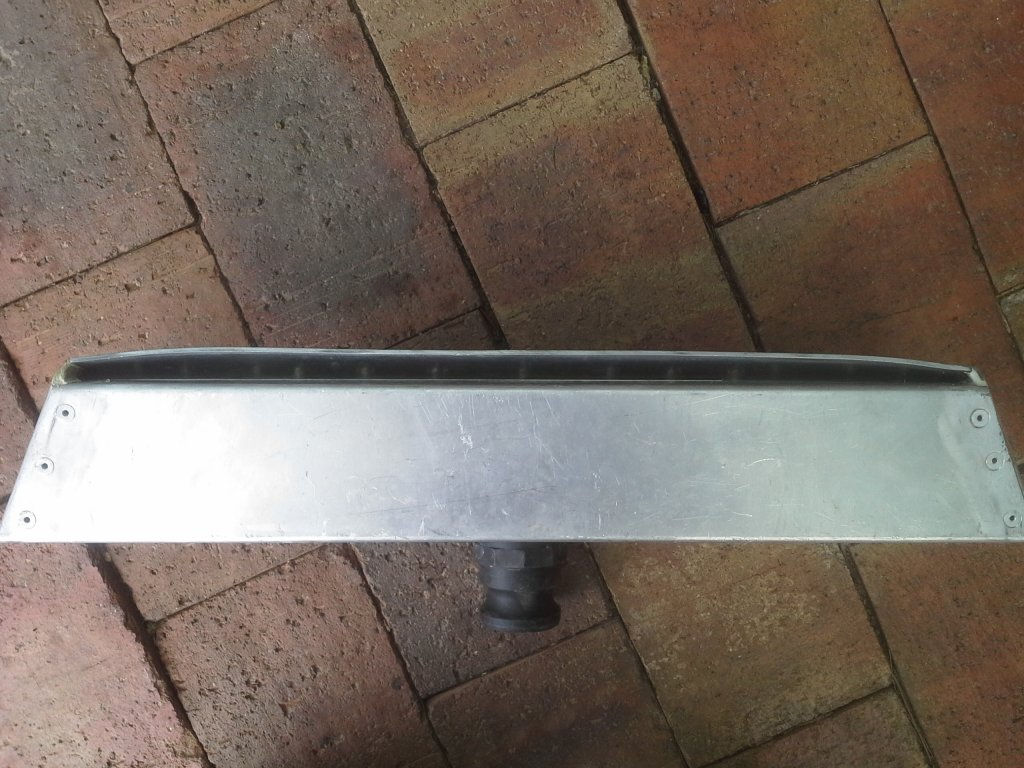
On the bottom displacement edge, there is a lip to help balance out the flow evenly. Make 10 to 20mm in height.
This can be folded up at fab time. Or use a peice of alloy angle.
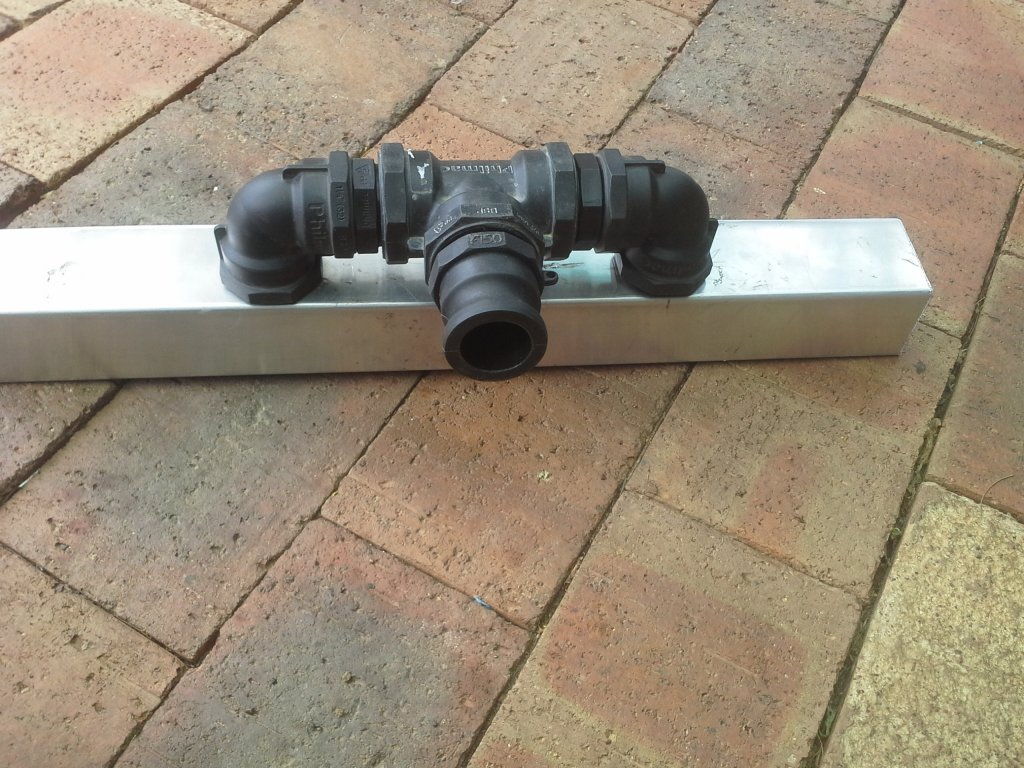
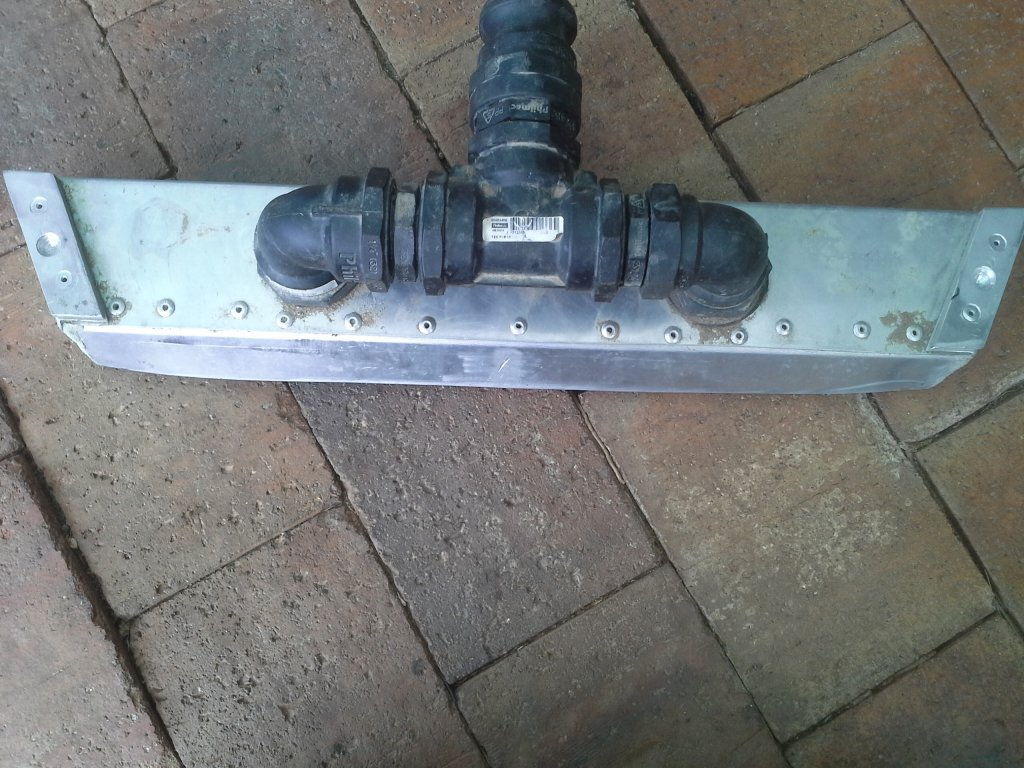
After working out the exact width and angle you need etc, assemble you fittings, T, reducing nipples, elbows. Do the fittings firm, not over tight!
Place on the top centered, and mark the faces of the two 25mm fittings to find the centre hole points.
Tip!
Chances are your hole saw wont be exact size. So when ever reeming a hole as such bigger. Use a thick permanent marker and trace the edge of the hole you've made.
This will help guide you and stop egging of the hole and loosing centers. Repeat as necessary.
Put your nipples in etc.
The over flow sheild 1.6mm ( max) can be prefab angle, 40x20?
Pop rivet that on . Scallop out to fit around the elbows.
The end wings require tunning in on site. The air gap will have to be closed up over about 50mm each end, as the water volume will be more here. Simply tap in with a hammer. (Reason for 1.6mm).
The ends can be a bit fiddly to enclose.
Fold up 2 lips , for top and bottom, and pop rivet it.
Then reach for sum silicon! Inside edge as well.
Then work your clamp method out!
This helps keep an even water displacement over the flare.
Easily removed atc.
40mm inlet cam, > 40mm Tee > 2x 40/25mm reducing nipples> 2x 25mm elbows.
Then 2x 25mm nipples. Then cut off the thread off from each of one end of the two.
This will allow you to use them as nuts, clamping the poly fittings between the alloy.
Using these size fittings will require at least 65mm + across the top width the box, enabling the lock nipple to be done up from inside the box/C section.
And at least 40mm in height to get inside comfortable.
On the bottom displacement edge, there is a lip to help balance out the flow evenly. Make 10 to 20mm in height.
This can be folded up at fab time. Or use a peice of alloy angle.
After working out the exact width and angle you need etc, assemble you fittings, T, reducing nipples, elbows. Do the fittings firm, not over tight!
Place on the top centered, and mark the faces of the two 25mm fittings to find the centre hole points.
Tip!
Chances are your hole saw wont be exact size. So when ever reeming a hole as such bigger. Use a thick permanent marker and trace the edge of the hole you've made.
This will help guide you and stop egging of the hole and loosing centers. Repeat as necessary.
Put your nipples in etc.
The over flow sheild 1.6mm ( max) can be prefab angle, 40x20?
Pop rivet that on . Scallop out to fit around the elbows.
The end wings require tunning in on site. The air gap will have to be closed up over about 50mm each end, as the water volume will be more here. Simply tap in with a hammer. (Reason for 1.6mm).
The ends can be a bit fiddly to enclose.
Fold up 2 lips , for top and bottom, and pop rivet it.
Then reach for sum silicon! Inside edge as well.
Then work your clamp method out!

")