I have recently done the power pack/supply repairs.
Well firstly the meter dosen't require to be disasembled as I stated previously.
Firstly remove 3 screws from the top of the detector (none are under the meter)
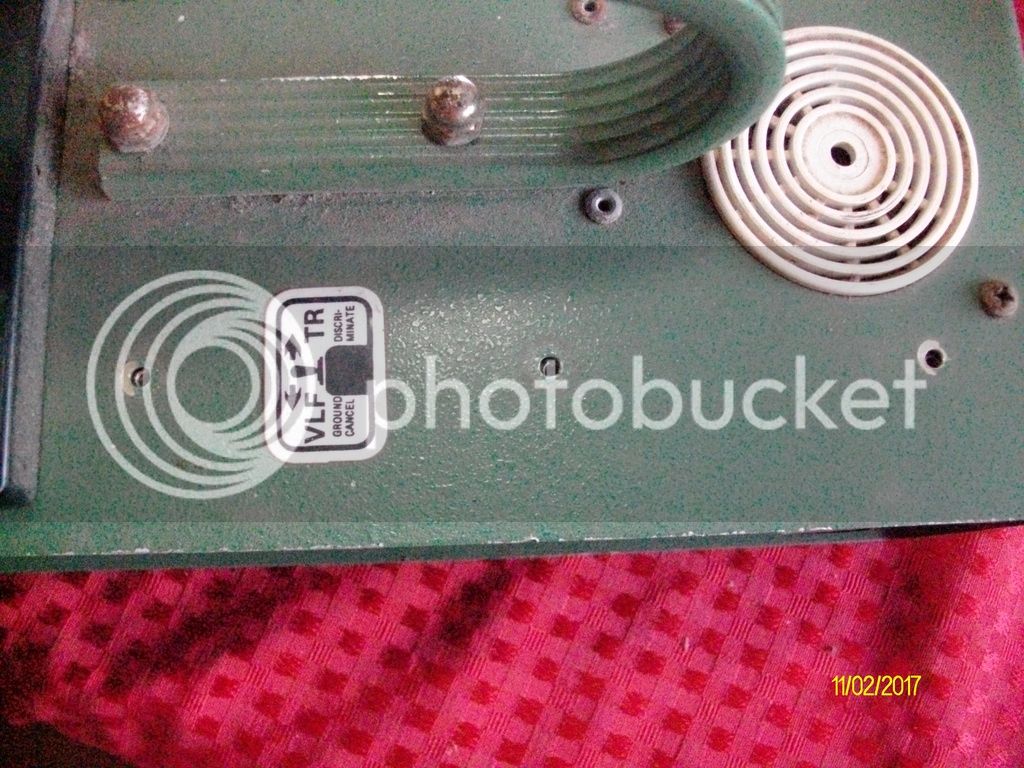
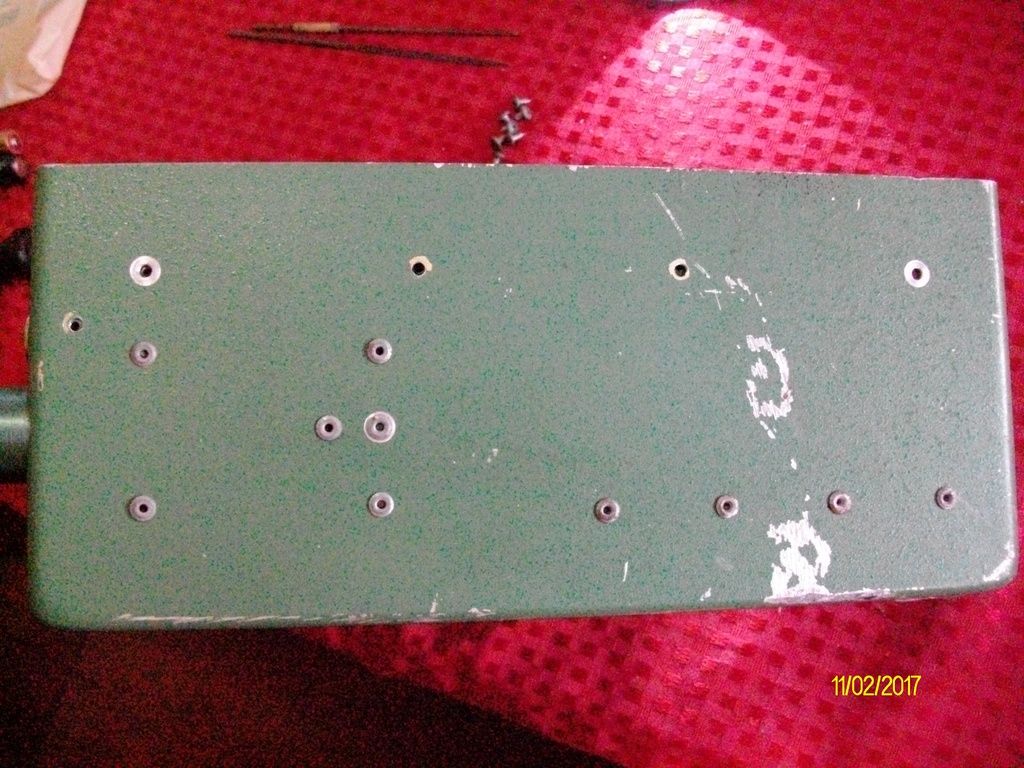
Then remove the 5 screws in the underside of the detector. At the left end the screw that is not aligned comes out as well.
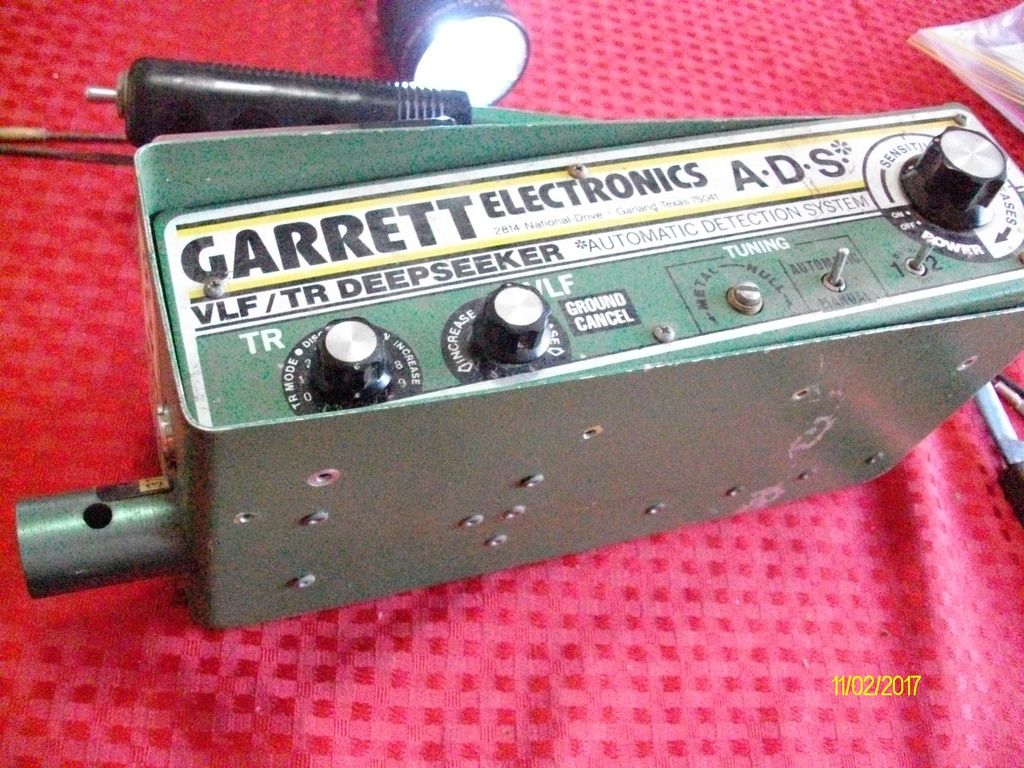
That allows the front pannel to be lifted as shown.
The battery tray holder and the faulty connector (Coloured brown).
The looped sections on the connector can be cut to aid removal only if you have new replacements.
This is an difficult job to do in situ but can be done.
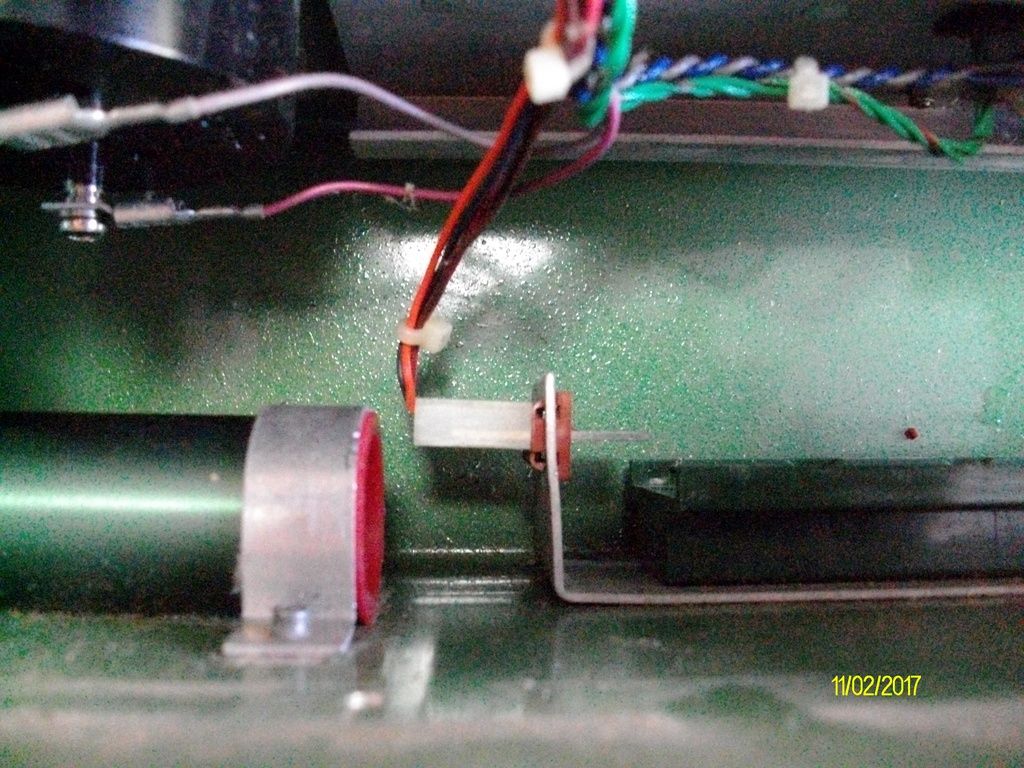
If trying to re use the connector the easiest way that I can see is to remove the 4 pop rivets that hold the battery tray holder and connetor holder in place.
The corosion on the pins easily explains why things weren't working.
If you are trying to reuse the connector you could turn it over to use the other side of the pins.
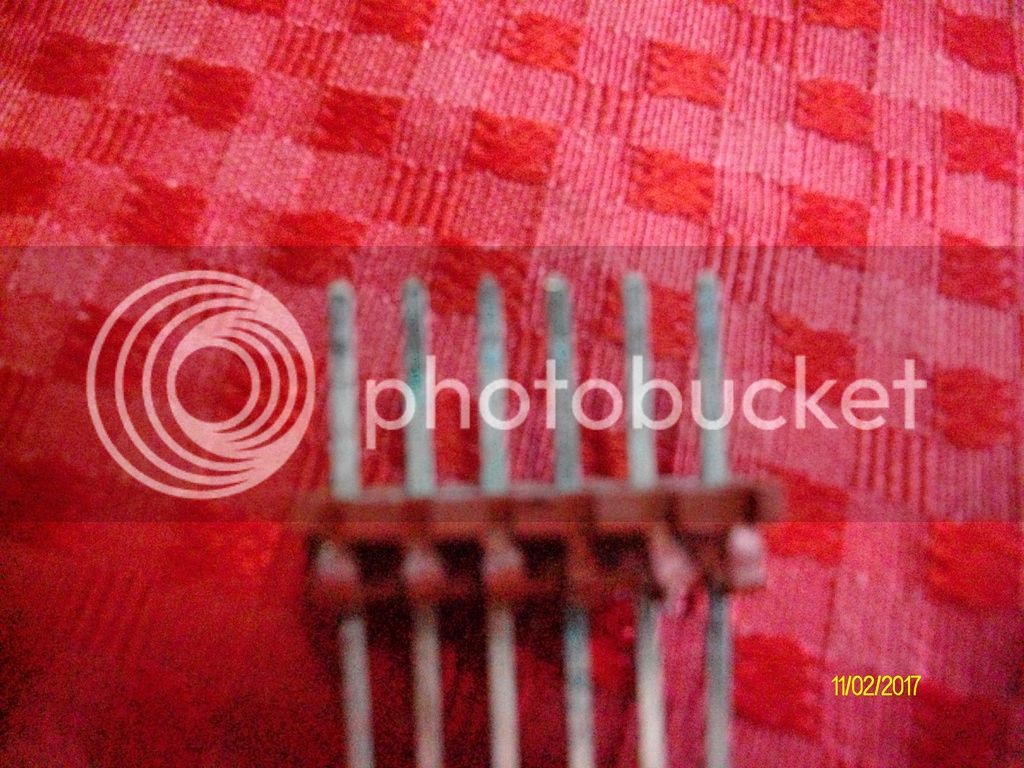
The corosion is just visible in the female connector even with the shocking photo.
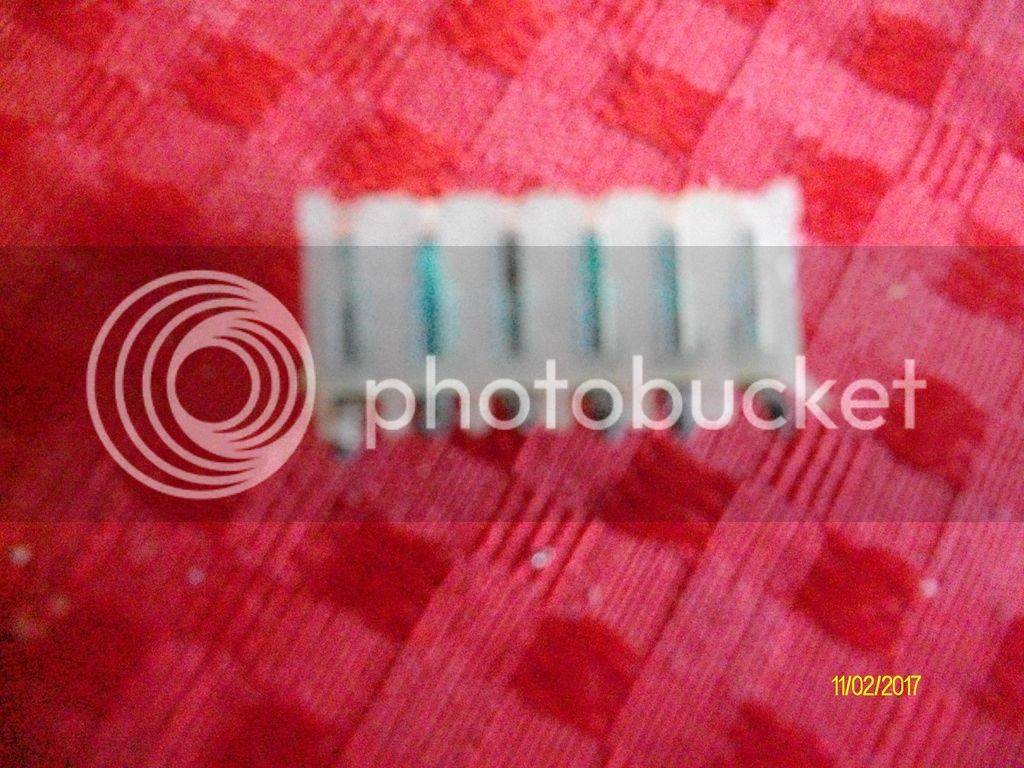
The molex connector only makes contact on one side of the pins.
My battery pack for the circuit board required quite extensive repairs.
Single core "bell wire" was used and only stripped where required.
I fitted the new connector, soldered the connector and wires, then cut the pieces of the connector that hook over the board off as per the original connector.
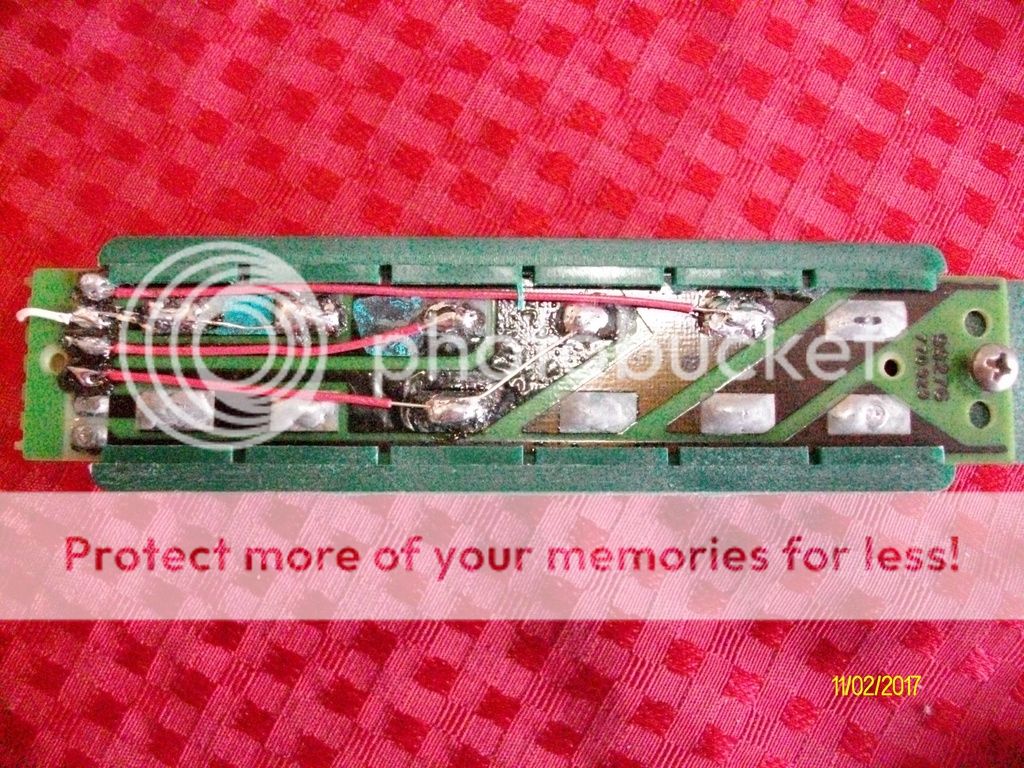
Ensure that the wires go to the correct pins as 36 volts is present on the pins which if connected wrongly will convert you metal detector into rubbish.
And just reverse the procedure to assemble. Ensure the screw holes that have the paint removed have un rusted screws in them.
Take photo's of the internals as you go in case there are different variants of the same detector.
Have fun, all up took about 1.5 hours including photo's and coffee. Ken.


")


