AND :
Projecta IC1216 12v 7-Stage Battery Charger
Review
By Dean Bielanowski
When it comes to the use and maintenance of 12v batteries, a good quality, functional battery charger is equally as important as the quality of the battery itself! You might have the best 12v battery on the planet, but with a sub-standard charger, that battery isn't go to deliver its full potential, or deliver its maximum life expectancy. There are many 12v battery chargers on the market, but the new breed far exceed what has been available in the past. Today we take a look at the Project IC1216 12v battery charger.
Not all battery chargers are created equal!
Most workshop battery chargers in the past have been of the single step, bulk charge variety. This means they deliver a bulk charge continuously to the battery at the charger's maximum rated current (amperage). While this is ok in theory, the problem is that the user had to carefully monitor the charger and battery at regular intervals during the charge cycle to ensure the battery was not overcharged, causing dangerous bubbling and spilling of battery acids, damage due to high current, or even battery explosion from released or trapped gasses emitted during the charge cycle. Indeed, these chargers required continuous and vigilant attention by the user, something which few people have time for in the modern world.
Enter the 3-stage chargers. These chargers are known as "smart chargers" because they have a "brain", so to speak. They have circuit boards built into the charger that afford them some "intelligence" and allow the charger to detect battery voltage and adjust the current flow accordingly to avoid overheating, overcharging and other harmful effects of bulk battery charging. Typically, these chargers will bulk charge a battery at the highest rated amperage until the battery level is detected at being around 80% (the figure varies between chargers), then the battery will enter another stage to "top off" the battery to charge capacity, then enter "float charge" mode, which delivers a very small current designed to keep the battery at full capacity, negating the effect of natural battery capacity discharge over time. As a result, these chargers can be seen as "set and forget" charger types. You attach the charger to the battery, flick on the mains power, and let it do its thing. Generally, no monitoring of the battery is required with these chargers. As a result of their popularity, most all battery chargers manufactured and sold today are of the multi-stage type. Not only are they more convenient, but they are better for your battery's health and longevity as well.
Some of the more expensive and higher quality chargers add a fourth stage to the cycle, and some even more. The Projecta IC1216 offers up to seven stages in its battery conditioning/maintenance cycle!
The Projecta IC1216 Charger
Out of the box the Projecta IC1216 looks stylish enough and is very light weight. The battery uses Switchmode technology (electronic circuitry) to convert 240V AC power to 12v DC power. Older chargers use heavy transformers to achieve this task. With the electronic circuitry employed instead, overall charger weight can be greatly reduced! It has a carry handle up top to allow easy and comfortable transportation of the charger. The Australian 240v power cord sits alongside the large positive and negative charging clamps and cables, which can be stored in the base of the charger at the rear in a cable compartment. There is an ON/OFF switch for applying power, an amp selection button (for user-selected amperage), a manual recondition button and a button that switches between volts/amps/battery meter readouts. A three digit LCD display shows current charging information or charge status and the LED indicator lights to the left of the large display also indicate charge status, but can also indicate problems with the charge configuration or battery itself.
Features
First and foremost, the IC1216 offers user selectable charging amperage from 2 amps to 16 amps, however, 4 specific settings are available; 2A, 4A, 8A, and 16A. Depending on the size or capacity of your 12v battery, you will select one of these settings for best charging performance and battery charging safety. On the back lip of the charger is an Amp selection guide which will indicate what size and type battery requires which setting. This feature is great as the charger can adapt to batteries small and large. Cheaper battery chargers may only offer one current setting so that charger is only suitable/practical for a smaller range of battery sizes. The amp selection button controls which charge current setting is used. Simply press the button to cycle through the amperage needed for the capacity of the battery being charged. The chart below shows the battery size capable of being charged effectively given the charge current setting selected for several different types of batteries. It is worth noting too that this charger can happily charge a range of types of batteries, from standard lead acid, to valve regulated lead acid, gel, absorbed glass matt, to calcium cells.
The IC1216 is a 7-stage charger. That is a lot of stages! But offering that many has some major benefits. The 7 stages are as follows and occur in order as required during the charging process;
1. Desulphation - When batteries are left with low charge for a length of time, sulphation may occur on the cells, reducing battery capacity potential and likely decreasing battery life. The first stage of charging here attempts to remove that sulphation from the cells to return the battery to full capacity and service. How well it works will depend on how much sulphation has already occurred as well as the general age of the battery. I have successfully managed to return what I thought was a battery on its last legs to a reasonably good level of capacity on an ongoing basis with this charger, so the combination of the Desulphation stage and the Recondition stage (stage 5) appears to work quite well.
It is worth noting, before I continue, that not all stages of the 7-stage charge process may be initiated during a charge cycle. The charger "reads" the battery condition and state on an ongoing basis via independent voltage sending wires running through the cables to the clamps and determines itself which stages in the cycle may be needed or not. Is it smart enough to get it right all the time? I cannot say, but so far all my batteries are working perfectly well since they have been charged using the IC1216 charger.
2. Soft Start - This stage is designed to introduce a gradual charging current to the battery instead of flooding it with a sudden burst of higher voltage current. Supposedly the gentle increase in voltage/current will help extend battery life. I haven't had the charger long enough to tell whether this theory is true as yet. But there has been no evidence of battery damage to any of my three 12v batteries yet.
3. Bulk Charge - As the name suggests, this stage is where most of the charge capacity is added to the battery. The charger delivers a constant current based on the user selected current and continues to charge the battery until around 80% of full capacity or until 14.4 volts is read. A cooling fan inside the charger case is often active during this phase and generates a bit of noise, perhaps about 60% as loud as a small cordless vacuum. The noise is not deafening but you will hear the fan when it is spinning to keep everything inside cool. The fan will run whenever the current draw is greater than 2 Amps.
4. Absorption - This phase fills the remaining 20% or so of capacity in the battery. While the charge voltage still remains at around 14.4v, the current gradually tapers down to allow the battery to reach a 100% charge level without the risk of overcharging the cells and causing battery damage.
5. Battery Test - Immediately following stage 4, the charger will initiate a quick 90 second battery test. here it tests the voltage of the battery over that time period. If the returning voltage is detected as being less than 13.2v then the battery is considered as having failed the test and a reconditioning stage will commence (stage 6). If the battery reads 13.2v or higher, the test is passed and the charger jumps straight to Float mode charging (stage 7).
6. Recondition - Based upon the above test, the Recondition stage may be initiated. Here the charger delivers a low, constant current for a period of 4 hours before it initiates another 90 second test. This mode is designed to recover batteries from a deeply discharged state and bring them back to life, so to speak.
There is a button on the charger to manually initiate a Recondition stage charge on a battery. This might be done periodically to maintain a battery (it doesn't hurt anything) or to fully charge a Calcium battery, which has its own special charging requirements that I wont go into too much detail about here (check your Calcium battery manual/documentation).
7. Float Mode - This stage essentially allows you to leave your battery connected to the charger indefinitely. It delivers a very small current to negate the effects of normal battery discharge over time, hence keeping your battery topped off at 100%. So, for instances where a battery may not be used on a daily or even weekly basis, keeping the charger on, and in float mode, will always ensure you have a fully charged battery whenever you need to use it.
The LCD display will not show what stage the charger is currently engaged in directly (i.e it will not a show a number from 1 to 7), however, you can decipher which stage the charger may be in but reading the LCD display output correctly along with the following deciphering guide printed in the user manual;
Charge Indicators and Fault Lights Panel
The display panel to the left of the LCD can indicate charge status or charging problems. When a green light is flashing, it indicates the battery is in charge mode. When this green light turns solid, the charger is in float mode. If the "Check Battery" LED is illuminated there is a problem with the battery preventing it being recharged. An error code may also be displayed on the LCD as well to further help determine the problem. The printed manual lists error codes and meanings. If the "Polarity Check" LED is illuminated it means you have the battery cables reversed on the battery terminals. If this is the case the charger will not operate until this condition is corrected, a good safety feature.
Charger's Protective Features
The IC1216 has a number of protective features that improve safety for the user and help prolong battery life. The charger will immediately shut down if any of the following conditions are met:
A. The voltage is greater than 17.5V
B. The maximum current exceeds 18A.
C. The temperature of the charger exceeds 95 degrees Celsius.
In addition, the "Spark-Free" protection prevents output leads from sparking due to reversal of cable clamps, or short circuiting, making the charger safer to use around batteries. There is no protection on the charger for lack of common sense however!
Battery Level Check
While the use of a hygrometer is perhaps the most precise check available for battery level charge, a multi-meter is also great. The IC1216 has its own Battery Level checking function. With the power switch on the charger turned off, you can connect your charge clamps/cables to your battery terminals and press the Battery Meter button. The LCD will display the approximate battery charge in the form of a percentage, i.e. 100% is a full charge. It should be used as a guide only, or as part of a cross-check with another form of measurement of charge.
Using the Charger
Using the Projecta IC1216 couldn't be easier. For batteries not housed/connected in a vehicle, you simply attach the Red positive charging lead to the battery's positive terminal, the black lead to the battery's negative terminal, switch on the charger and select the appropriate Amp setting for the battery. The charger then takes over and will do the rest for you. No further input is needed. It is recommended to check your battery acid levels before charging the battery however (if there is a mechanism to check them). Also, be sure to use the charger in a ventilated area. Instructions are provided for hooking up the charger to batteries insitu in vehicles as well. Calcium batteries require a slightly different approach with this charger, and full instructions are outlined in the manual. I do not own a calcium cell battery so cannot comment further on charging those types. In essence, the IC1216 is extremely easy to use.
Conclusion
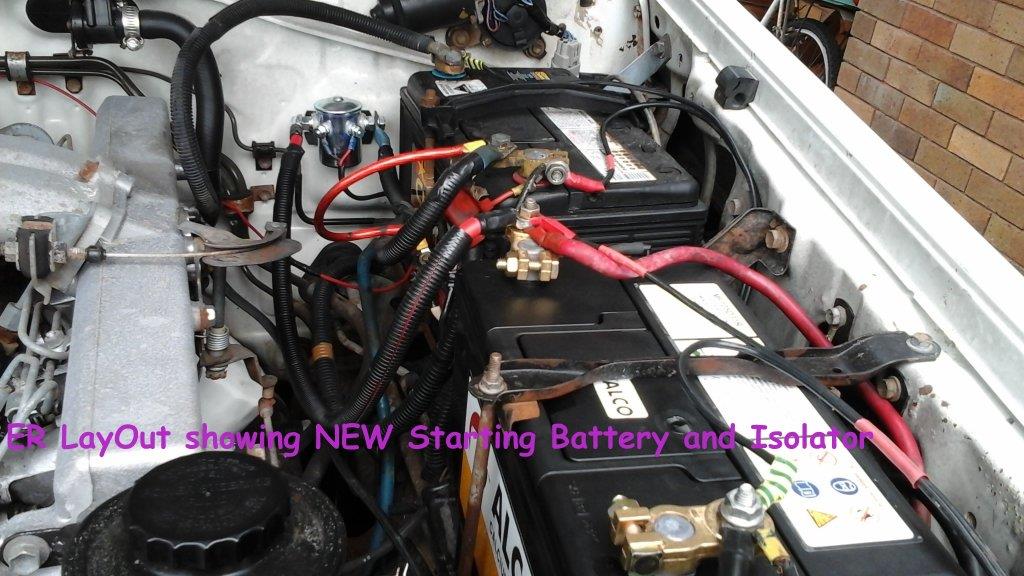
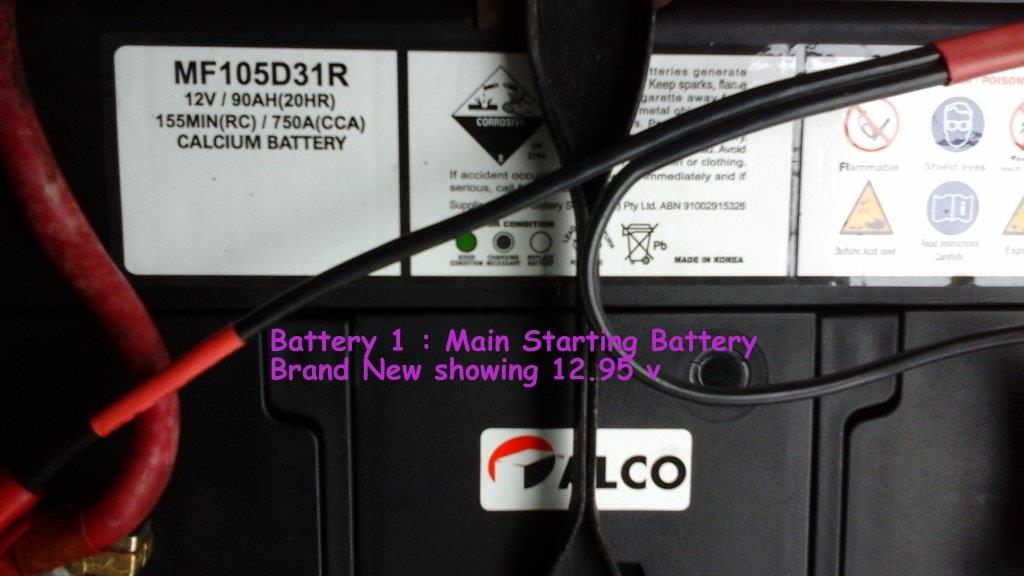
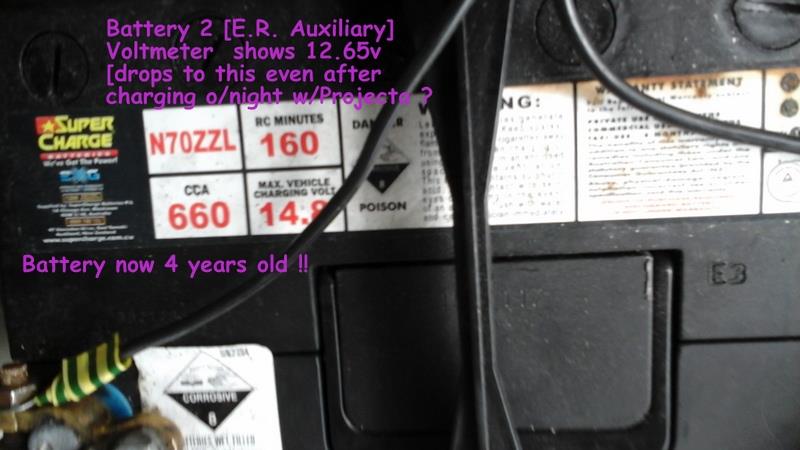
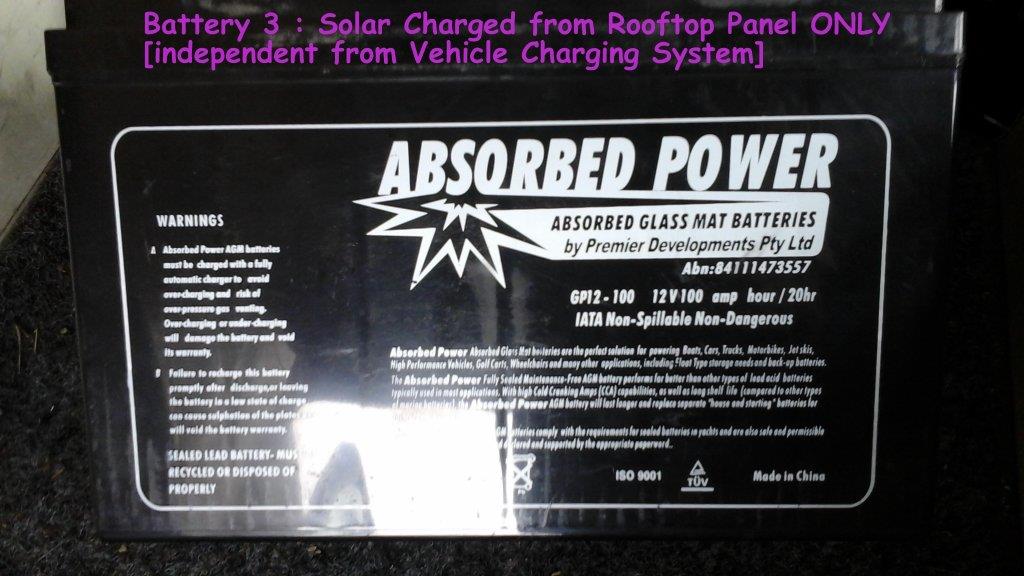
Well, I have to say that I can't be happier with this charger. It does exactly what it claims to do, offers variable current output for charging a range of batteries and enough safety protection and stages to ensure ongoing and reliable operation. I use the charger mostly on my boat batteries. One being a deep cycle 120Ah lead acid battery for my electric outboard, the other being a smaller 18Ah Absorbed Glass Matt (AGM) battery to run my electronics. I have also used it on my son's quad bike battery and on our car's cranking battery and each time the charger has delivered a full and reliable charge with no problem. I have seen it cycle through the recondition mode on older 12v batteries that have sat unused for some time, and basically bring these back to service, but old and unused batteries sitting for a long time or very deeply discharged batteries may no longer be serviceable.
The Projecta IC1216 has exceeded my expectations and is certainly a much better charger overall than my current 3-stage charger for my smaller batteries. I like its design and its function. I have been using it for the past four months without a hitch. Should anything happen to go wrong with it, I would be more than happy to go purchase another in a flash - I feel that confident and happy with this charger.
Retailing at a street price of around AUD$225-$250, the IC1216 is a cost-effective, high quality and feature-packed 12v battery charger. I highly recommend it if you are serious about maintaining and prolonging the life of your 12v batteries.