My first lapidary work

Prospecting Australia

Help Support Prospecting Australia:

This site may earn a commission from merchant affiliate links, including eBay, Amazon, and others.
Joined
May 7, 2014
Messages
128
Reaction score
67
Location
Scarborough, QLD
Learning to cab

Rhodonite, my first cab
1403071200_resized_stones_012.jpg


Gympieite (Gympie green stone), has a crack, but I still love it. My 2nd stone
1403071253_resized_stones_008.jpg


Agate from agate creek. My teacher thinks I'm picking up quickly, so set me onto a double cab with challenges (undercutting). I'm nearly done but am going to refinish this one. The cracks aren't actually cracks, but flashes of the white inclusions that you see throughout the stone.
The back
1403071447_resized_stones_013.jpg

the front with its special pattern, so different from other agates. Notice the undercutting in the polish
1403071512_resized_stones_015.jpg
 
great stuff.. :p please keep updating this thread as you learn... we are all students and will learn from what you are being taught.. :)
 
Hi Tom,

Yes, I joined the Redcliffe lapidary club 2 weeks ago.
I can't speak for other clubs, but in this one you are an intro/visitor for the first 3 visits. An experienced cutter takes you under his/her wing for 3 stones. There's a special starters pack (free) with a soft, medium and medium-hard stone in there. Your instructor teaches you how to set up, and then cut, grind and (pre)polish. Once you've done the 3 stones and 3 visits, you have to become a member. You can then use the silversmithing tools and join a course in gold/silver work (free, included in membership). You can also join up for a faceting course and you'll get all sorts of benefits like group buying of rough and such.

Membership for this club is $25 p. adult, p.y. and every visit you want to use the machinery/tools you pay $ 3.00 to cover for insurance and for machine/tool wear&depreciation.
The Redcliffe club is very active, in that it is open 6 days a week, 3 mornings and 3 evenings. They are however suffering from an ageing membership and are for some reason unable to attract young blood. This means that right now the fossicking outings are on standby as the person(s) previously organising them have died, or are very ill. Also, there are (were) 6! master faceters, all of which are now unavailable due to ill health, and death.

They are in the process of hiring a professional jeweler to do an 8 day intensive course in smithing, casting, forming, setting and god knows what else. Naturally I signed up :)

I think it's the best decision I've made in a long time.
 
Dude! That opal is so different it had to be named agate ;-)

Anyway, time for some updates hmm?
I've been to the club a few times a week for a few weeks now, so things are progressing quickly. I have been doodling mainly (does anyone know the correct lapidarist term for fiddling about, lolligagging?), so no real showstopping stones to show, just the learning curve.

I was given a small slab of tiger eye by my instructor, after I did the above agate. After Leftys' adventures with his first tiger eye I had decided to leave it till I had some more experience, but my instructor wouldn't hear it. So the tiger eye was cut and polished a few weeks ago, right after the agate.

1404885607_resized_riger_eye_01.jpg


Things learned:
  • don't despair
    You're probably better than you think; and besides, it's only a stone.[/*]
  • listen to your mentor(s)
    They've done it before (I hope) and know the pitfalls.[/*]
  • check after every step in the process
    That way you only have to take one step back when you find flaws. You get taught this little bit of genuine wisdom when you start out and cut your first stone(s). I heard it but somehow only internalised this after several mishaps. The agate above is an example; the first stone that should have brought this lesson home. But no, I had to finish 4 or so more to really see the value of checking after EVERY step.[/*]
  • Polish a tiger eye in the same direction as the grain!
    That's my teacher speaking. He explained that T.E. is a fibrous stone that has a grain. It runs in the same direction as the little cracks that cause the chatoyancy. Working with the grain becomes especially important as you move from the preforming grinders onto the sandpaper and then the polish. Both the paper and the polish generate very fine dust which will be rubbed into the stone if you work at an angle to the grain. so first the black residue of the sandpaper will cause a dark ringlike shadow, and the white will exaggerate this, and any flaws you may have in the stone.[/*]

1404874816_resized_tiger_eye.jpg


In my stone you can actually see this ring. There's a small spot of black dots around towards the top right in the pic, and a small section of whitish dots towards the bottom left. I tried very hard to work on the diagonal, but it turned out it wasn't always possible for me. On the close up below you'll see some more white-ish sheen and black dots. I need a bit more practice on that. Other then that I'm pretty happy with it.

1404885734_resized_tiger_eye_03.jpg


The other bit in the pics is one of the doodles. An off-cut someone left in the rubbish. I just did a bit of free form pre-shaping on it and it's now waiting for a polish.

Lefty, would you like the other half of this piece of yellow tiger eye to give it another go and try again? I'll happily send it to you if you pm your address.
1404885835_resized_tiger_eye_04.jpg
 
excellent stuff.. never give away the first stones you have cut...they will be very special to you in years to come when you are getting old like me.. :)
 
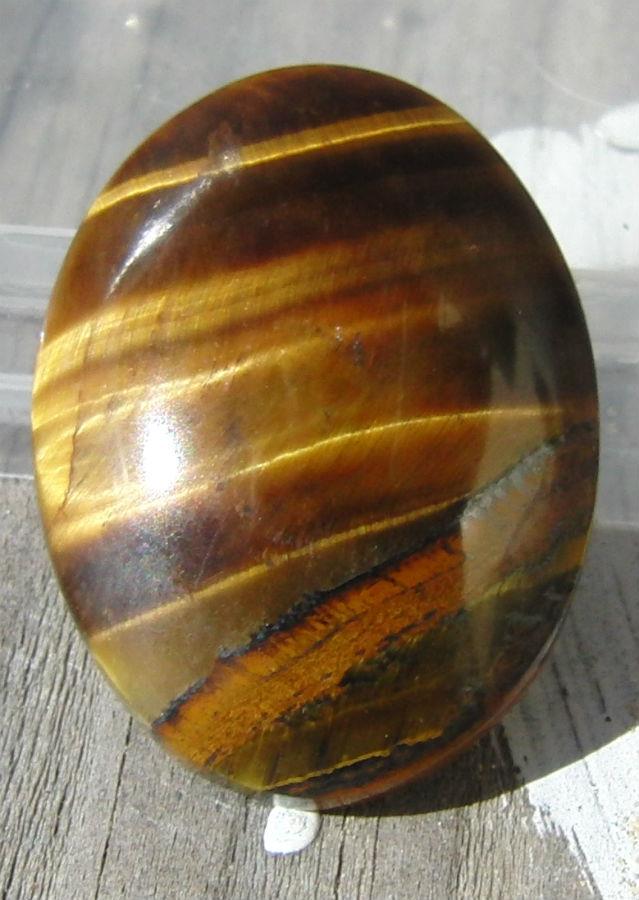
Here's some more "doodles"

1404886400_resized_doodles_01.jpg


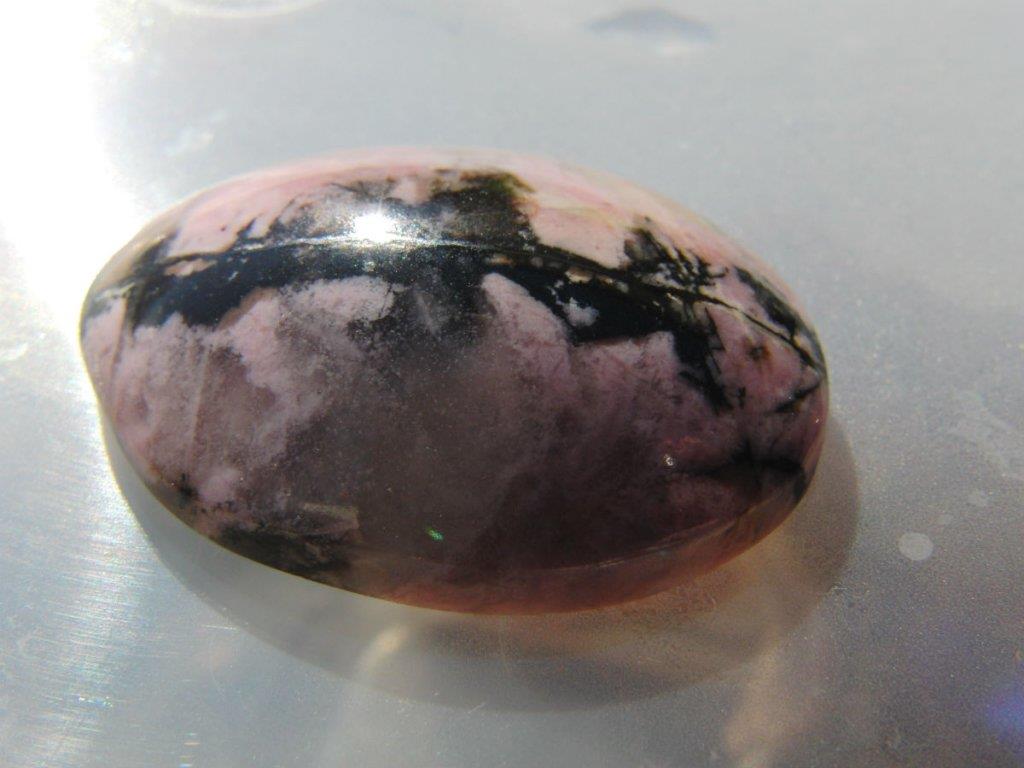
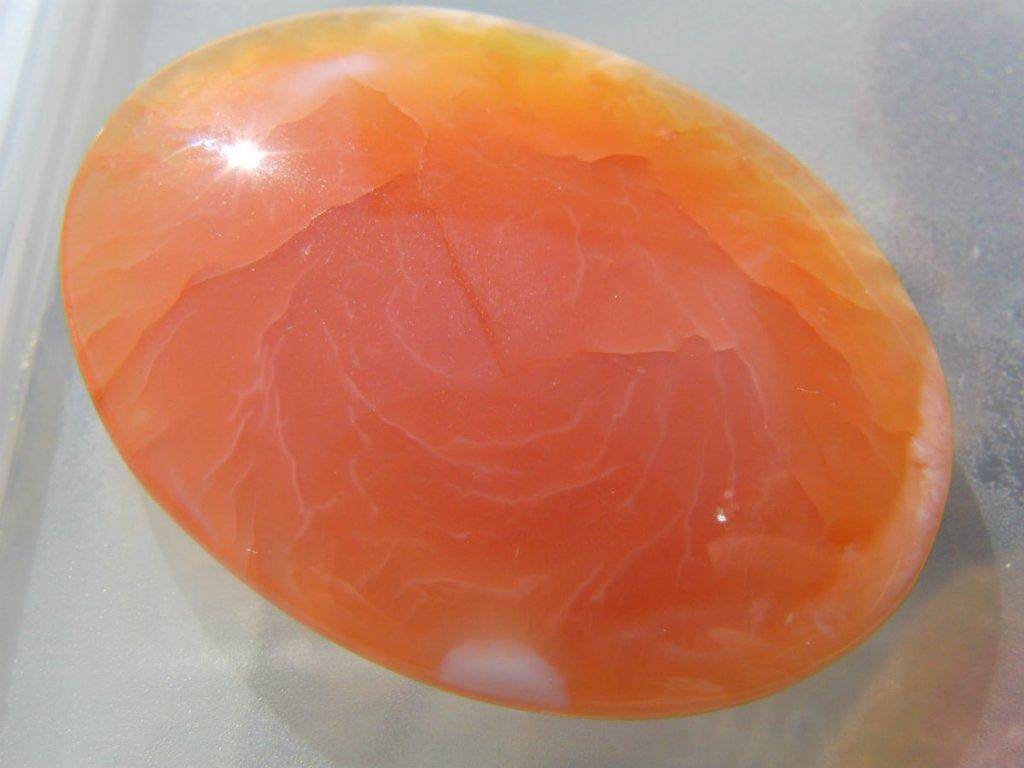
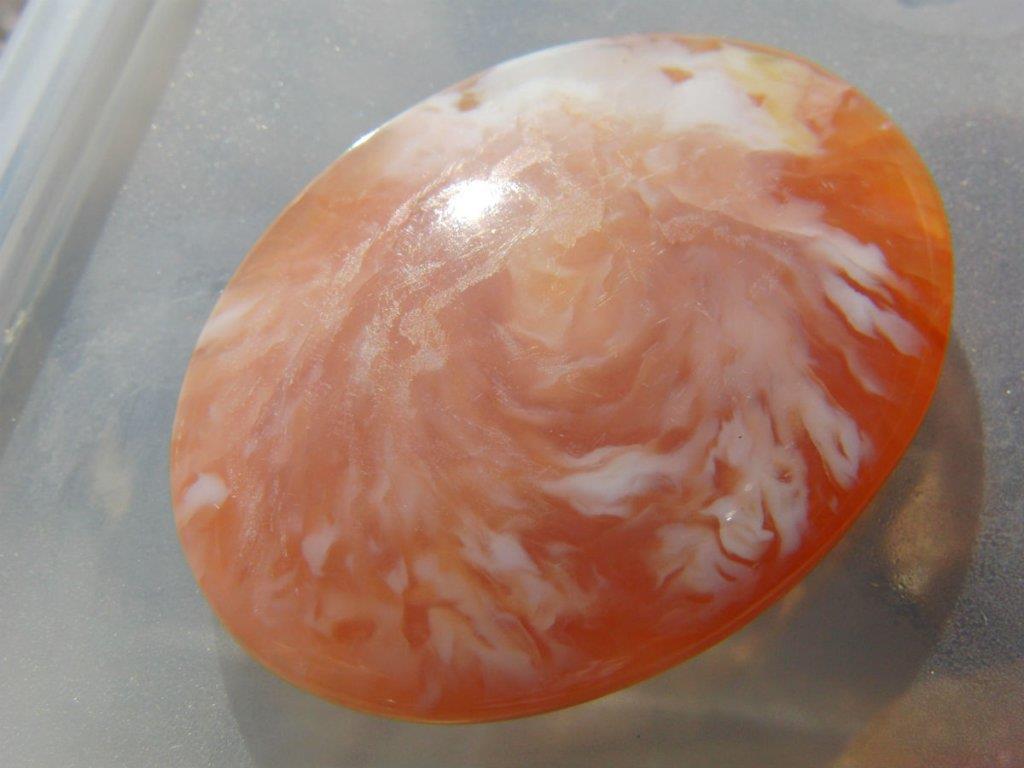
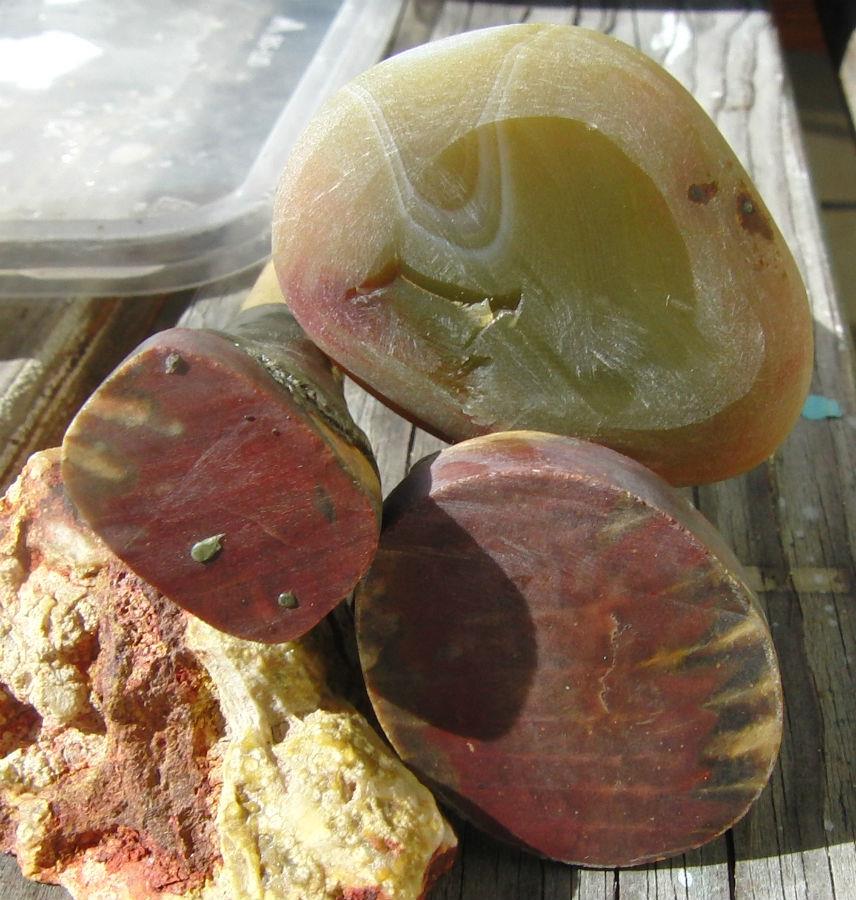
All these pieces are carnelian/chalcedony found on the beach here, except for the big one in the back and the small piece in the center. The center piece is from the beach, but isn't chalcedony. It's quarts in something else. It's interesting because the quartz is formed in my initial. The providence of the big piece is unknown and I can't tell you what it is either, just that it's pretty.

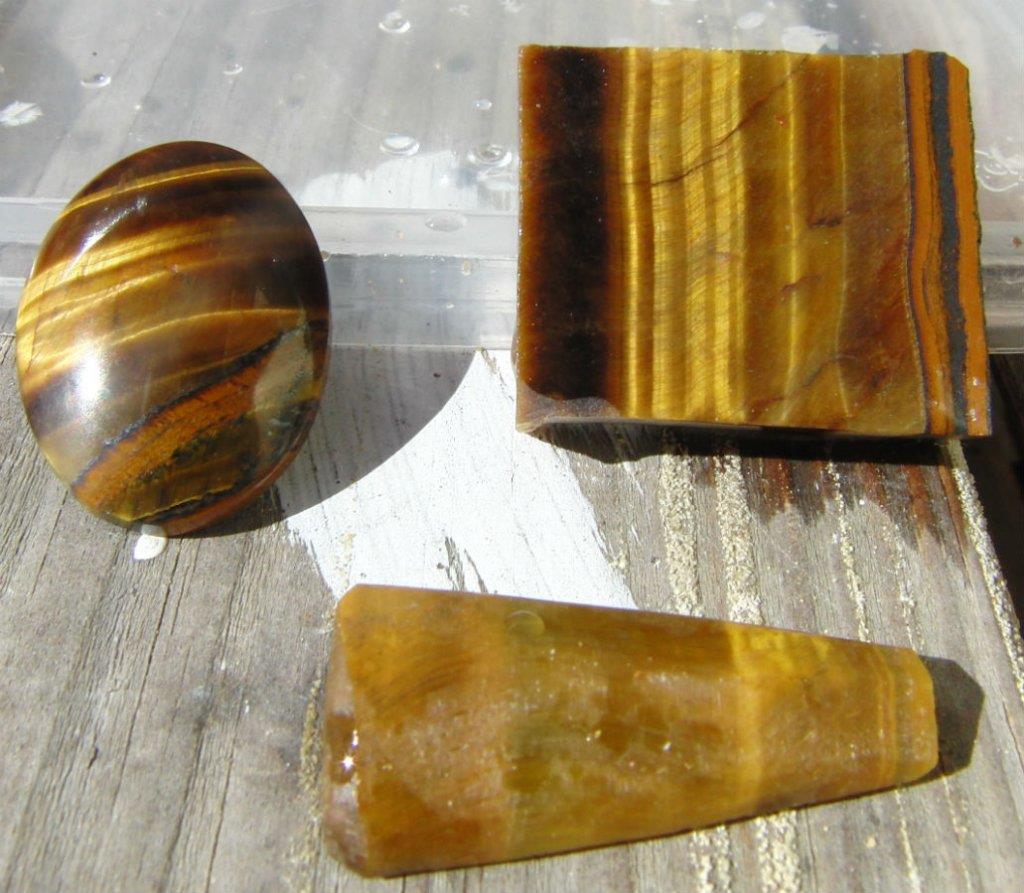
The 3 orange/brown pieces right of center from the top are from the same stone. The two upright ones are the end pieces and are waiting for a polish, the middle section has been free formed and is now ready to start the polishing process.
The piece left of center has been roughly cleaned on a grinder and I now have to decide what to do with it. Probably polish it in a tumbler, as it's too oddly shaped to turn into a cabochon.

The piece hiding out in the back and the one right in front of it are 2 sizable chunks of blue-ish, or milky white chalcedony. These will make lovely freeform pieces and one of them is probably big enough for a sizable cab.

1404887309_resized_doodles_02.jpg


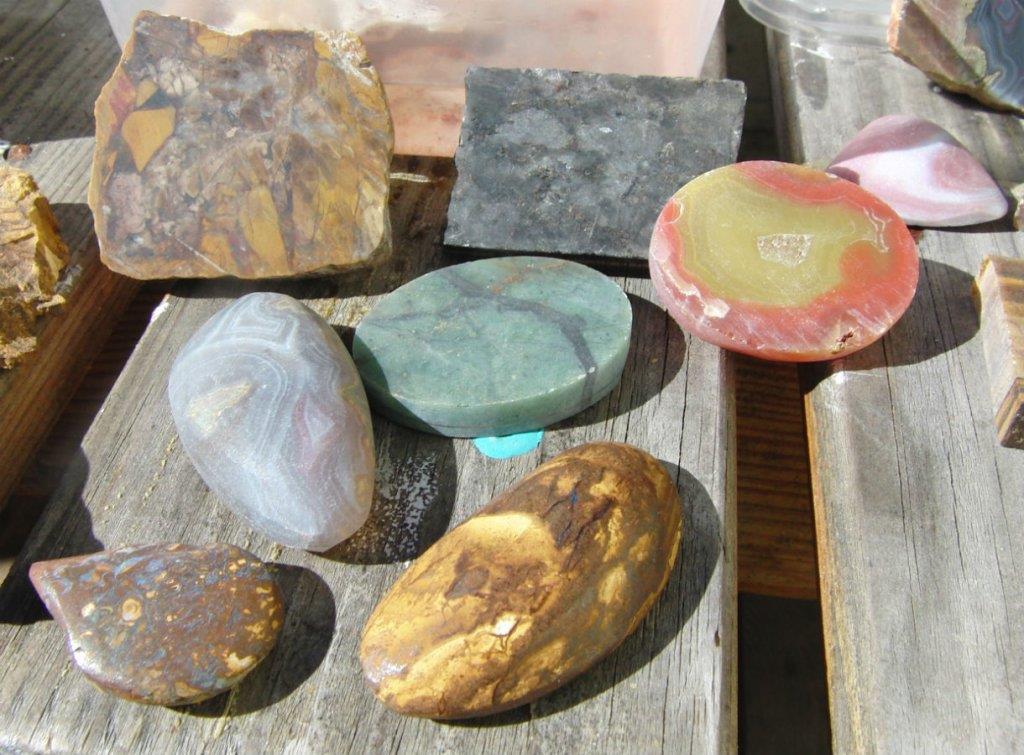
Taking the front stage are two Koroit boulder opal doodles. Pro tip: when buying boulder opal rough, look for the darkest matrix. The light stuff is useless. It's so soft you can scratch it with a fingernail and there isn't a chance in hell you'll get a polish on it. But, for practicing working with (boulder)opal it is alright material, as it's generally cheap. Boulder opal rough can be quite expensive and if you see some that is light in colour and high in price, leave it and get something else. Unscrupulous dealers should be pointed at and ridiculed.

In the center an agate/chalcedony cab that I cut out of a Mount Hay thunder egg (Cutting those things open is addictive, it's like a pokie, the results can be great fun or deep dissapointment.
The green preshape is prase and the yellow and orange preshape next to it is agate from Agate Creek. The little triangle shape hiding behind it is also from Agate Creek. This one is blue and red. The little slabs in the back are again of unknown origin.

1404888064_resized_doodles_03.jpg


In the back is the other half of the Mount Hay thunder egg. It needs another run through the polishing process. The chalcedony/agate polished up just fine, but the softer rhyolite needs more attention, or another process. Have to find out how to handle this some time, for now it's just happily sitting between the rest of the work in progress pieces. The slab in front of it is another Agate Creek agate. This one was discarded because it has a crack in the center over the full width of the stone. I think that makes it an ideal practice piece for yours truly :)
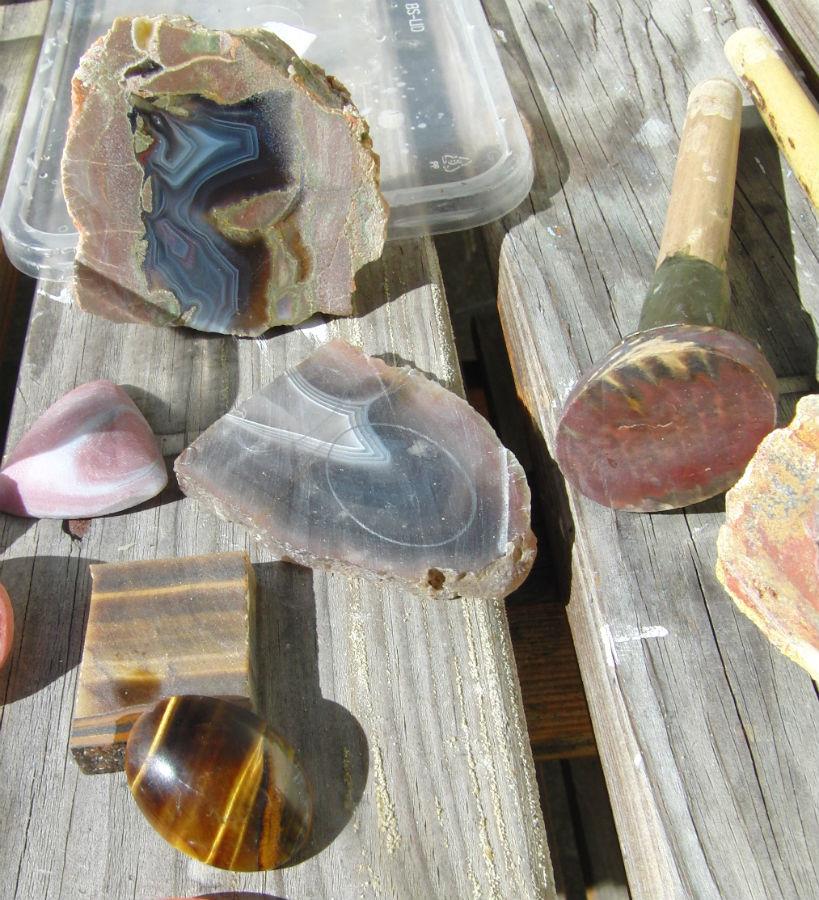
The rest of the stones in this pic have been previously introduced.

1404888477_resized_doodles_04.jpg

Some preshaped doodles on the dop.
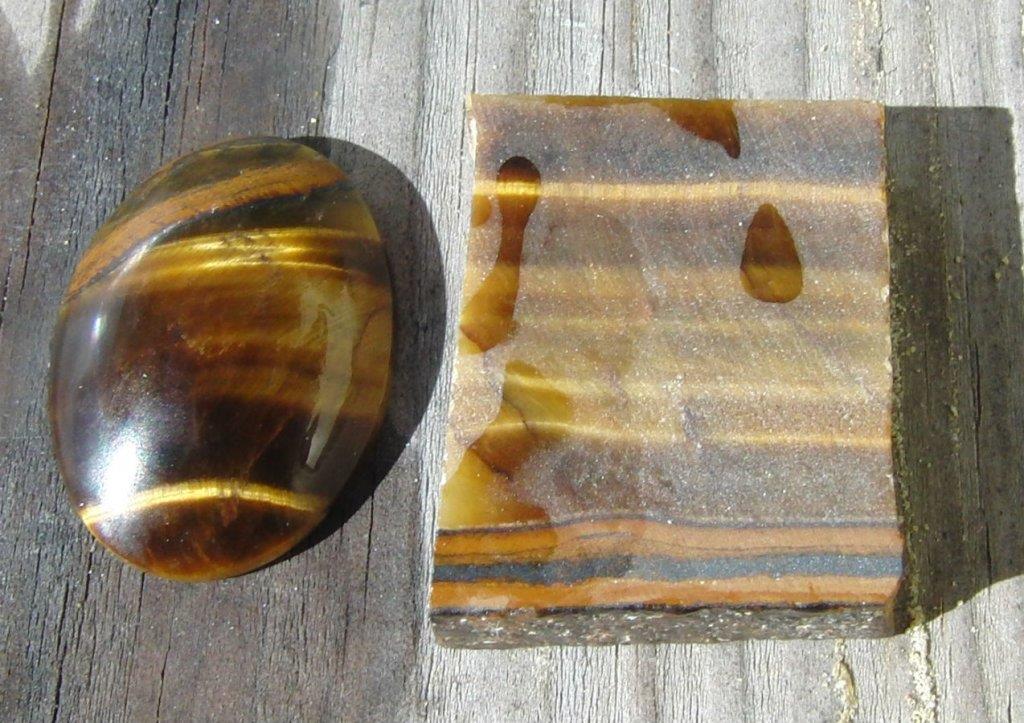
Another agate and 2 pieces of petrified wood. May have to turn the bigger one over to see if the other side looks as good, but without cracks. Otherwise I'll just have to work with it. It might be shallow enough to dissapear when forming the cab.

Last one...
1404888812_resized_doodles_05.jpg

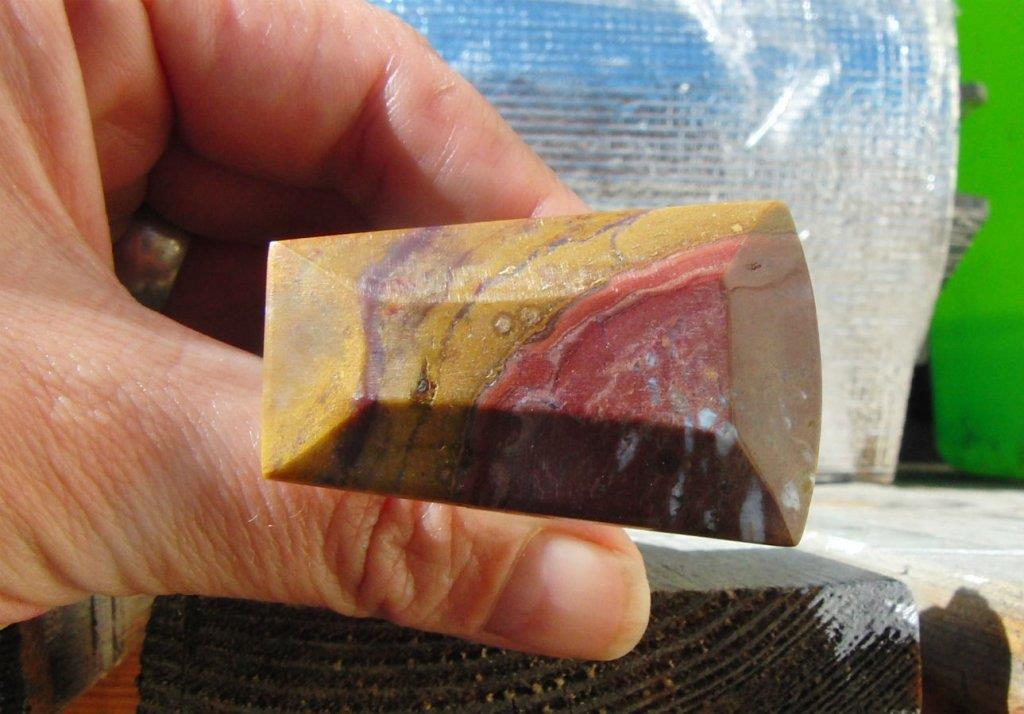
Not really a doodle, but a serious attempt at an altogether different style of cabbing. This is not a freeform, it's still a calibrated shape (this means it will be easy to find a setting for it, it has standard dimensions, no need to make a special setting). The style is different from standard domed cabochons however. And it's a bitch to do, but a great challenge. The challenge is similar to facetting, with each pass over the grinder/prepolish you run the risk of rounding the corners of the facet you're working or the one adjacent. When going through the prepolish steps you'll have to watch how you hold your stone and touch it against the paper or the edges will get to rounded. And then there's the extra challenge that the tail end isn't supposed to be flat like the other sides but lightly domed and rounded. What an unbelievable bitch! But I love it and will be working on it again tonight.
 
Very cool Piep . .. Love it .. I remember watching my nana cutting and polishing ( mainly black opal from Lightning Ridge) a rock transformed... Into a beautiful stone
 

Latest posts

Top