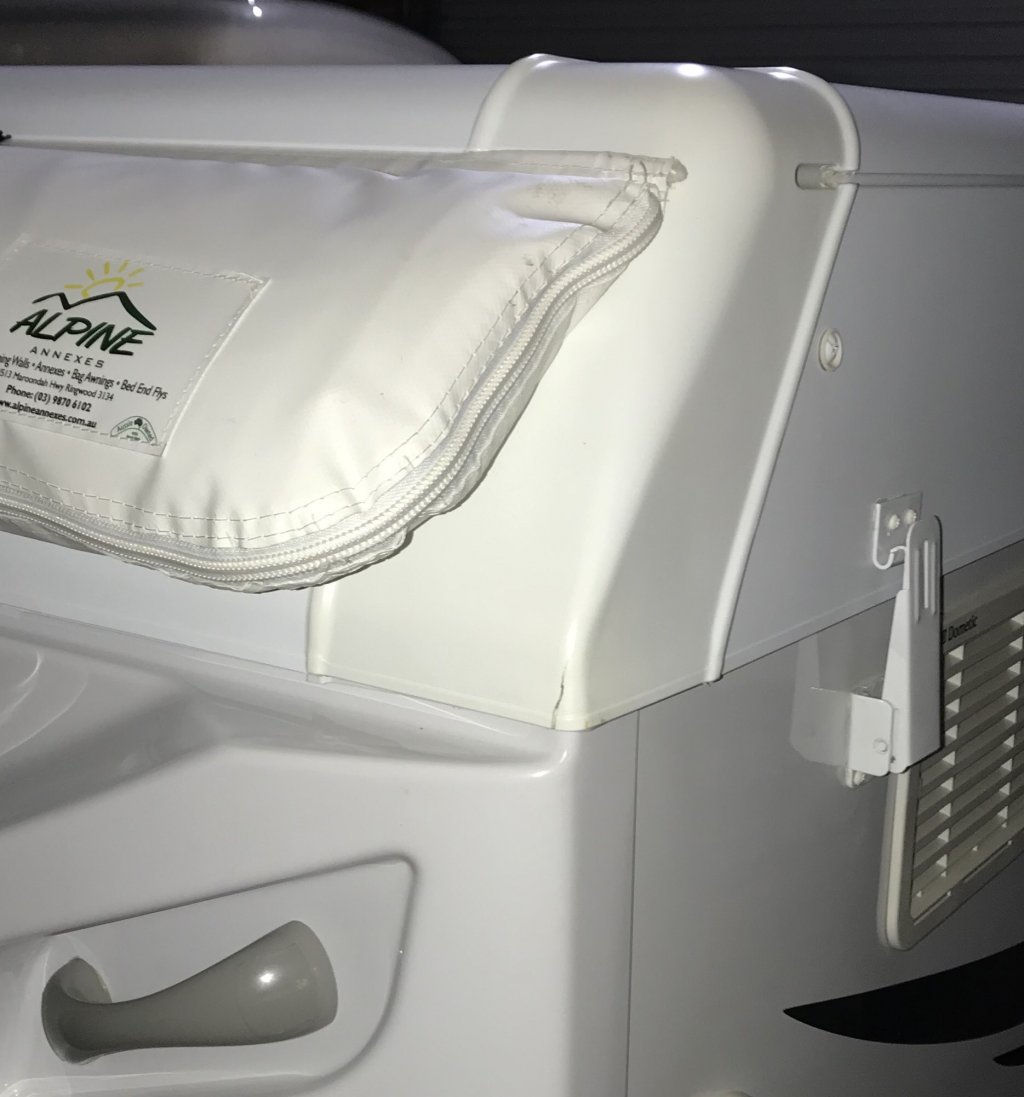
Is it possible the fastener latch is pulling down too hard on that corner ? is it adjustable ?
Plastic welding is a good option but go to an expert , many car smash repairers do it every day and have the expensive toys to do it properly as they do repairs on car bumpers.
Is there room on the inside to add a reinforcing patch or is it a tight mating fit with the bottom half ?
If you have 3 mm of room there i would hammer form a 2.5 or 3 mm aluminium sheet to be an exact match to the shape and bond it on the inside with a super high strength aerospace / truck body adhesive , its compound curvature on the corner so you cant just bend a flat sheet in one direction.
Years ago Sikaflex was the bees knees but those days are gone in the dark ages with Fred Flinstone , these days we have new chemical super adhesives which you will never remove once its bonded on there.
Rapidstick 8-300
http://www.chemtools.com.au/product...hesives/rapidstick-8-300-structural-adhesive/
Bostik Simmos 70-05 ( bit cheaper than the above )
https://www.bostik.com/newzealand/bostik-products/Simson_ISR_70-05_SMP
I am not sure who you could get to form the aluminium patch , its easy bread and butter work for me but you're too far away.


") I'm pretty sure you'd find quite a bit of talk about the problem on that Group.
I'm pretty sure you'd find quite a bit of talk about the problem on that Group.