Bellows Dry Washer Build

Prospecting Australia

Help Support Prospecting Australia:

This site may earn a commission from merchant affiliate links, including eBay, Amazon, and others.
Joined
Oct 23, 2019
Messages
134
Reaction score
196
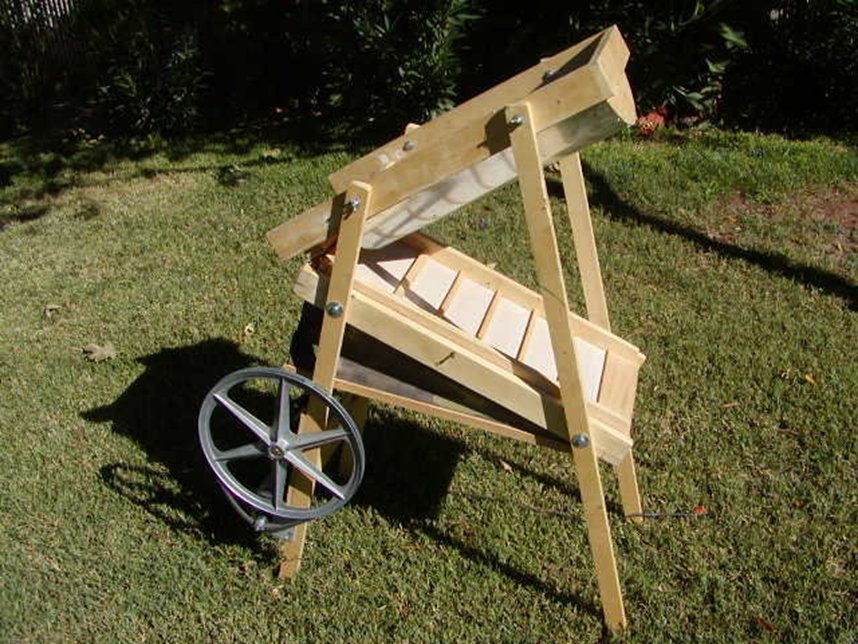
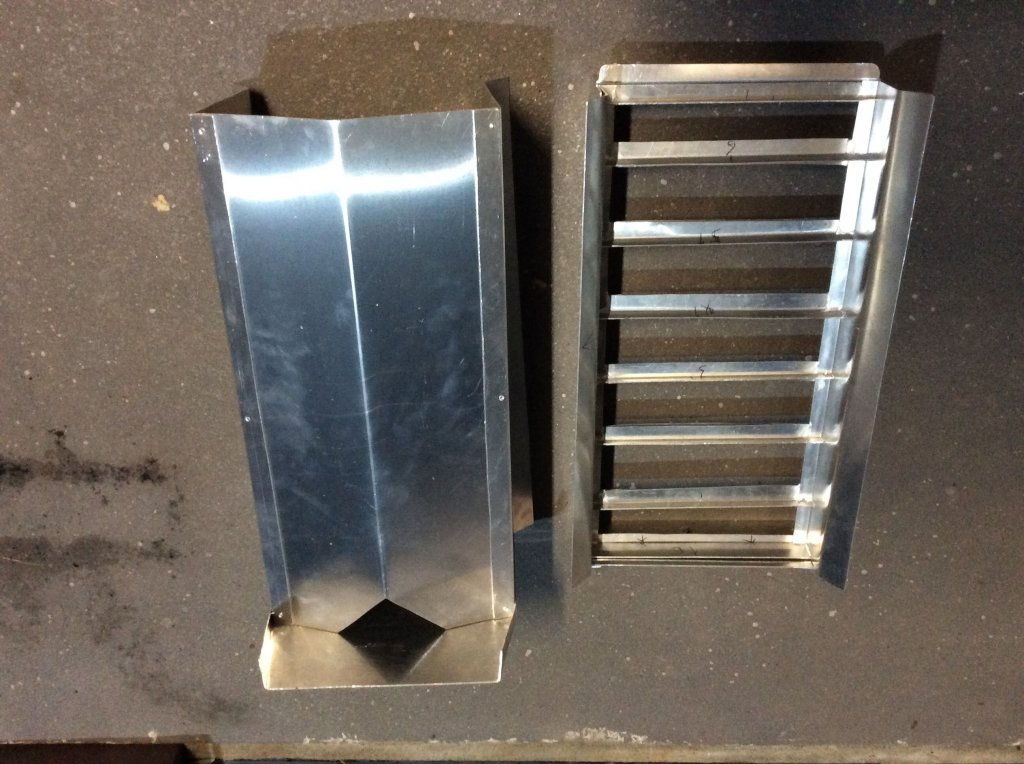
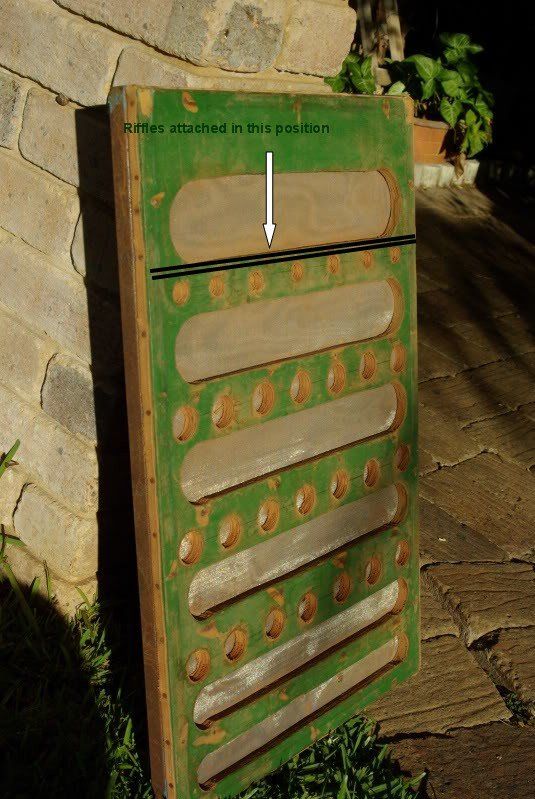
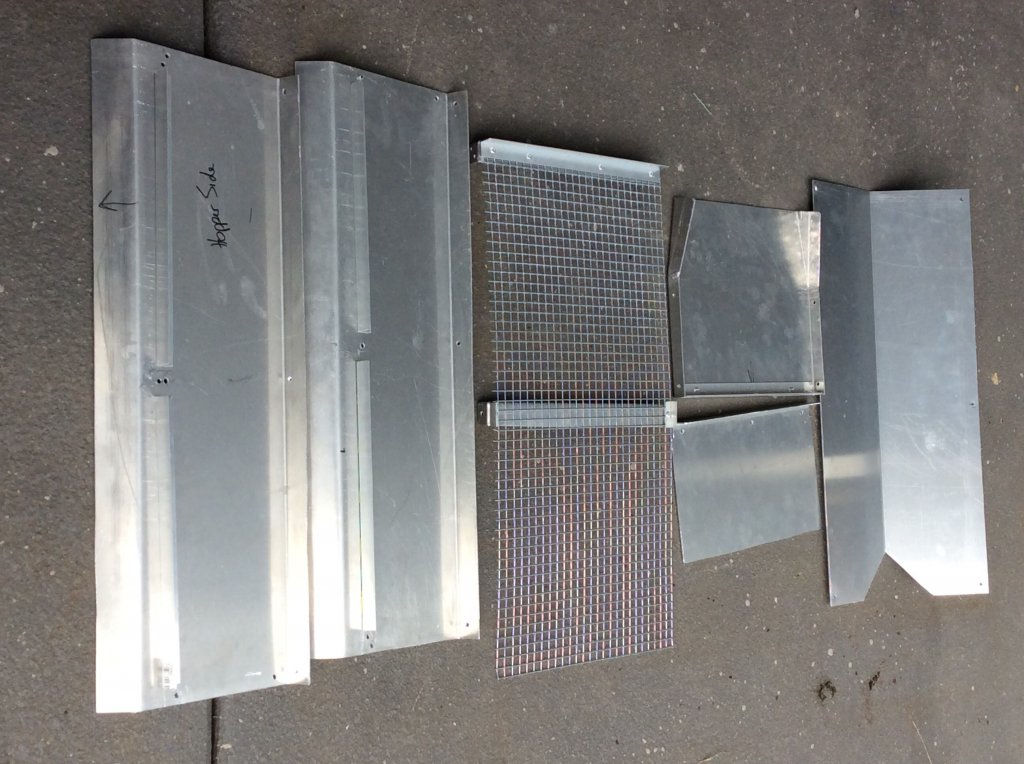
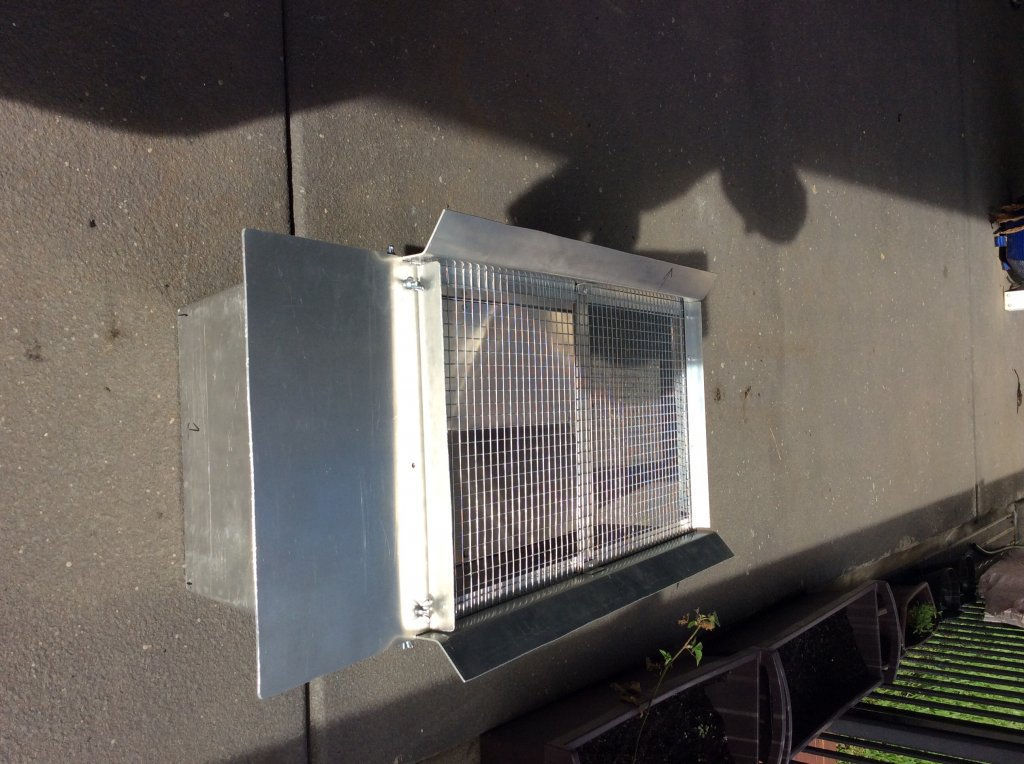
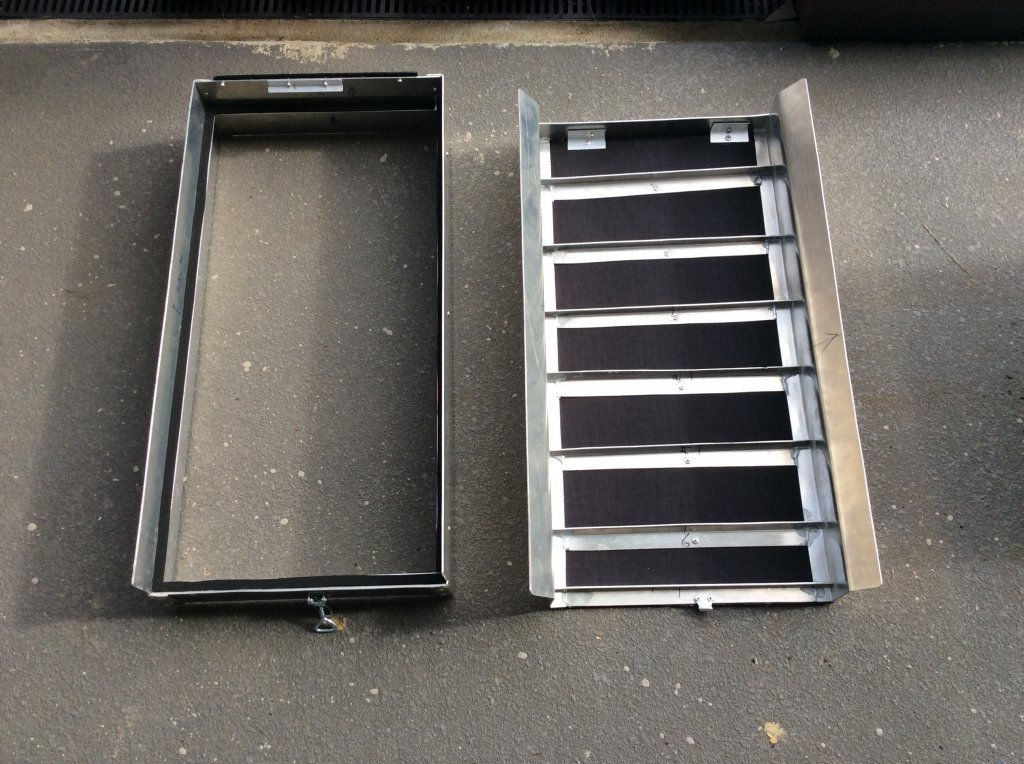
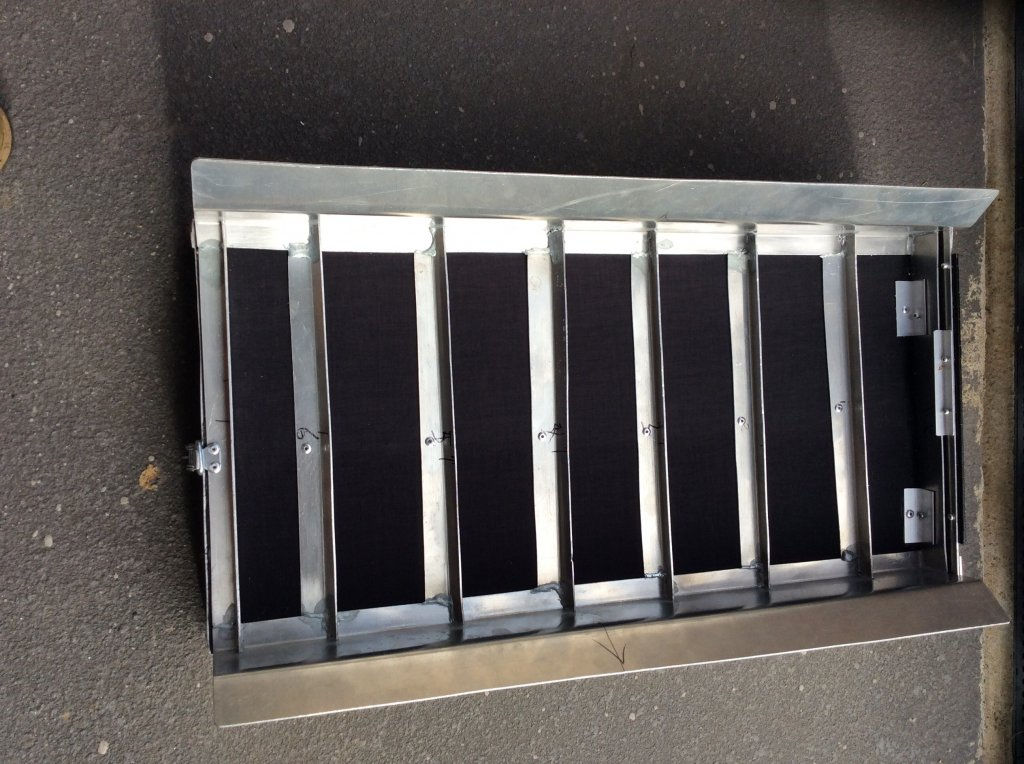
Started building a bellows Dry washer out of 2mm Aluminum sheet
Making it up as I go along
1580713327_img_0142.jpg

1580713327_img_0143.jpg

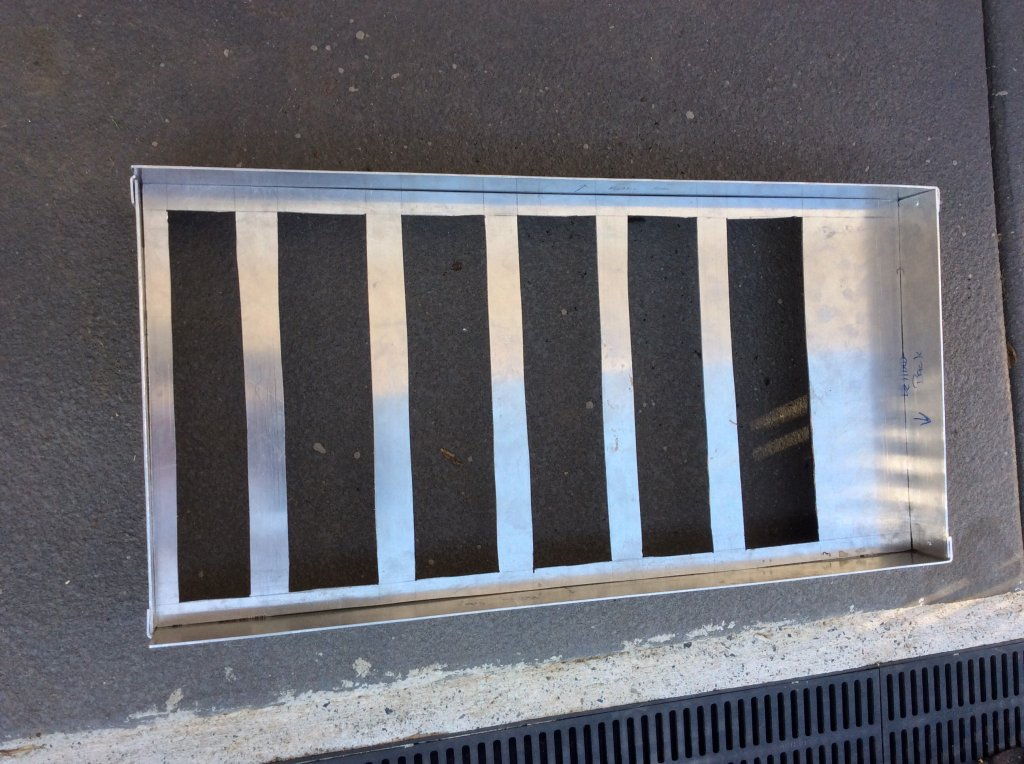
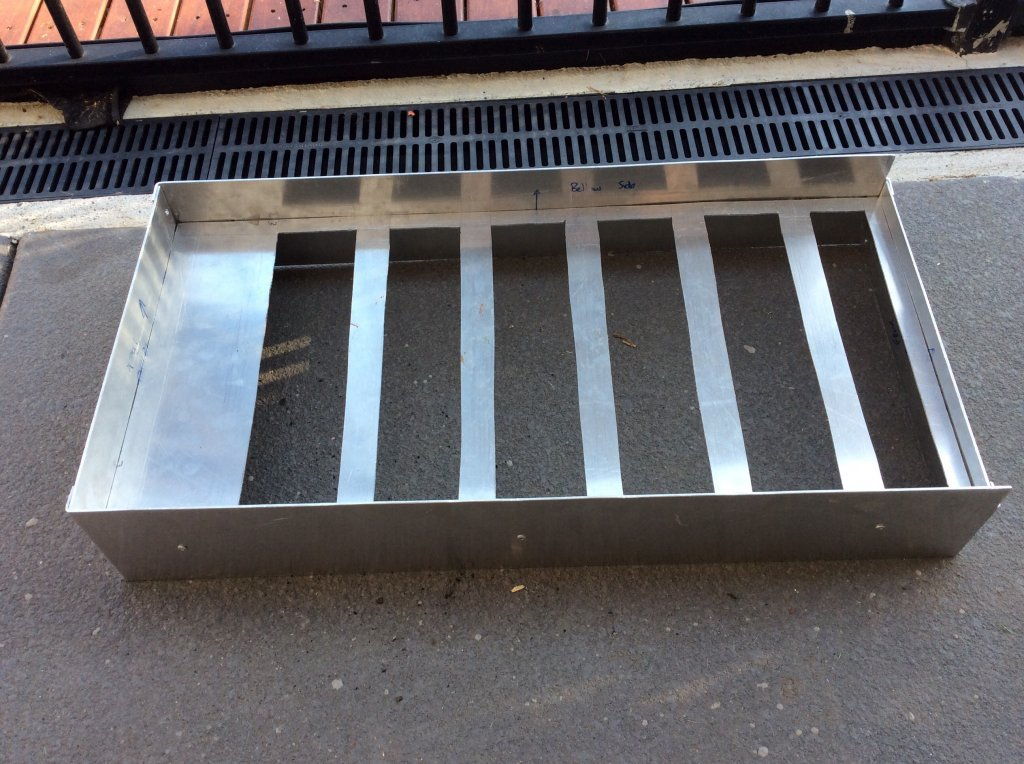
Haven't done anything in Aluminum before. Using basic tools. 690mm long x 340mm wide
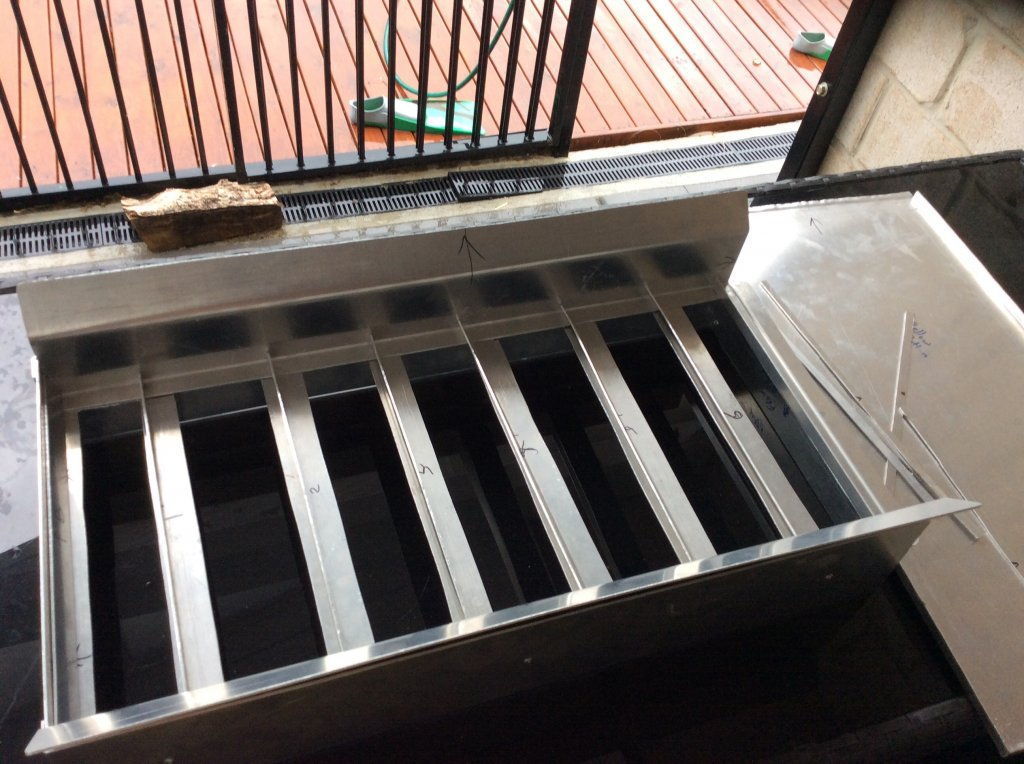
Will add photos as I create each part
Build for my trip to Tibooburra

Cheers
 
Changed my mind today. Redesigned a few things so here it is in its current format.
1580797793_img_0145.jpg

1580797793_img_0147.jpg


Cut a bit off the front. Added another Riffle. Cut support plate to create another air port for add riffle
1st Three 90 Degree riffles Next three 30 Degree-ish riffles Last one 90 degree

Made the Riffle tray. You can see it in it position inside dry washer. Not fixed together yet.1/2" Riffles

Made Bottom of Bellows

I Reckon i have used Max $40 worth of Aluminum so far
 
Looks good Dave but I think I'd be finding some good dry dirt to carry out trials before heading off on a big trip.
 
Yeah I have got a couple of buckets from Durikai Forest GPA for testing and adjustments (Mods) if required
 
Completed Aluminum Brazing of Riffle Tray ( 1st Effort at that) Don't Zoom in on photo

Made Hopper. I think I thought I was going to use a front end loader to fill it. Bit Big

1580906478_img_0148.jpg


1580906479_img_0149.jpg


Only have Leg materials and Wind Screen motor to buy. I reckon I will get away with whole build for under $300
 
Dave63,
May I make a suggestion with your dry blower?
Post #4:
It appears the air slots on top of the bellows hopper are proud of the riffle tray riffles. You are going to get a dead spot there and you may lose some gold sliding up over the mound on the upside of each riffle.
The air slots upper edges should align with upside of each riffle.
 
Not sure what you are talking about. Photos are upside down, so Upside of Riffle tray at the bottom of picture.

Started putting together my Cloth layers for riffle tray today.

Layer 1 Cloth
Layer 2 Aluminum Fly Screen
Layer 3 Thin sheet of perspex
This will all be pop riveted to Riffles

Had a redesign of Hopper after finished it. Have to pull it apart some to make it easier to transport. New Pictures tomorrow
 
G'Day All

Changed the Hopper to be collapsible

1581058008_img_0150.jpg


This how I will transport it to Dry Washing Area

Transformer Music 10min later (Slow Transformer)

1581058068_img_0152.jpg

1581058068_img_0153.jpg


This it together with bolts and wing nuts. Remain assemble for duration of Dry washing then disassemble for trip home

Finished Riffle Tray and top half of Bellows Box

1581058231_img_0156.jpg

1581058329_riffle_tray.jpg


One design flaw at top of riffle tray need another brazed in flat piece. Used angle iron as temp fix. Will braze in a proper piece when I change the cloth next.

Bellows next

Cheers
 
Dave63 said:
Not sure what you are talking about. Photos are upside down, so Upside of Riffle tray at the bottom of picture.

Started putting together my Cloth layers for riffle tray today.

Layer 1 Cloth
Layer 2 Aluminum Fly Screen
Layer 3 Thin sheet of perspex

Dave, Am intrigued, where does the perspex fit and why?
 
Mate you are mixing a constant air dry blower with your bellows type.
Forget about the static electricity with your puffer, forget about electrostatic collection of gold altogether it's a sales gimmick.
BTW a bellows type dry blower you're building beats a constant air one hands down.
Throw away the perspex, have your air puffing directly in line with the "upside" of your riffles.
You won't blow gold away as he suggests, our puffer dry blowers collected flour gold that the electrostatic models lost.
 
Love your work Nightjar great to see others sharing their knowledge :trophy:
 

Latest posts

Top