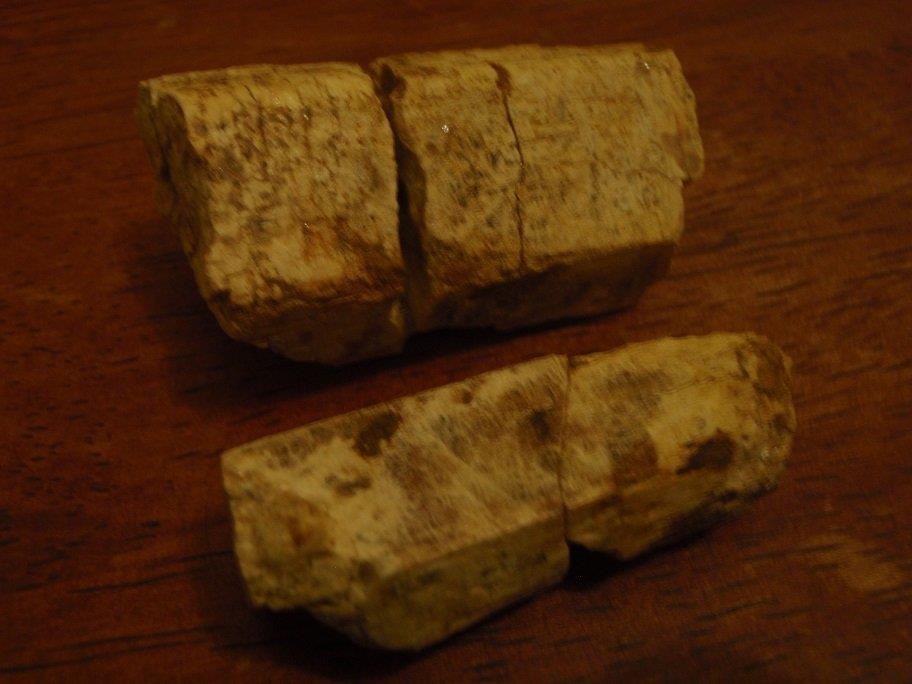
Hey Gypsy, i had a bit of a look around, and there seems to be a lot of opinions on this. Bud i did find an article that went in to a bit of explanation at:
http://en.allexperts.com/q/Jewelry-Gems-Minerals-689/mineral-specimen-repair.htm
"Two types of clear adhesives work quite well, depending on the specimen in hand. All adhesives and fillers have advantages and drawbacks, leading to creative hand work in mineral specimen repair and restoration. Much of what is the best choice simply depends on the specimen to be repaired.
CRYSTALS and UV Cement.
A fairly new cement that is cured with ultraviolet light will work well for clear crystals. By clear, I mean the crystal must be able to pass light for the cement to cure. The most water clear of these is made by Duro and generally sold as cement for glass. The cure requires an ultraviolet light or a nice bright sunny day. The item is held in place for a minute while in the bright sun or under the lamp. Only a short time is needed for the cement to cure enough to keep things in place. After that, leave the specimen in the sun or under the lamp for another hour or so to be sure the curing is complete. (Almost any uv lamp will work, some taking longer than others to cure the UV cement.)Note that if the cemented area is deep and wide, the cement may only cure at the edges. This will be sufficient in many cases. Opaque or almost opaque items will not allow the cement to cure and another cement should be chosen.
EPOXY CEMENTS.
Epoxy is likely the most versatile cement for specimen repair. Epoxy cement works very well for clear crystals, opaque items and most other mends. Since most epoxy cements do not cure water-white, if you need water-white the epoxy to get is this one: Epoxy 330 by Hughes, available from rock shops and lapidary suppliers. The cements are two part and must be mixed. Dry fit the item first to check for fit and where the glue might run out. You want to use just enough cement to hold the item and make the specimen look fairly natural. Too much cement will leave an overly shiny line at the edge of the repair. When the cement is mixed, leave the remainder on the mixing surface(a piece of plastic works well) so you can check on hardness as the cement cures. Mild heat will speed up the cure but might damage some specimens. Epoxy 330 cures in about 2 hours without heat. The item must be supported and held in place until the cement cures and that is a reason for checking the dry fit first and working out a method to hold all together.
E6000 CRAFT CEMENT.
I mention this versatile and very useful cement simply so you will AVOID using it in mineral specimen repair. The cement is excellent in craft work an leaves a strong flexible join. The cement is simply to gobby to work cleanly with mineral specimens unless only a little is used in a cavity which will be hidden by the applied piece. This cement is for hidden repair only and not for visible areas such as repair of clean visible breaks.
OTHER SPECIMENS.
While epoxy will work well on most specimens, creative repair is needed in others. This might mean adding mineral dust or fragments to the cement surface when it becomes tacky. In some cases, cements more like mortar or polymer based materials used to repair walls, concrete, etc. will be appropriate. Other times, an epoxy type clay from the hardware store will be the choice to create a built up area. Auto repair bondo is not out of the question for repairs of specimen bases. The idea is to make the repair as difficult to spot as possible.
There is not a single, certain cement of choice for all specimens. However, I have seen very creative repairs using added dusts, fragments and coloring. A quartz crystal broken out of a plate of crystals will repair just fine with epoxy alone if the colors at the bases of other crystals are clean and white. If, for instance, the other crystals show red clay (iron stain) colors, you might have to experiment with adding color to the repair area."


